

If you've recently sown seeds indoors, the next stage is to prick them out.
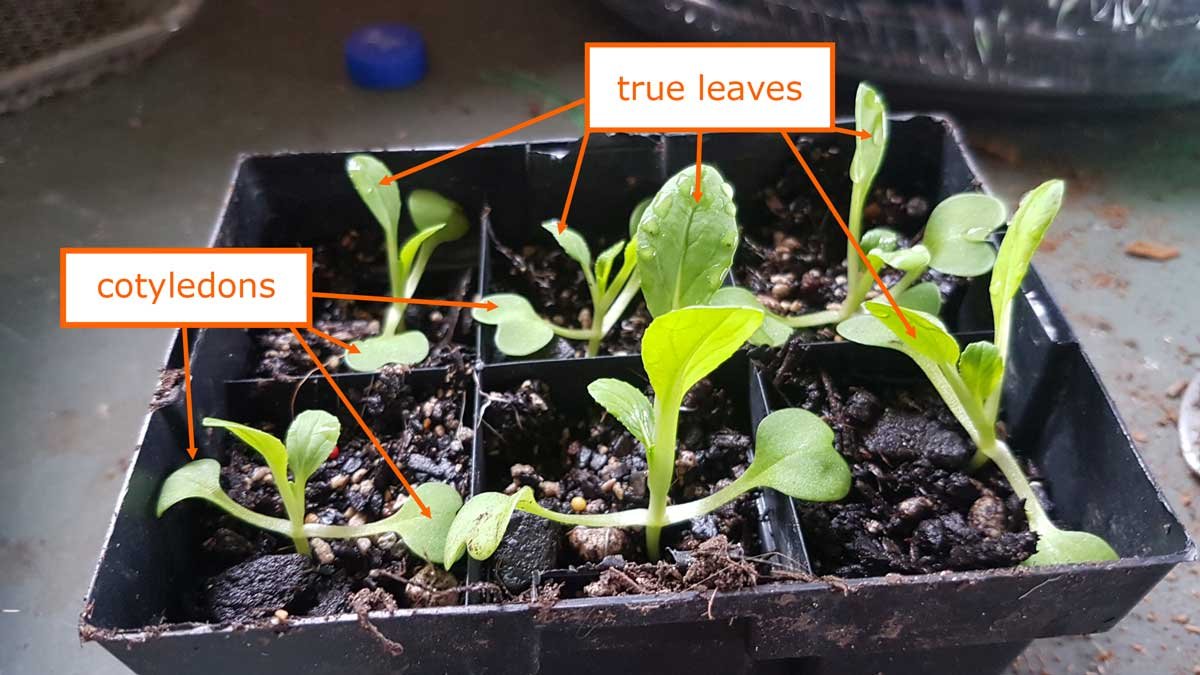
You should prick your seedlings out of their trays and into individual pots when you see their true leaves. The first set of leaves a seedling produces are called “cotyledons”. These leaves are part of the seed embryo, and they don’t often look like the leaves of the plant you’re going to eventually put in the ground.
The second set of leaves that come out of the seedling are its true leaves. They look (and in the cases of fragrant herbs like basil, smell and taste) like the leaves of the plant you’re going to put in the ground. When you’ve got true leaves, you’re ready to prick them out.
Click the images to zoom.
Pak choi that have been pricked out already.
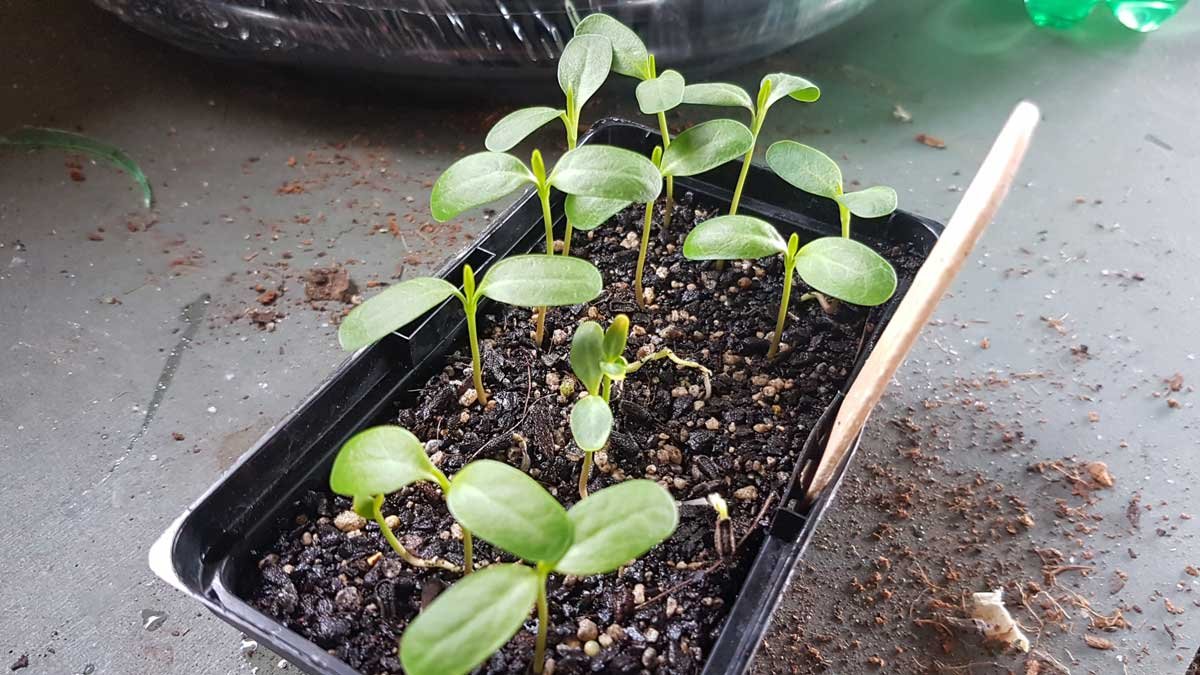
None of these swan plants have fully developed true leaves, so are not ready for pricking out.

Only a small number of these capsicum have true leaves, so they are not ready for pricking out.
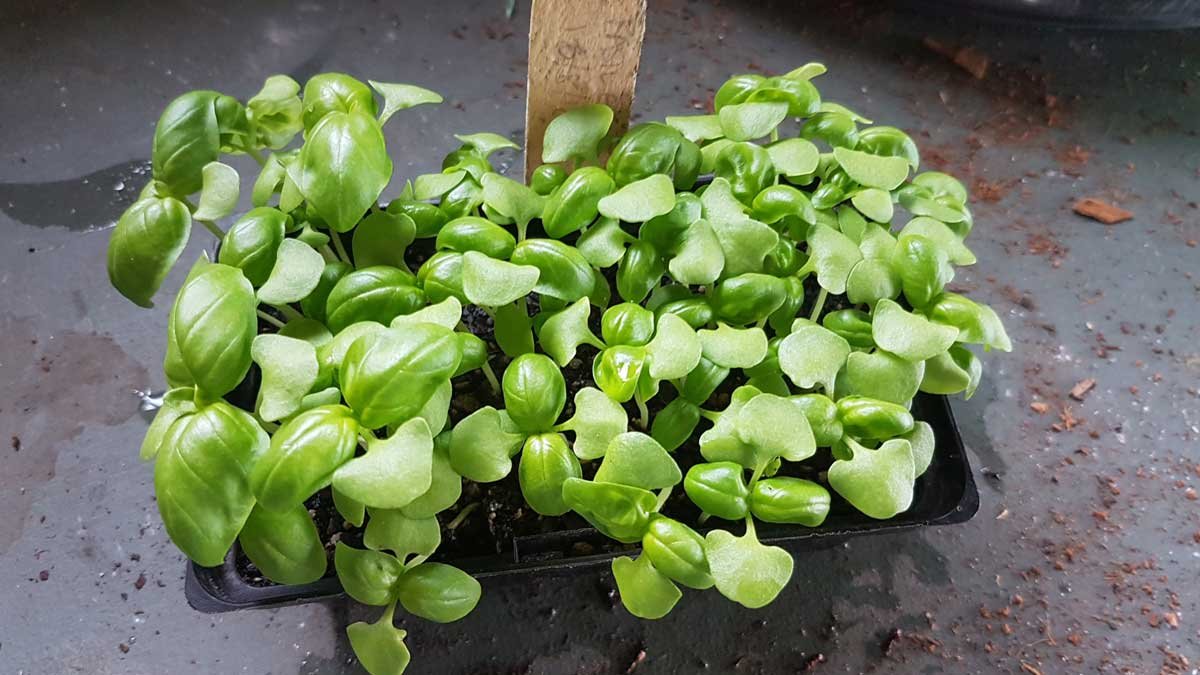
All of these basil plants have developed true leaves. They need pricking out.
Pricking out means to gently tease out the seedlings and plant them into individual pots. I use a range of pots for this, depending on how much space I have available, and how long it will be until I can transplant it into the garden.
For plants that will be put into the garden within the next month, 6-cell punnets are great. If it might take a little longer, a larger pot buys you a little more time. All of my pots are recycled and often it is a matter of just using what I have.
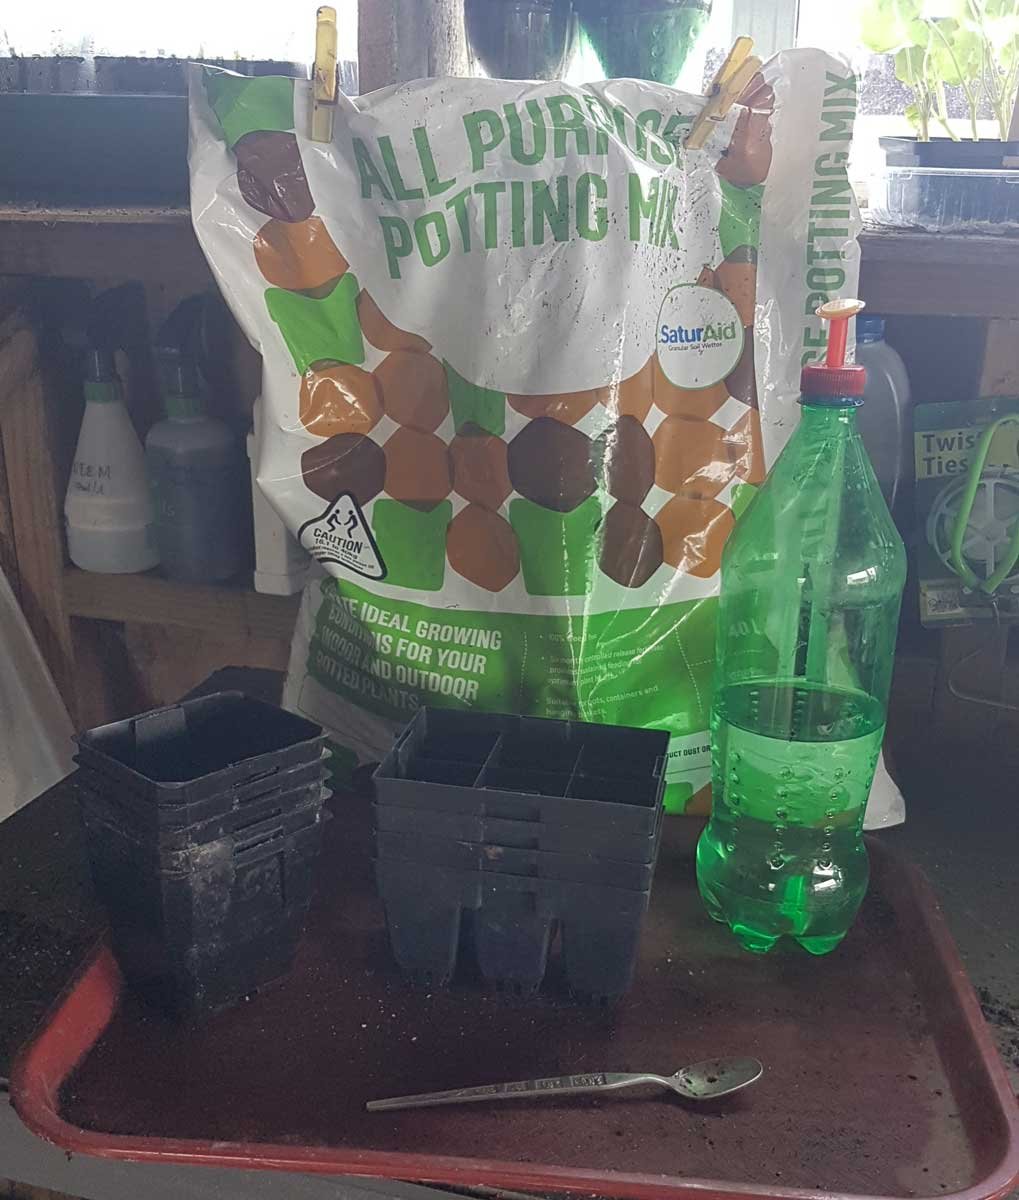
A long-handled teaspoon is really handy for this stage. I use the handle to bore holes into the soil and separate plants, while the spoon is handy for lifting and moving seedlings, as well as scooping in small amounts of soil.
You’ll also need a general-purpose potting mix (seed raising mix is fine if it’s all you’ve got, but potting mix is cheaper); a sprinkle attachment on a plastic bottle; and a large plastic tray. This task can get muddy, so the tray makes clean-up easier.
The general method is to fill the new pots with soil, water it, then scoop out or bore a hole. You then gently pull up the seedling from the tray and plant it back into the new pot. Then fill in any gaps with soil, and water again.


Pak choi ready for pricking out
True leaves are visible on most seedlings.

Fill pot with soil
Wet slightly and form a hole using the end of a teaspoon or similar.

Gently pull apart seedlings
Pulling by roots is better than breaking stems!

Drop seedlings into holes
Sprinkle in more soil and water.
When handling the seedlings, try to avoid touching the stems. Use the leaves and the roots (on your spoon) to handle the seedlings. If you snap the stem, it’s all over – but leaves and roots can regrow. A bit like if someone broke your neck, verses if they cut your hair, or took a skin graft.
Once I’ve pricked out my seedlings and got them into new pots, I put them into propagators for a week or two until it gets too crowded to manage. Propagators are nice, warm environments. They’re quite different to the conditions most plants face in the garden. To avoid shocking your plants, it’s a good idea to let them ‘harden off’ before you put them into the ground.
Hardening Off
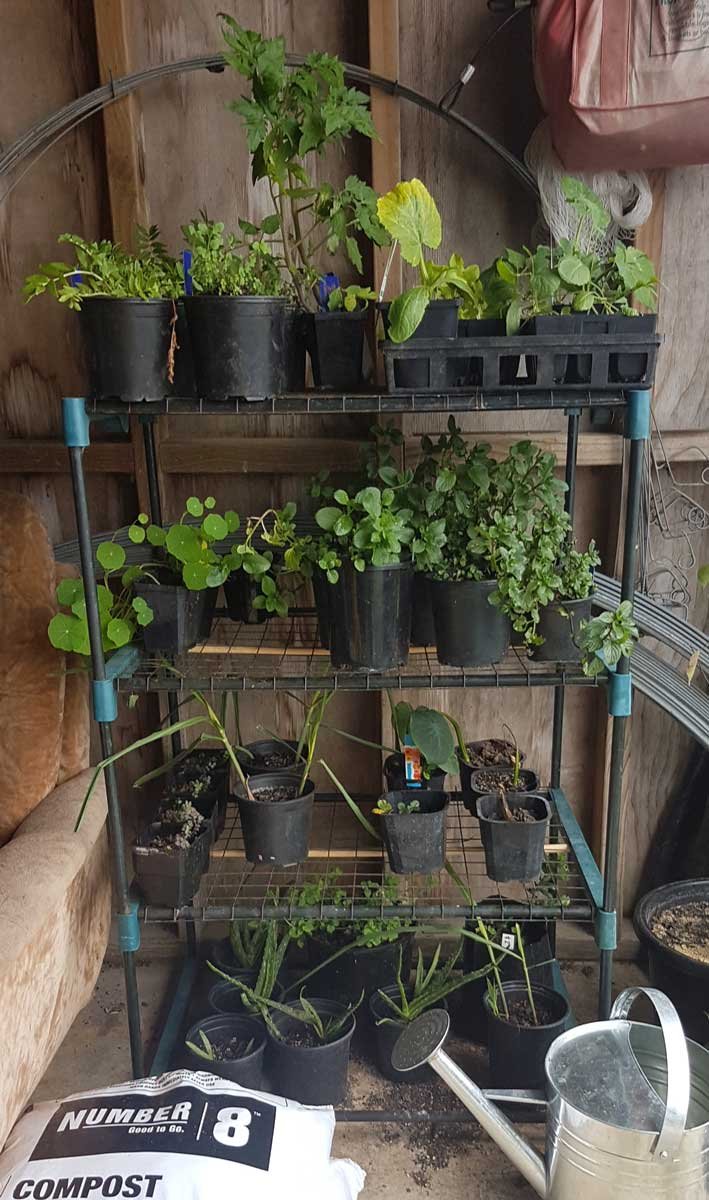
In my garden, hardening off means the plant goes to a shelf that sits at the mouth of my garage. It’s partially exposed to the elements, and partially sheltered. The water supply is a little less reliable than it is indoors or at the gardening nook.
It’s a half-way between the sheltered and warm environments we raise our seeds in, and the real garden where the elements are more unpredictable. There are lots of ways to achieve this – it can be as simple as putting them in a box in a sheltered spot outdoors. Last year I used some glass shelves from an old fridge over a plastic tub. It worked great.
Sometimes you lose a few plants at this stage. These plants are most likely the weaker ones, but they’re not always the ones you think they’ll be. I like to keep plants hardening off for at least 10 days before I plant them, but sometimes I get impatient and plant them after 3 days.
If you’re buying seedlings, it wouldn’t hurt to give the plants a couple of days to acclimatise to your garden environment before you plant them, but most seedlings bought at garden stores are “pre-hardened”. I’ll be discussing transplanting seedlings into the garden next week.

READ NEXT
Should I buy seeds or seedlings?
Seeds are a lot of work. Sometimes there's no reason to go to all the trouble.

READ NEXT
Direct sowing guide
Do you need to grow seeds inside, or can you just chuck them in the garden?

READ NEXT
Sowing seeds for transplant
Before you prick your seedlings out, you'll need to sow your seeds. Get the tips about how many seeds, how deep, and which soil to use.
Related content: gardening · grow guide · growing from seed · hardening off · potting mix · propagation · seed sowing · seedlings · seeds · transplanting
Stay in touch?
The Kat's Garden newsletter gives readers an extra peek behind the scenes. It's the best way to know when new posts go live, and what's happened since.
If you like what you've seen, join us and see what we learn next.
