

This post first published 10 June 2019, and updated 18 July 2026.
Planting seed potatoes really begins with choosing which seed to grow. Potato seed is just a potato, but you have some choices.
So I've written another post on the process of selecting and preparing your seed potatoes for growing. You can read it here:
But what's next once you've got your seed potatoes and they're ready to be planted?
Double your investment
One technique that can help make your initial investment go further is cutting your seed potatoes before planting them. It's a tip I picked up from the Joe Gardener Podcast (episode 199) and I've been using it for years now.
This can double the number of 'seed potatoes' you have to plant without spending another cent.
Any potato bigger than an egg should be cut into two or more pieces, around the size of half an egg. Each piece should have at least one sprout.
If they don't have any sprouts then you need to go back a post to 'choosing seed potatoes' to read about chitting them first.
Give the pieces a couple of days for the cuts to dry before planting as usual.
Preparing garden beds
Avoid adding lime to your garden before potatoes. They prefer a more acidic soil and lime makes the soil more alkaline.
Additionally, fresh compost can also have a negative effect on the quality of your harvest. Both lime and fresh compost are known to increase the prevalence of scab.
Scab is rough brown patches on the skin. You can still eat potatoes if they have scab, but it pays to peel them if you have a lot of it.
Potato fertiliser is made with this balance in mind. If you think your soil needs a boost, it's the one place in my garden where I feel the specialised fertiliser is worth it.
If you are planting in garden beds, then Potato Food is what you want.

Preparing pots and containers
If you are growing in containers, don't use potato food, it will overload your soil.
To be honest, a good quality potting or vegetable mix is really all you need in the 3 or 4 months you're growing your crop. Generally you need about one bag of soil per container. Again, be careful to avoid compost.
But if you want to supercharge your efforts, you can use a slow release fertiliser like Tui Enrich Vege, Tomato, and Herb. You'll be able to use this in your other containers as well.
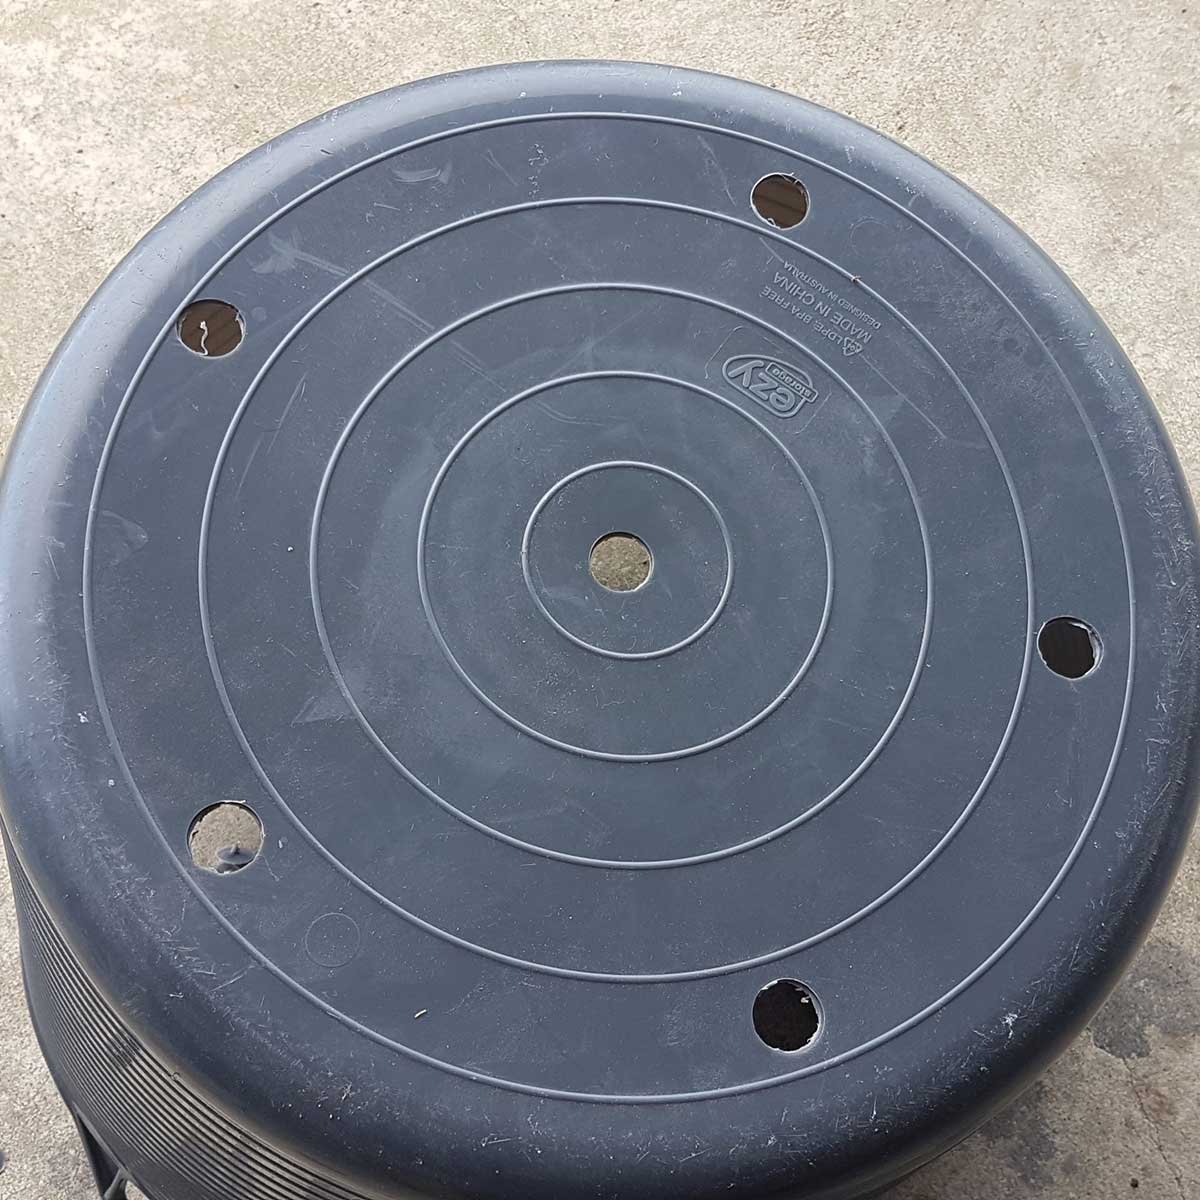
One of my favourite containers for potatoes is 40 litre flexi bins with some holes drilled into the bottom (shown above). They can take 4 or 5 seed potatoes.
You can also get potato growing bags, complete with a wee flap to make harvesting easy which will do 3 or 4 seed potatoes each, with two bags in a pack.
In 2021, I was given two Apache potatoes, and I planted them in a 10 litre bucket with holes in the bottom.

Apache potatoes planted in a bucket. The potatoes were just covered, then watered in.
In the years since, these potatoes have done so well that they've just become feral in our garden.
I'm not even sure how that happened, but it began with these two planted in a cheap plastic bucket.
When to plant potatoes
In most parts of the country, it gets warm enough to plant your early potatoes in about September. The key thing to know is your last frost date.
Potatoes won't survive a frost, so if one may still appear, it would pay to find some kind of covering for them. Frost cloth or clear plastic will do the trick.
I plant my early potatoes in the middle of winter because I can in the Far North. But in 2020 I learned the hard way what a very light frost can do.
So I am now more cautious and either stay on top of my mulching until I'm confident frosts are done, or use frost cloth.

Protected beds in 2018 - using PVC plastic on cloche hoops.

2021 beds - protected with frost cloth on cloche hoops.
You can plant between your last frost date and about January.
Keep in mind how long your particular potato variety is predicted to take to reach maturity, and when your first frosts usually arrive. If you plant Agria in January and your first frost usually arrives in March, you might run into some trouble towards the end there.
If that doesn't leave you much time to stagger your "earlies" and your "main crops", you can plant them both at the same time—your early varieties will mature first, while you wait for the mains to die back for longer-term storage.
 Kat's Garden Guide promo image. Launches 16 August 2026.")
How to plant potatoes
Basically, if you cover your potatoes in soil, they will grow. When they are sprouting in your cupboard, they are trying to grow.
But there are a couple of tricks to making your harvest larger. It pays to know how a potato grows.
Firstly, those sprouts are stems, rather than roots. They should be placed facing up.
The plant will not send potatoes down below the level of the seed potato. Wherever this seed is planted will be the lowest part of the plant. All potatoes it produces will grow at, or above this point.
This is why my grandpa grew his potatoes in trenches about 10-15cm deep—a technique that works for us. It allows us to start below the surface, and grow up.
Space your rows 30cm apart, and the potatoes within each row 20cm apart. If you're growing in pots, give each potato at least 20cm of space around it.
This gives plenty of room for your spuds to spread out. Once they're in, they need barely covering.
The first month is when most of the work happens with your potatoes. When planting, leave them 2-3cm below the soil. Barely covered.
Then, as they grow, you begin the process of 'mounding'.

2021 Jersey Bennes placed out in the trenches. Look closely and you can see some of them have been cut in half.

The seed potatoes are planted just a little below the soil level of the trenches. Soil from the trenches is mounded to the sides to use later.
Mounding your potatoes
When you see leaves appearing at the surface of the soil, bury them.
If you're growing in trenches, you'll have some soil available for you to do this, but I also use aged grass clippings.
To begin with, the leaves will be small. But you'll find each time you cover them, they'll come back twice as fast, and twice as large.
Keep going until your container is full, your plants start flowering, or you find it really difficult to add any more soil—whatever happens first.
Mounding like this encourages potatoes to grow up the stem of the plant under the soil, increasing your harvest. It protects the plants from wind and frost damage as well.

Some mounding has been done to get them to this size, but it's time to add some serious soil around these babies.

I used the rest of my soil from the trenches, and added some compost to mound them up completely.
Mulching your potatoes
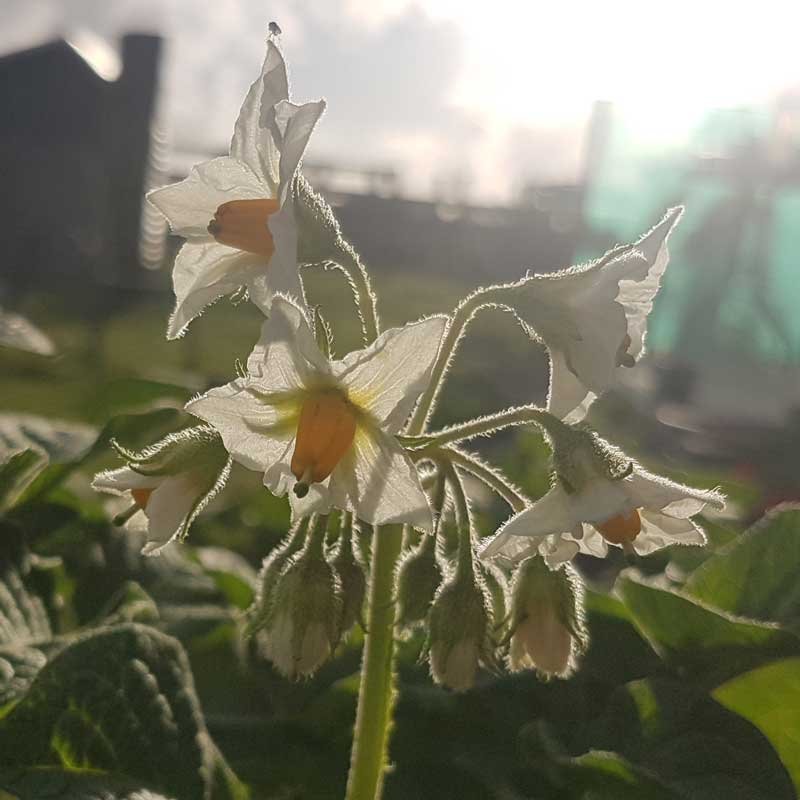
Not all potato varieties flower, but when they do it means they are producing tubers below the ground.
This is a really good time to add a thick layer of mulch. I usually use grass clippings that I've allowed to rot down for a week or so because it is very freely available to me. But pea straw is also a good option.
This helps stop any tubers toward the top of the soil from turning green and becoming inedible.
We lost about half of 2020's main harvest because I was too lazy to do this step. It was such a stupid mistake, I haven't made it again.

When can you harvest potatoes?
You can use the Morton Smith-Dawe chart to check whether the variety you are growing flowers, and how long they take to mature.
Flowers are an easy sign that you can probably have a fossick amongst the soil for some fresh baby potatoes. If your variety doesn't flower, then you can try about a month before their 'maturity date'.
For your early potatoes, you can go hard from this point. Once the plants die back, the spuds should be OK in the ground for a month or two—just make sure they are well mulched and grab them for dinner when you want them.
If you're planning to store your potatoes, you'll need to let the plants die right back before you lift them. As part of this process, the skins of the potatoes will harden, making them ready for storage.
You can read more about how to harvest and store potatoes in this post.

READ NEXT
Harvesting and storing potatoes
After you've grown your potatoes, it's time to dig them up and keep them safe until you can eat them. Here's how!

READ NEXT
Choosing seed potatoes
Still wondering what type of potato to grow? Or what the heck 'early' and 'main crops' are? Check out my guide to seed potatoes.
Related content: Agria · Apache · chitting · cloche hoops · containers · frost · gardening · gardening advice · grow guide · harvest · home grown · mounding · mulch · planting · potatoes · seed potatoes · summer gardening · vegetables
Stay in touch?
The Kat's Garden newsletter gives readers an extra peek behind the scenes. It's the best way to know when new posts go live, and what's happened since.
If you like what you've seen, join us and see what we learn next.

Hi Kat,
Hope you are both well.
Have you any source for Moringa plants or seeds. Arnie would like to grow them. Its a green leafy veg common in the Philippines.
Cheers Rob
Looks like there’s a few sellers on TradeMe – search under Marketplace > Home & living > Outdoor, garden & conservatory > Plants & trees to filter out all the extracts.
Hello Kat.
Thanks for your newsletters and the excellent potatoes-for-beginners. Wonderfully clear and comprehensive. Almost no beginner knows that they only grow up from the tuber. And often don’t believe me when I tell them.
Containers: If you put holes in the bottom, you need to sit them on bricks so the water can escape. I drill holes around the entire periphery of the outside of the container, as close as I can to the bottom. That way, even if they are sitting on the ground, the water will drain.