I’ve been worm farming for years now. I don’t have a lot of regrets in life, but I do regret not learning about these amazing little creatures and all they can do much sooner. They’re great now, but they would have been brilliant when I was renting and had a little container garden.
Worms take all kinds of household scraps and turn them into powerful fertilisers and soil conditioners. They reduce your waste bill; your fertiliser bill; and they increase the health of your soils and plants – which can help with the grocery bill as well.
What’s not to love about worms?!
I’ve been working on a ‘Deep Dive’ into worm farming for my followers over at BuyMeACoffee this month. As I was working through a pile of research and products, I was hit by an idea.
It turns out it’s not an entirely original idea, but I did think of it independently in that moment. And I think I’ve added a twist that might make it more original.
It was an idea for an in-ground worm farm made from a piece of PVC pipe I’d spotted under the cabin. A lot like a Tui Worm Tower, but different. And without going anywhere or spending any money.
It was time to get crafty.
Soil improvements
My garden beds are all a bit different. The three beds at the top of the rise are ‘bony’. They have a beautiful soil texture when moist, but they’re frequently hard and dry. They have a few too many rocks, and definitely not enough organic matter.
There’s only about 20cm of top soil before you hit clay. Crops don’t do as well at that end of the garden. The bed I ended up using is actually one of the better ones – but it was the least weedy, so I could get going quickly.
I am a lazy gardener. I like to try and be clever about things in an effort to save myself effort, and I don’t want any ongoing maintenance beyond feeding my worms. In an ideal world, the worms will go to work for me improving the soils of the entire bed by spreading their vermicast naturally, rather than just hanging out in the pipe.
I feed the worms, they feed my garden bed. That’s the deal here.
I planned to make use of an abundant resource (weeds and garden waste) as my worm’s food, with zero ongoing maintenance.
Refining the idea
In my research I learned a few things that I decided to experiment with in my design.
If I get it right, my worm friends will begin spreading the finished vermicast further out into the surrounding garden bed perpetually. I’m relying on a concept I’ve learned about called ‘levelling’ – where worms want to level out the scraps in the worm farm with the soil environment around them.
I came across a worm farm available in Australia called the ‘Little Rotter’. It’s designed to sit directly on top of the soil in your garden. Small holes in the base allow worms to access both the bin, and your garden.
The idea being that the worms will more effectively distribute scraps throughout the soils of your garden bed because they like to ‘level’ out the soil, which means they need to be moved from the bin, into the soil.
It never fills up because the worms are busy digesting it and trying to make it the same level as the surrounding soil. It’s kind of genius! Its maker also has one of the better guides to worm farming I stumbled upon in my research.
One thing my pipe doesn’t have is the surface area of a Little Rotter – and I still wanted to go below ground to give it stability. But as I listened to the rains of an atmospheric river being dumped on my roof, I decided I didn’t want it to go too deep into the ground. It’s possible it could just sit with water in it in the wetter months, resulting in drowned worms.
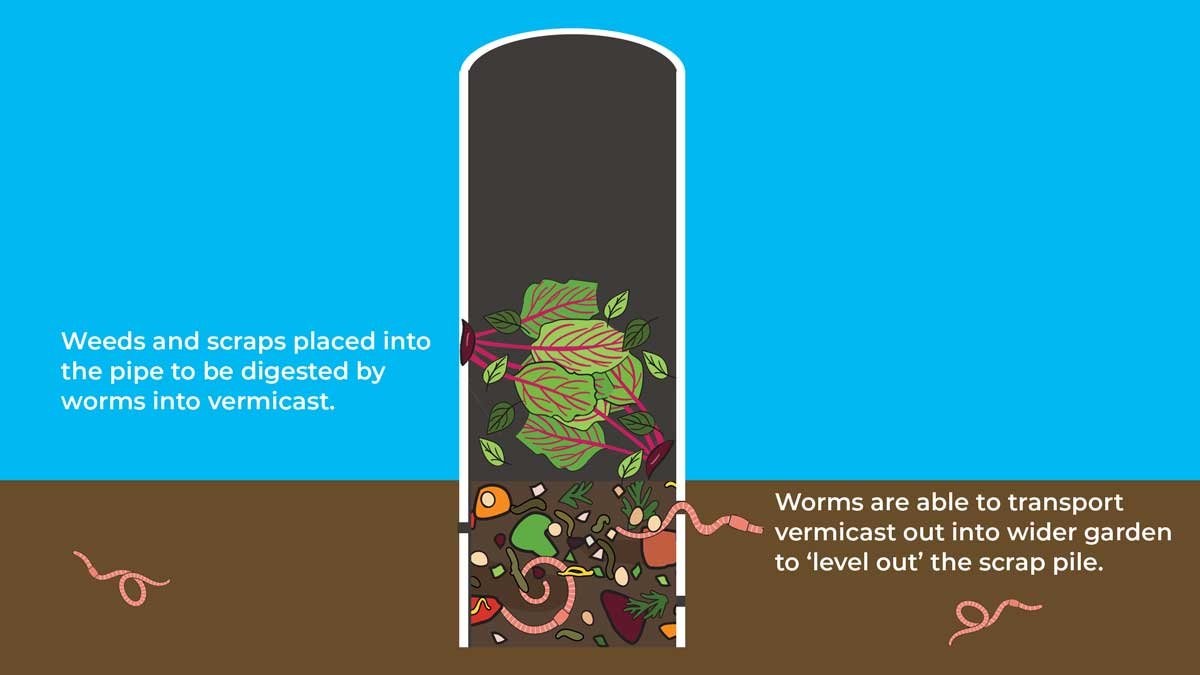
So about 15cm of the worm farms were to be buried – with holes on the side of the lowest 10cm. That left about 25cm of pipe above the ground to fill with food for the worms to ‘level out’.
I was a bit worried about light in that top 25cm, but I had a plan to test it, and ultimately I didn’t need to worry about it.
Getting crafty
I found the piece of pipe underneath the cabin. It had a 10cm internal diameter and was 124cm long. Enough to make three 40cm worm towers. I’d be able to bury them every meter or so down the center of my chosen bed.
I marked out my pipe, found an 8mm drill bit, and went out to my grandfather’s legendary vice.
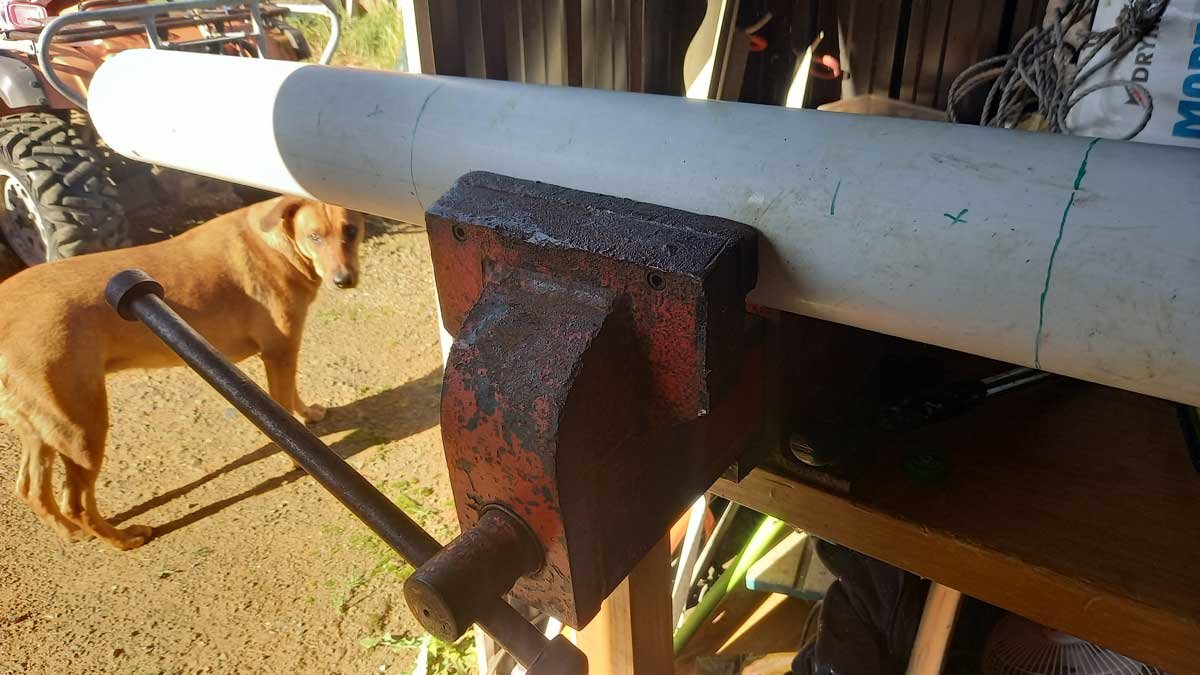
First, I cut the pipe into three pieces with a circular saw. Then I drilled holes in the lower 10cm of each pipe.

I thought about sanding them, but to be honest I’d created enough microplastic getting to this stage. I didn’t think the worms would mind if it was a bit rough, so I skipped that.
Burial
The holes aren’t that deep – about 15cm. I spaced them roughly evenly up the center of the bed.
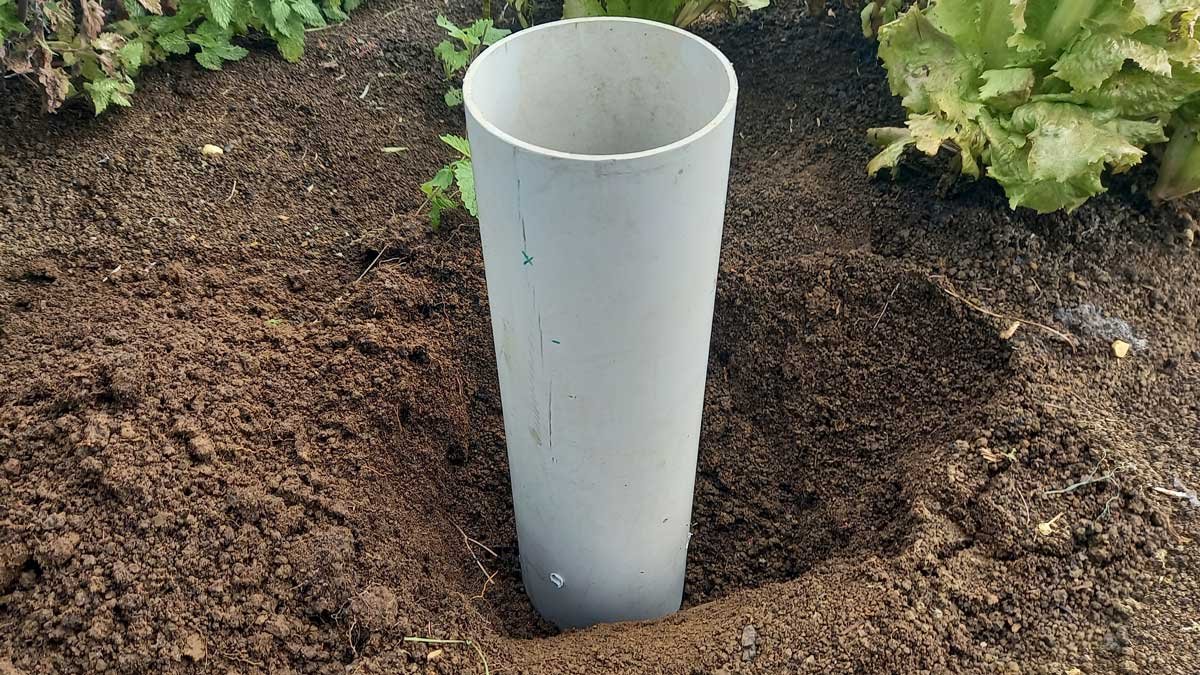
Once the worm farm was buried, I just wanted to double check that it was dark in there. So I popped my phone camera on to record video and stuck it inside. The footage was pitch black, so I took that as confirmation that it’s dark.
Then it was time to move my little buddies in.
Moving in
My bathtub worm farm has been reset fairly recently, and I topped it off with pine shavings and chicken manure from the chook house.

Some people say don’t put either of those things into a worm farm, but it’s densely packed with worms, making it easy to grab a few handfuls to populate the new bed, complete with bedding.
I decided to start the new worms at ‘level’, so I filled the pipe with worms and bedding to the soil line.
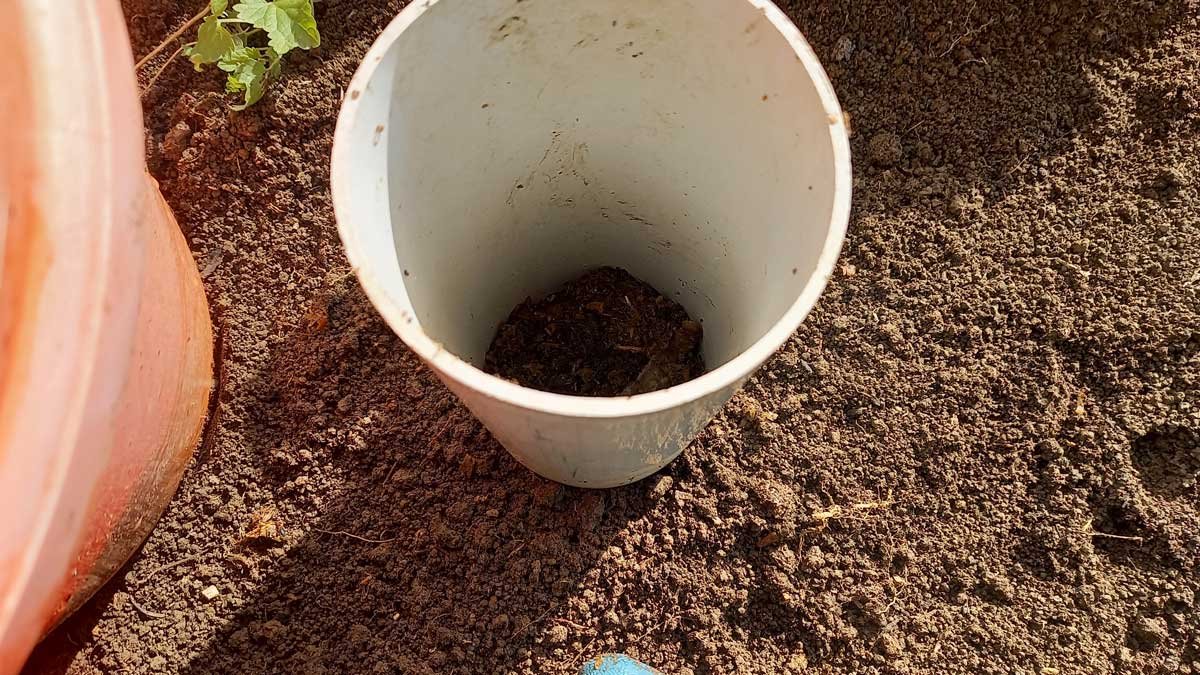
Then I topped it off with the plants that were sacrificed to install the worm farm, as well as a few weeds.
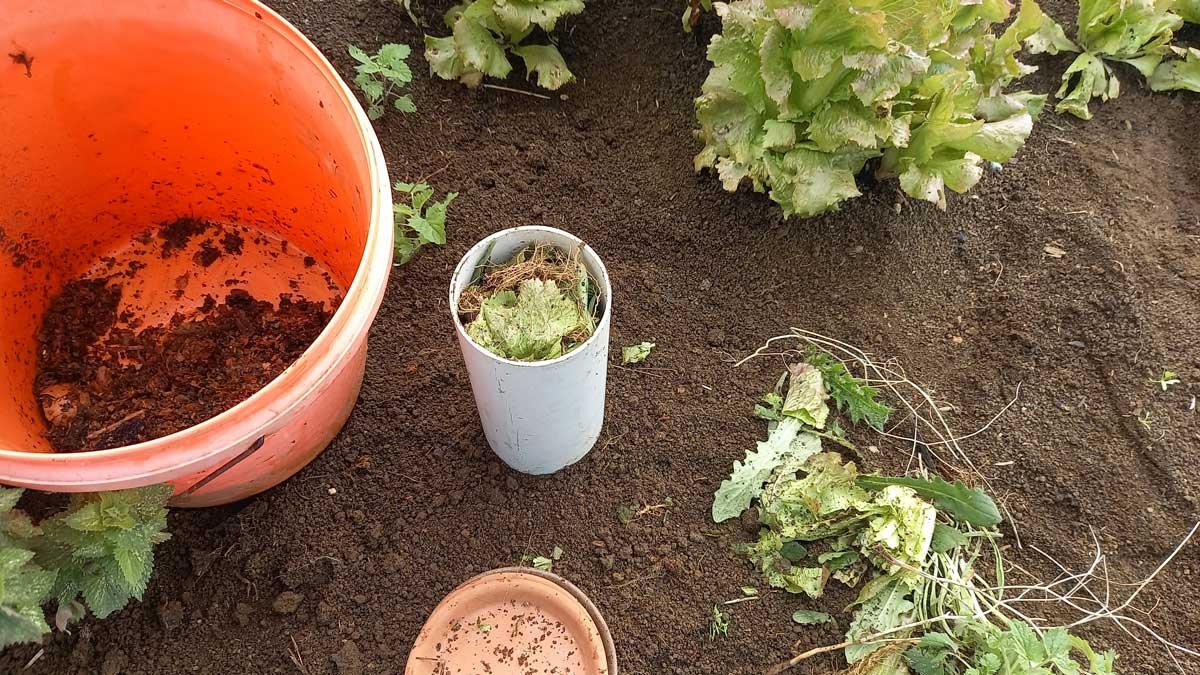
The garden definitely grows more weeds than these pipes could ever hold, so it seems like a win-win solution. I cut off the roots and chopped up the bigger pieces. I was careful to avoid feeding weeds that could grow from plant fragments, or any seed heads.
Finally, I topped it with a terracotta saucer lid. These fit perfectly and should keep the worms happy away from excess rain and light.
What the future holds
That’s quite a lot of food for a new worm farm, but between my little buddies and natural decomposition, it should reduce pretty fast.
From here, I’ll top them up as I’m weeding the garden. The bed next-door is a horror show I’m currently procrastinating so there’s no food shortage for them.
Hopefully, over time the worms will aerate my bed, add organic matter, and help to improve drainage. It’s a very long game. These worms will need to settle in, breed, and eat quite a lot before I’ll notice their work in my produce.
Chances are, I’ll see them working the bed before then. I think my first sign of it working will be a noticeable increase to the worm numbers in the soil. But we’ll have to wait and see.


This is so cool! I don’t have big enough garden beds for this to be practical, but still would be fun to try. Sent this on to my step daughter who is just getting into worm composting.