About once a year the worm farm gets too full to use. We chuck all manner of household scraps and organic rubbish to the worms, but when we run out of space, it’s time for a re-set.
This week, it was time. I got to work emptying our bathtub-sized worm farm entirely, then putting it back together again.
Deconstruction
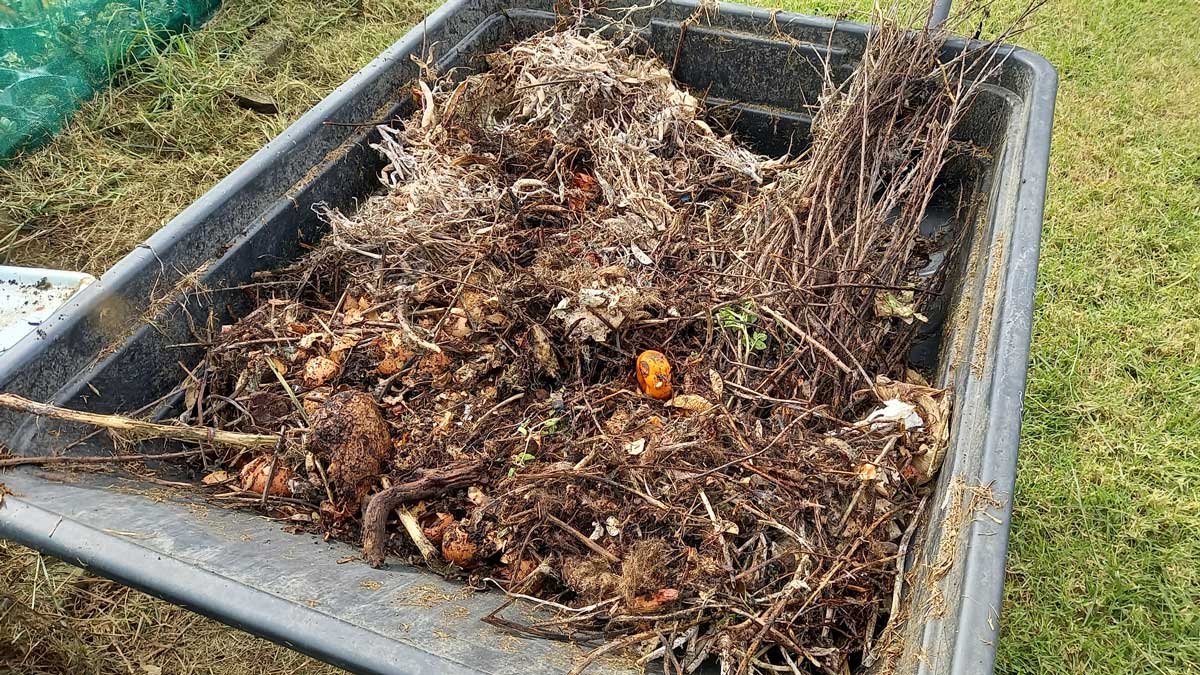
At the top of the worm farm is a layer of matter in the early stages of decomposition. It’s almost a mulch layer. It’s been put into the farm most recently. I begin by scraping it all off and putting it aside in a wheelbarrow.
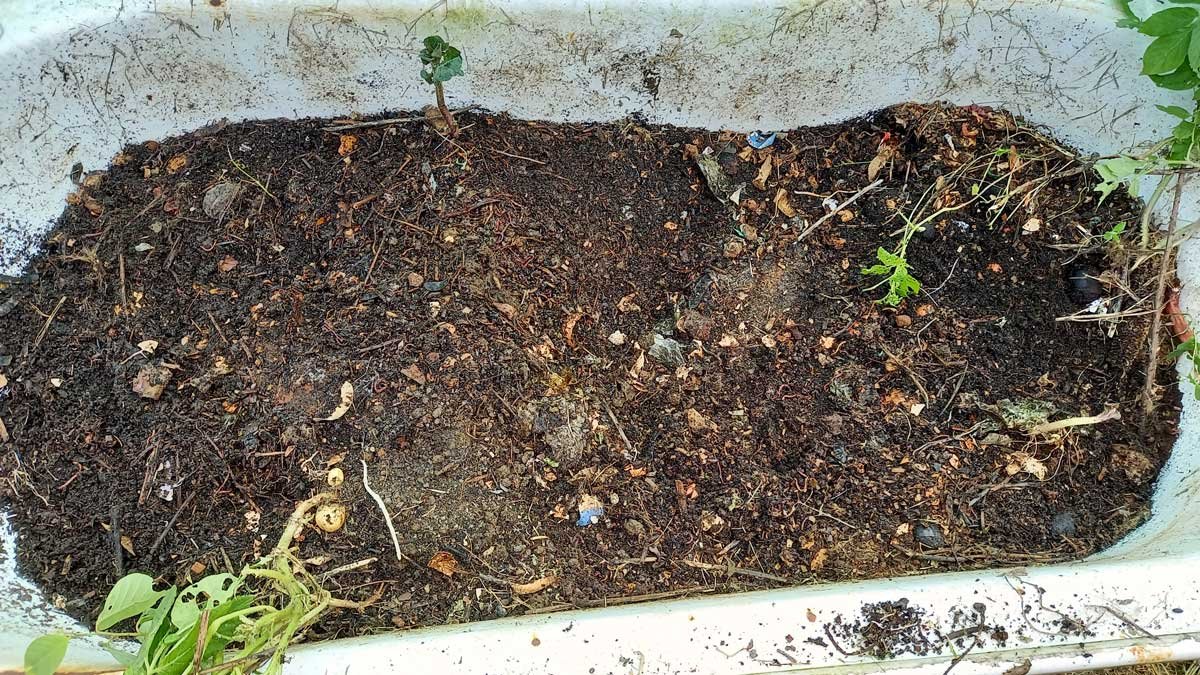
Just below that is a layer of half-decomposed matter. This is where you see the most worms.
Again, I pulled out the stuff that is big, bulky, or recognisable (or which is actively growing). It all goes into the wheelbarrow too.
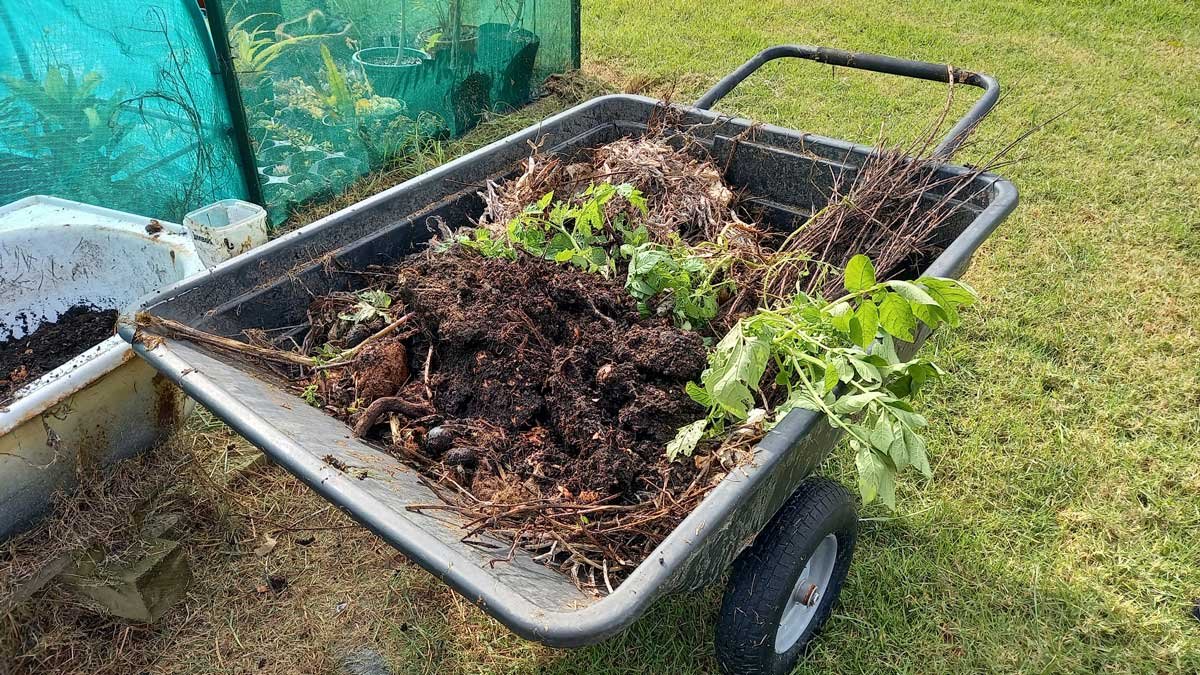
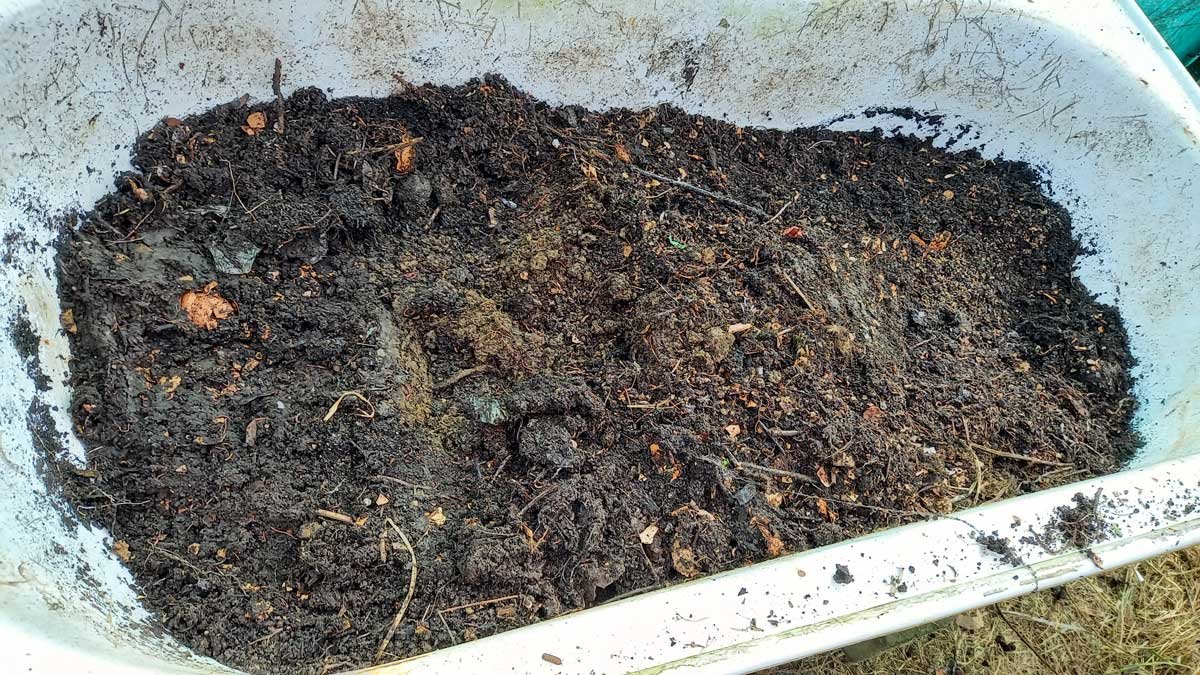
Eventually, I’m left with about half a bathtub’s worth of solid vermicast. As you dig further down, you get fewer worms, so I take about 5 spadefuls off the top and put it into the wheelbarrow too. The worms in these scoops will be the ones to re-populate the worm farm.
Vermicast
The rest of the vermicast is going into the garden. It’s a wonderful soil conditioner and compost-substitute.
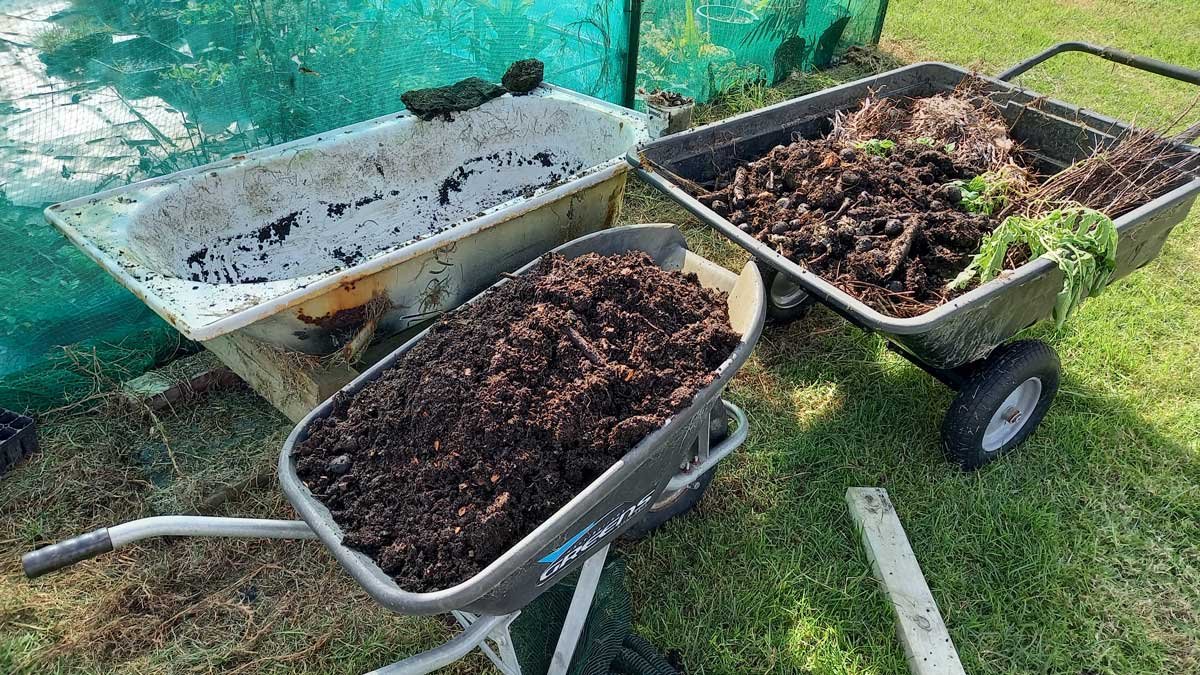
I scooped out all the vermicast into a second wheelbarrow. The I spread it out over a garden bed. I get about half a bed covered each year with vermicast from this system.
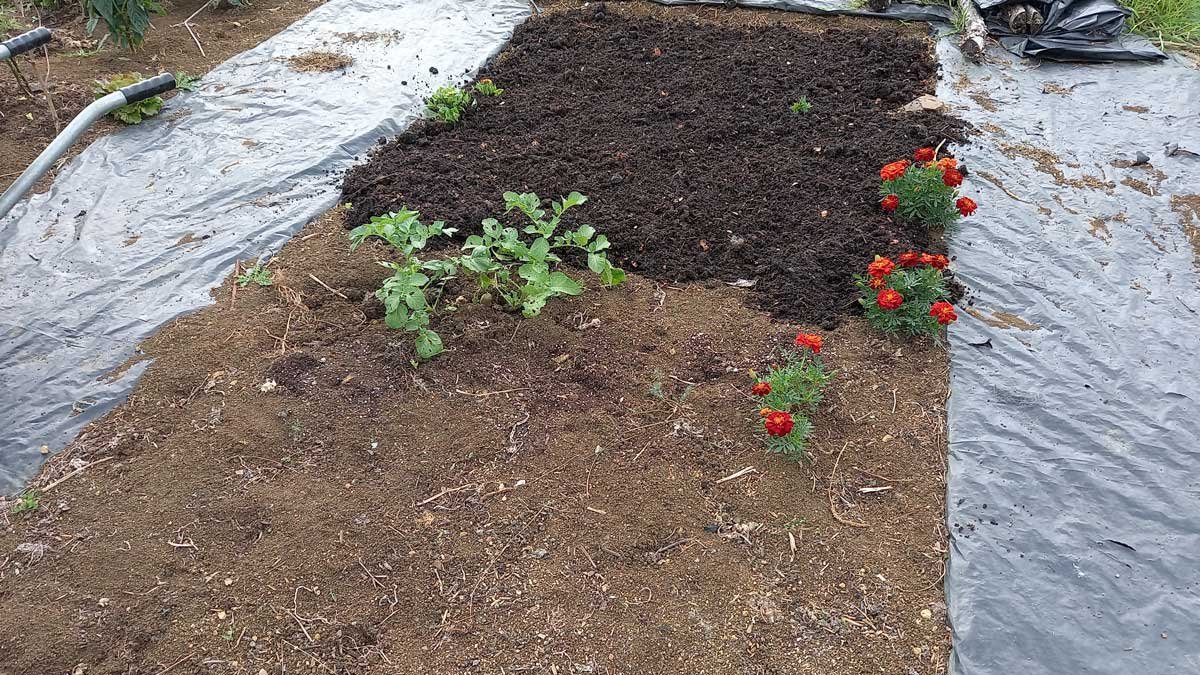
I don’t bother to dig it in – that’s what the worms are for!
Reconstruction
The first thing to do is to replace the plug filter. This is a piece of shade cloth wrapped around a piece of wire, held in place with a rock. It prevents the plug hole from getting blocked and drowning the worms in wet weather.
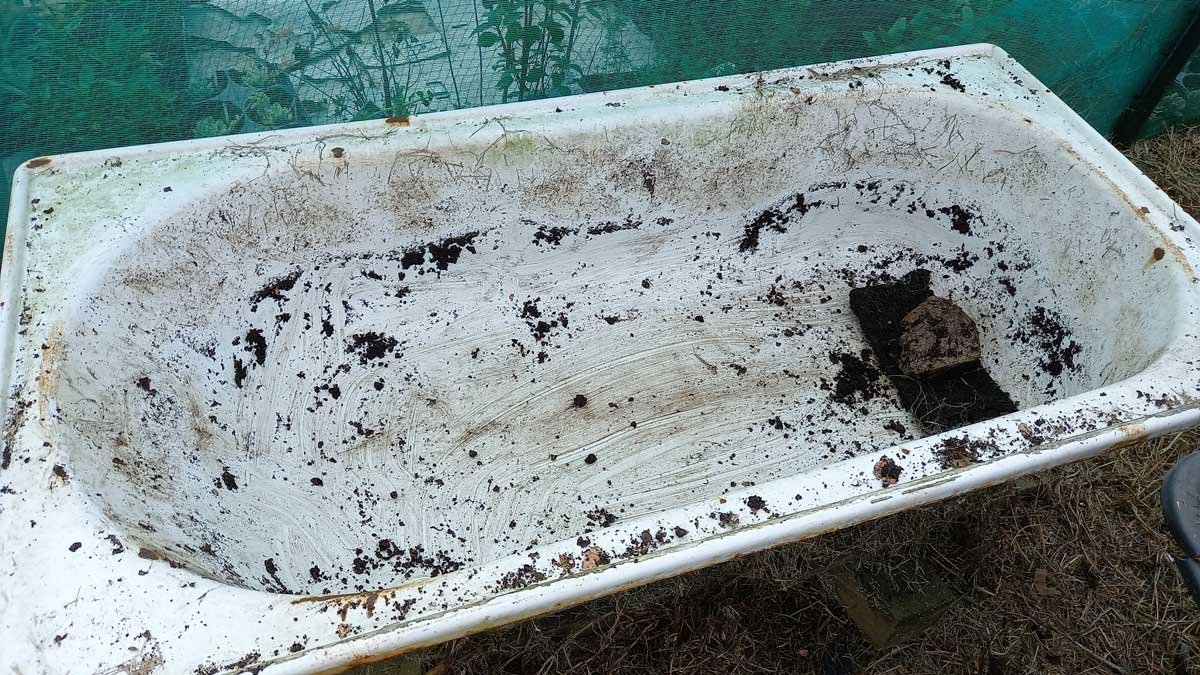

Then I need a bedding layer. There was a small planting of corn in the garden that needed to come out, so I decided that would be my bedding-layer this year.
In the past I’ve used grass clippings, cow manure, horse manure, and old newspaper, but this year it was corn stalks.
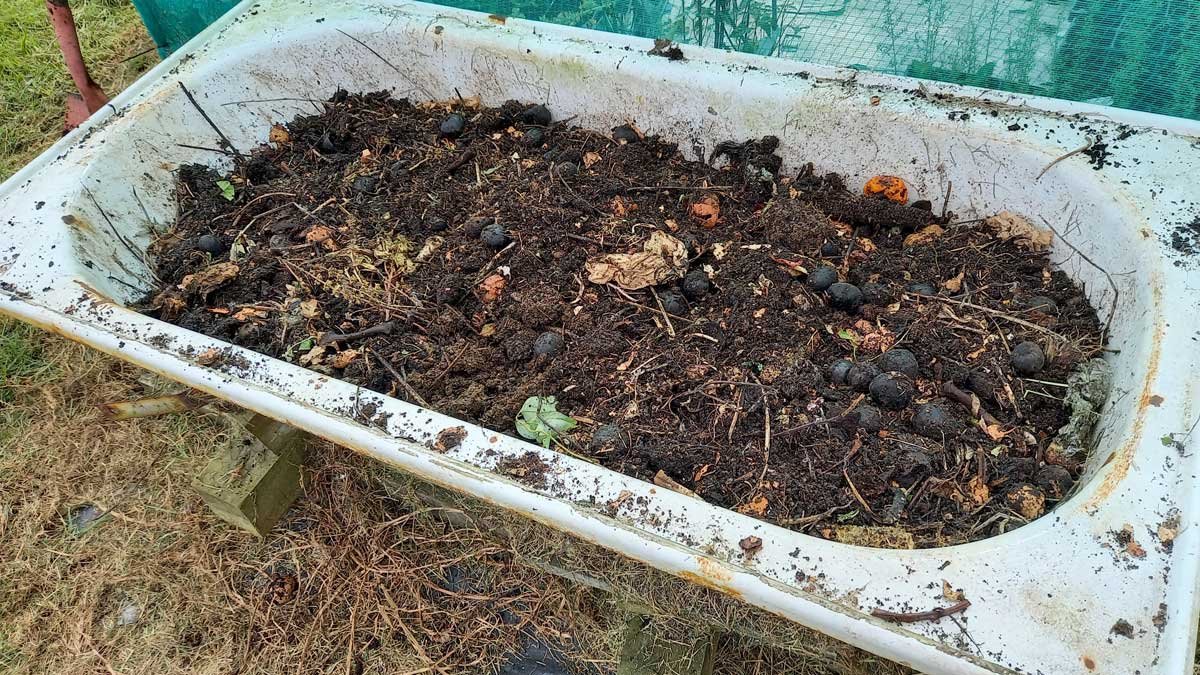
After the bedding, I add all the partially-decomposed material that used to be on top of the worm farm, followed by the vermicast. The worms are in there somewhere.
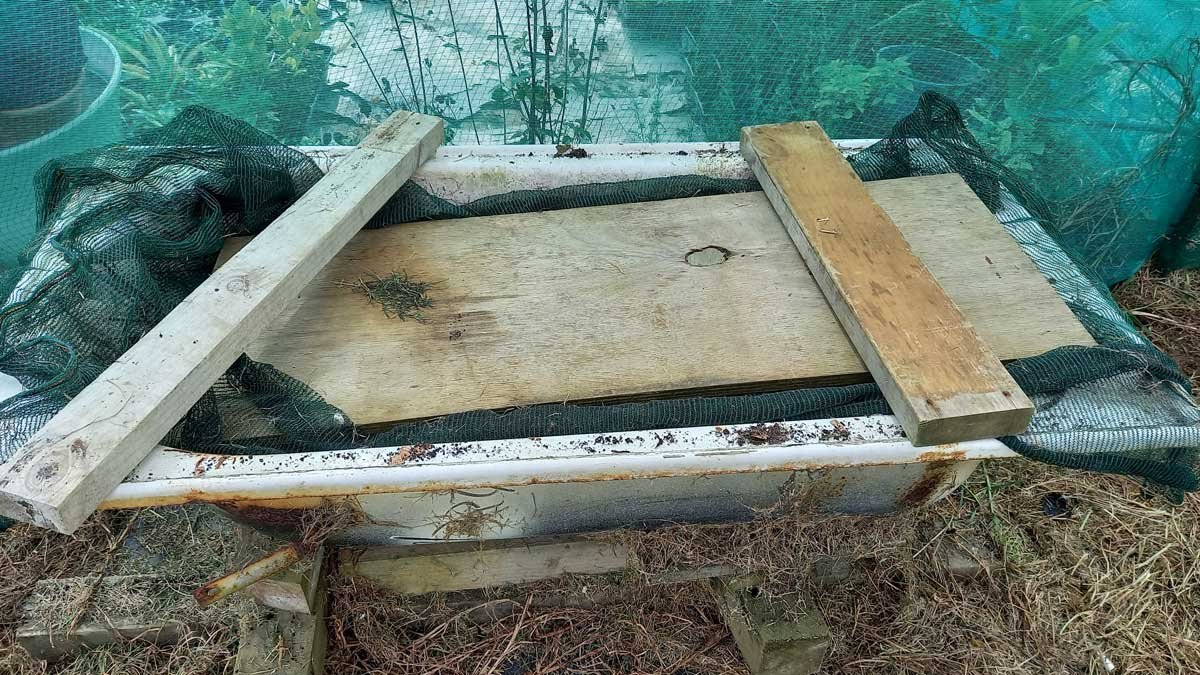
Finally, the shade cloth and plywood covers go on. The plywood became necessary when Hine moved in with us last year – she tends to treat the worm farm as a buffet without it.
And then, we wait
That’s about it for my work for another year. All I need to do for the next 12 months is continue to chuck my kitchen scraps and garden clippings in there.
The worms will use that time to re-build their worm-city from the organic matter we provide. The bath is still over half-full now, but that will shrink rapidly again as they get to work munching, digesting, and pooping it into nutrients for the garden.
We’ll keep up with them until we don’t; and then we’ll need to get out our spades and wheelbarrows and do all of this all over again.


Good Job Kat. Happy Easter to you and Richard.