As I was preparing for pruning this season, I took a look at my tools and wondered what I was going to do about them.
It took me longer than it should have to actually start caring for my tools. For a long time I didn’t really know what to do. I also inherited some tools that were in some pretty shocking condition.
They’d become crusted up with both mud and rust. They needed a good clean-up before I could think about using them again.
I’d been thinking it was going to be some massive effort involving some highly toxic (and probably very expensive) chemical, but then I started hitting some YouTube videos and learned white vinegar would probably do the trick. It seemed the clean-up didn’t have to be as daunting as I thought.
Gathering
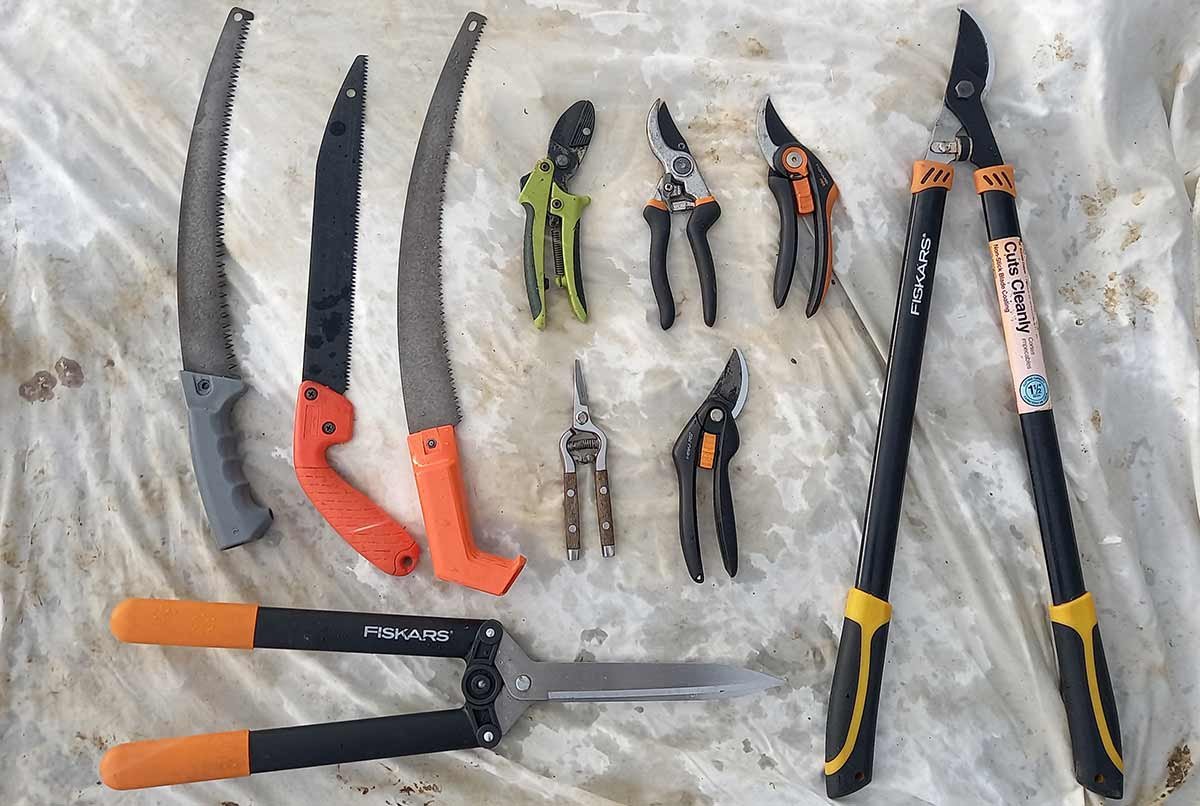
I pulled together all my pruning tools, even hauling out secateurs that I hadn’t used in years, but which had shown up during the garden shed tidy. Basically everything needed work.
The pruning saw blades in particular were long and they needed a much larger container than I would without them – and more vinegar. But they were in shocking condition so those pruning saws were the main things I wanted to de-rust!
I found an old storage container that wouldn’t leak, and estimated I’d need about 4 litres of vinegar. Both supermarkets sell 2 litre bottles of white vinegar for about $4 each, so I grabbed them on a trip to town.
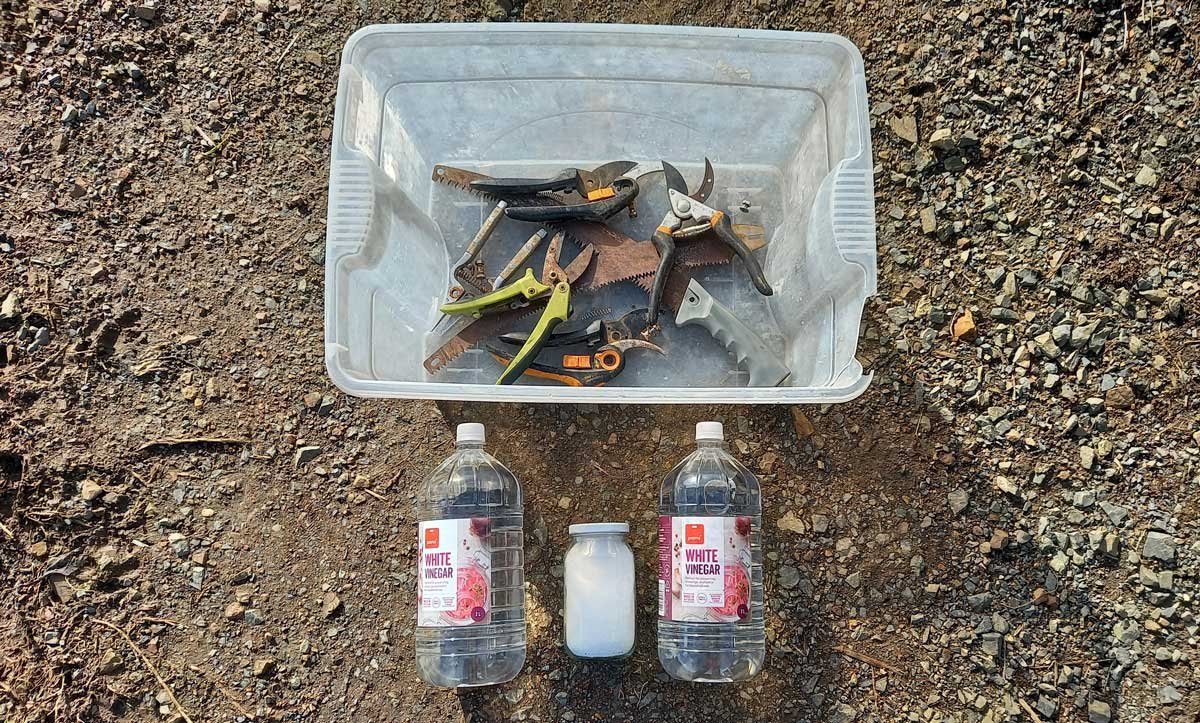
I already had salt, steel wool, rags, paper towels, and baking soda, so the only purchase required was the vinegar.
I figured I’d use CRC or WD40 for my lubricant, but Richard has recently inherited some good gun and small machinery lubricant in various small half-used bottles.

Looking at it, I realised it was pretty similar to the 3-in-One used in the video so I asked if I could use some of that instead. He agreed, which meant I was good to go.
The big soak
I dismantled my pruning tools as much as I could. It took way too long to find the basic tools required to do this bit, and that began a whole saga of tidying another shed. But before we began reorganising the big shed and everything inside it, I got my tools soaking.
I poured both bottles of vinegar dissolved 4 tablespoons of salt. Then I placed the tools and all their extra springs and screws in the solution.
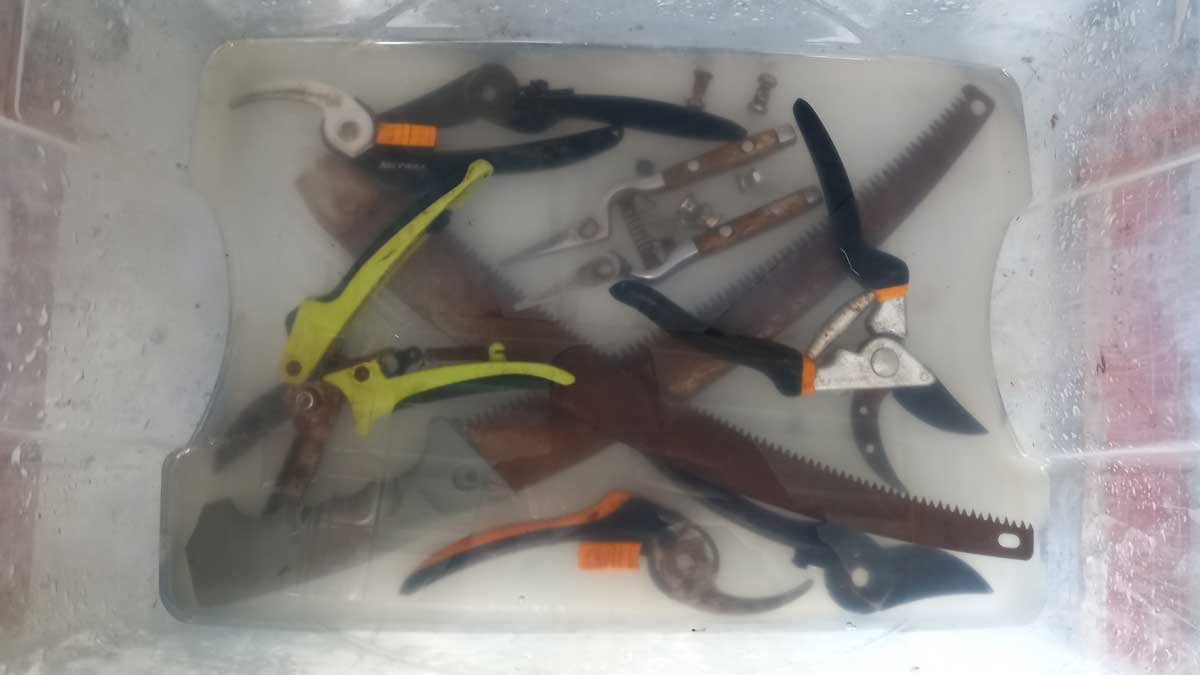
Then I left it in the garden shed overnight. It’s sheltered and there’s airflow. And I didn’t want the cabin stinking of vinegar all night!
The big scrub
The next day it was time to see how it went. After I dropped Richard off at work, I came home and pulled it out.
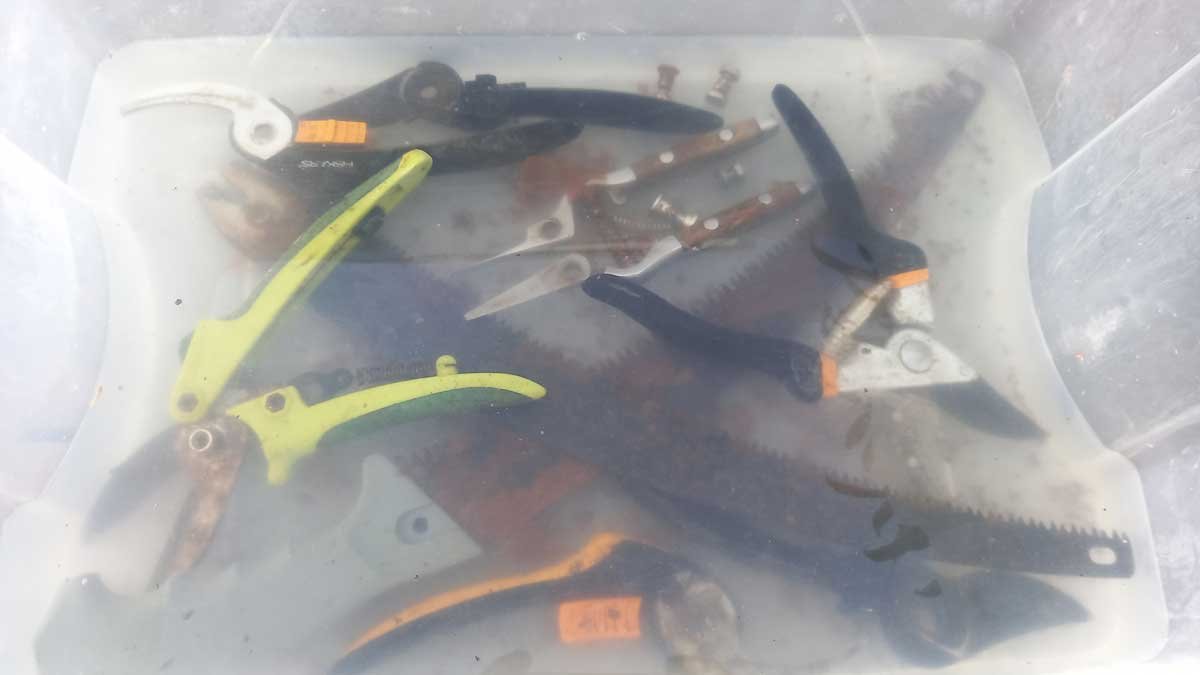
I got to scrubbing and the rust came off almost immediately. It was pretty incredible to see it in action.
For the most part the steel wool did the job. I also used an old toothbrush, but found myself wishing I’d picked up some small metal brushes too.
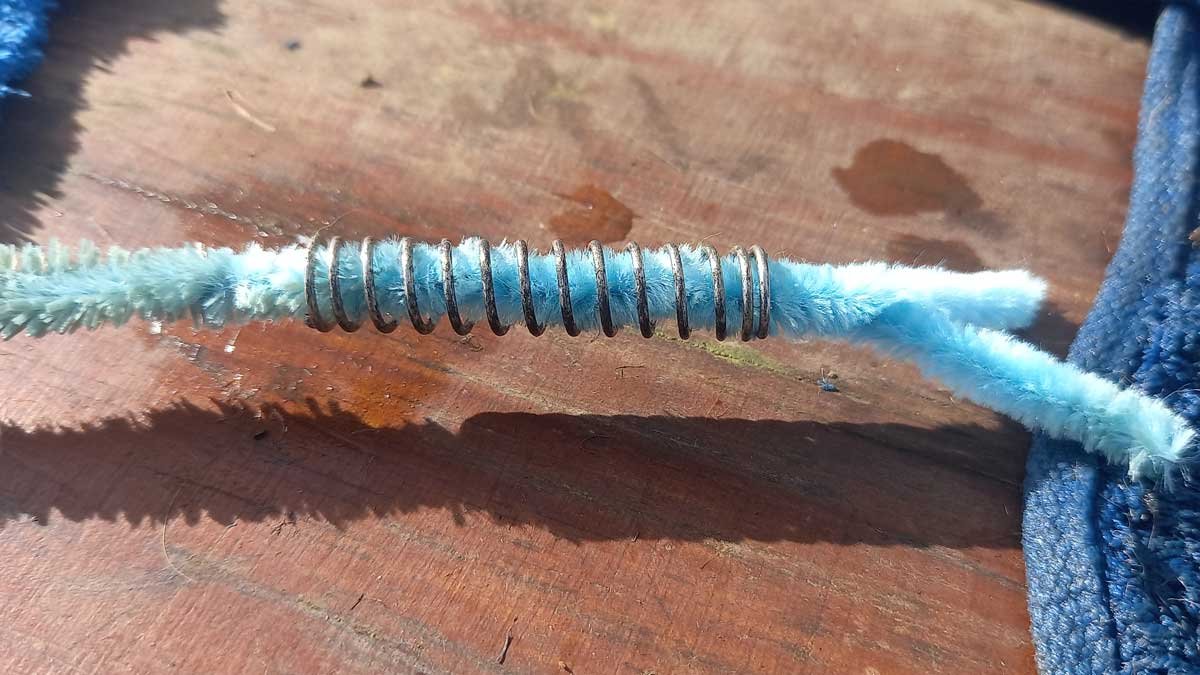
I found the easiest way to clean the springs was a pipe cleaner. I ended up using three – one for cleaning off the rust, one for drying off the water, and one for applying lubricant.
Once they each piece was clean, I dunked them in a bucket containing a solution of baking soda and water to neutralise any remaining acid on the tools. They need to sit there a few minutes before going into plain water – again, for at least a few minutes.
It pays to do one tool at a time. I learned when I got distracted that if you leave too much time between your soak/clean and your drying/lubrication that the rust will start reappearing again pretty quickly!
So keep them in the water and work one tool at a time. Once they’ve done their dunks, it’s time to dry, lube, and sharpen.
Lube it up
As each part came out of the water, it was dried quickly and reassembled using the gun oil to protect it from further oxidisation.
This step was fiddly. I’d recommend taking a photo of each tool before you disassemble it as more than once I was putting parts on back-to-front. But I’m pretty confident I got it all right in the end.
The gun oil protected the parts from any further oxidisation and they came out looking sparkly and new!
Sharpen
Once they were back together, I gave the tools a quick sharpen. I dug out an old sharpening set I’d purchased from Mitre 10 several years ago, but I’m not a huge fan.
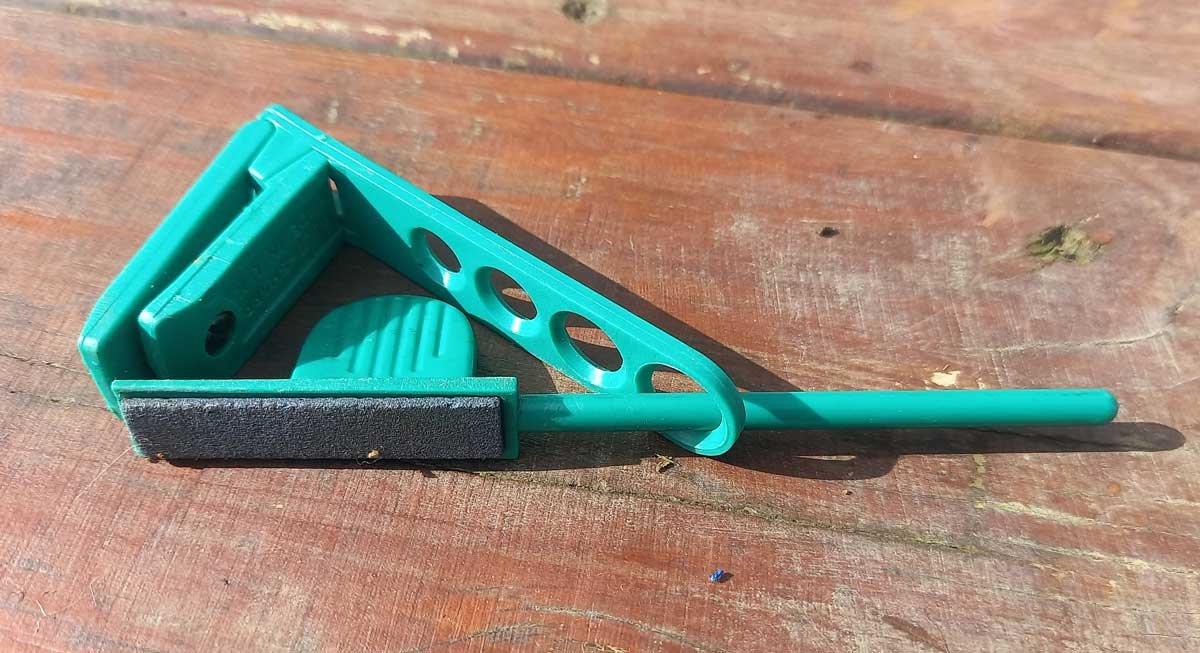
So I’m looking to get a carbide steel or diamond sharpening tool. But for now this is fine. They’re sharp. They all cut well. I’m ready to get pruning!
Results!
All the tools are practically rust-free now. Some of the results are more impressive than others.
I’m honestly most impressed with this tool. I always thought it was a Kent & Stowe, but I learned while cleaning that it’s a Joseph Bentley. I bought this for use in my first patio garden almost 15 years ago. I kept it even while I was petsitting and didn’t have a house, let alone a garden.
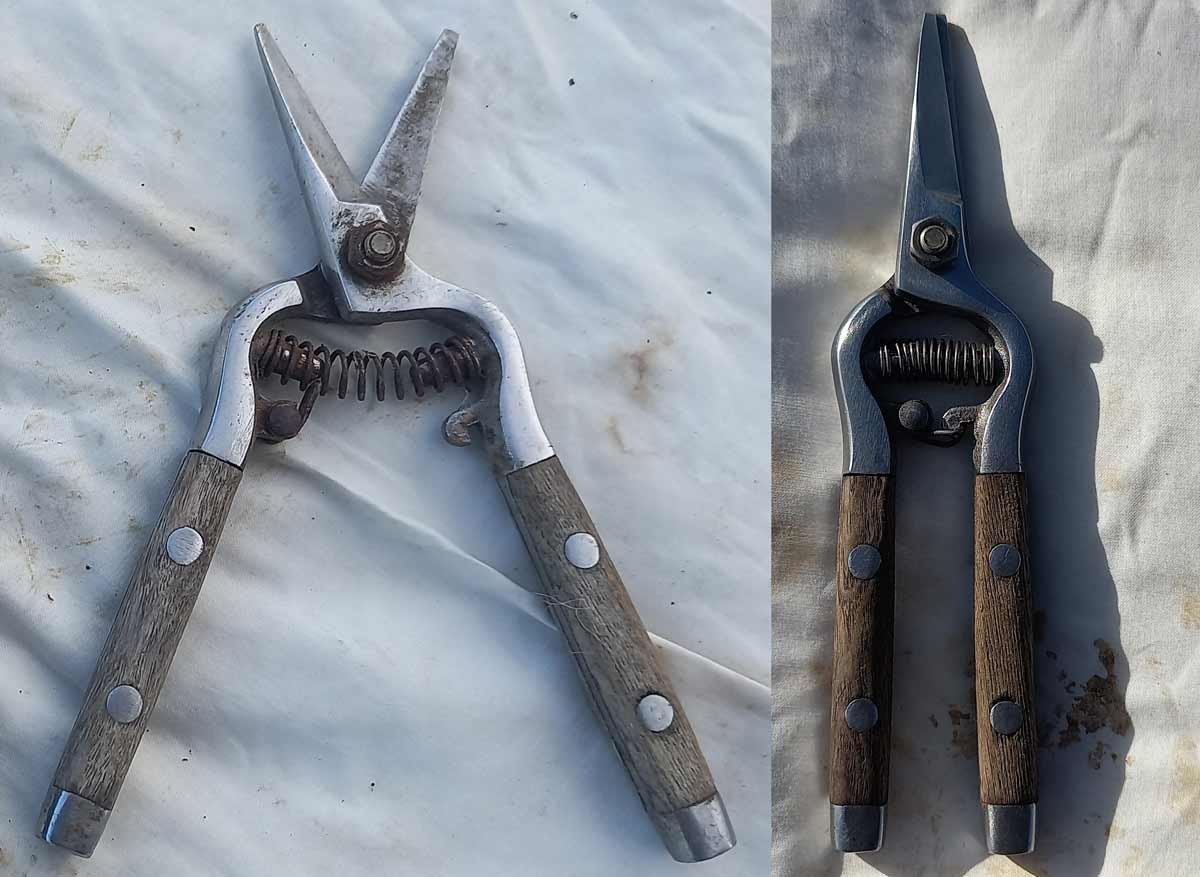
But it had crapped out with so much use and so little maintenance. The little piece of metal that holds it closed wasn’t working. I didn’t honestly see myself ever using this tool again.
But it’s in such good condition now! It’s probably going to be my favourite to keep in the house for harvesting herbs and other dinner ingredients.
Onto the next
I figured this vinegar still had some power in it, so I started working my way through a bunch of other tools we had about in various states of disrepair.
Slowly, our tool collection is beginning to sparkle like new again. And my magic chemical is a $4 bottle of white vinegar.
It’s taken a few hours of scrubbing and lubing, but I think that’s worth the hundreds of dollars worth of tools I’ve just saved from the dead. And I’m sure my fruit trees will be grateful for the effort as well.


