From the moment it became apparent we were going to purchase The Outpost, I knew we were going to need a shed. It was a priority right from the start.
I purchased it about a week after we moved up, but it has taken almost 15 months to actually erect. It turns out, I probably could have waited a bit and put some extra thought into the process, but that’s not where my head was at, at the time.
The shed isn't urgent. pic.twitter.com/oWFXUh0ezY
— Kat 👩🌾 (@katjnz) August 17, 2020
Arrival
I basically wanted the biggest garden shed I could build without a consent or a builder. That meant our shed is 3m x 3m. I set a budget, then blew it entirely to use a thicker, higher quality steel, with a longer warranty.
After ordering, I was told that it was being processed and they’d let me know when it was on it’s way. Except it arrived quite out-of-the-blue a couple of weeks later at my father’s in Whangārei. Not wanting to leave him with a flat-pack shed in his driveway, we drove down the next day to pick it up. It turned out that a 3m shed is… pretty big. And quality steel is really heavy.
Transporting it another 90 minutes north to The Outpost was quite the adventure. 3m was longer than the trailer we were using, and the journey home was slow, with a bunch of stops to check things weren’t going to fall off, and to tie them down again if they were.
But we got it here safely. We stacked it under the cabin, then got on with moving in and setting up our lives.
However, it didn’t take too long before I noticed the floorboards warping. It seemed it was necessary to get onto this project sooner rather than later.
Installing the floor
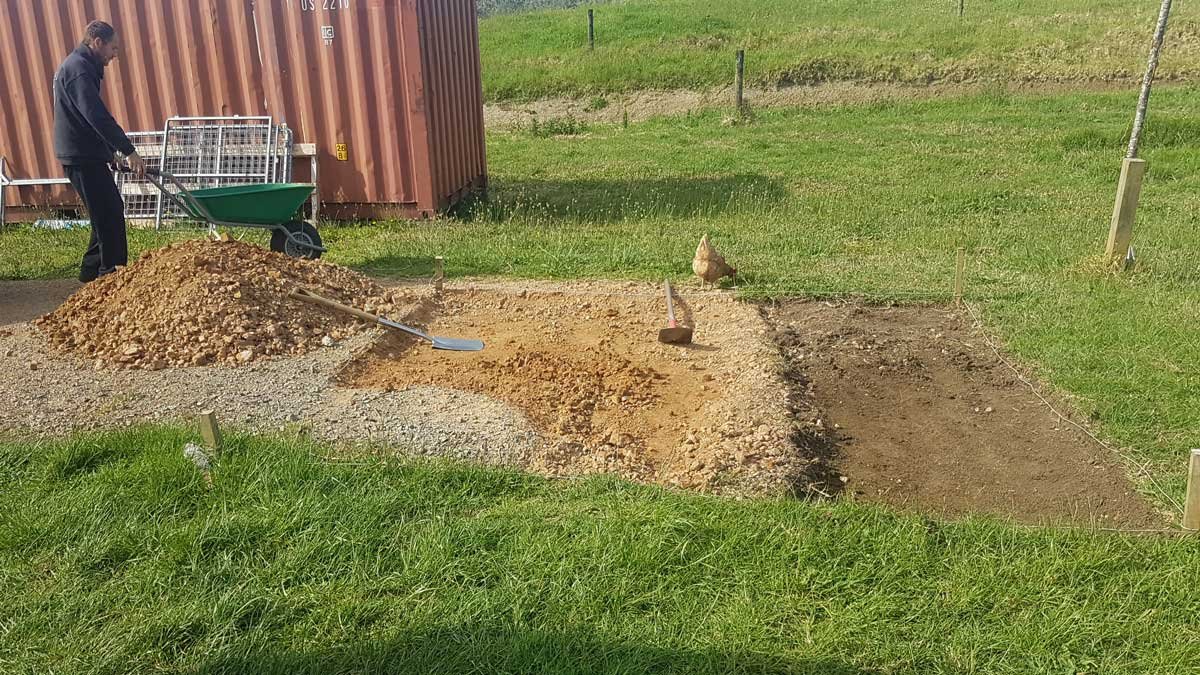
The designated location was not level to begin with. We had to dig it out by hand. I’m not going to lie: Richard and I have never fought about anything like we fought about the floor of this shed. It’s safe to say we both hated this job and disagreed about how to do it.


Eventually, we got it dug out, kind-of level, and built a mostly-square floor that was secured into the ground by eight 80cm warratah posts.
Building the walls
Over the next 6 months, we (mostly Richard), slowly put the four walls, two doors, and two roof-pieces together. The pile of loose iron kept getting smaller, while the pile of 3mx2m pieces got bigger. There were a few hiccups: the instructions seemed off, and it turned out they were for a smaller model of shed. Thankfully there were online tutorials, and Richard eventually found instructions that provided more clarity.
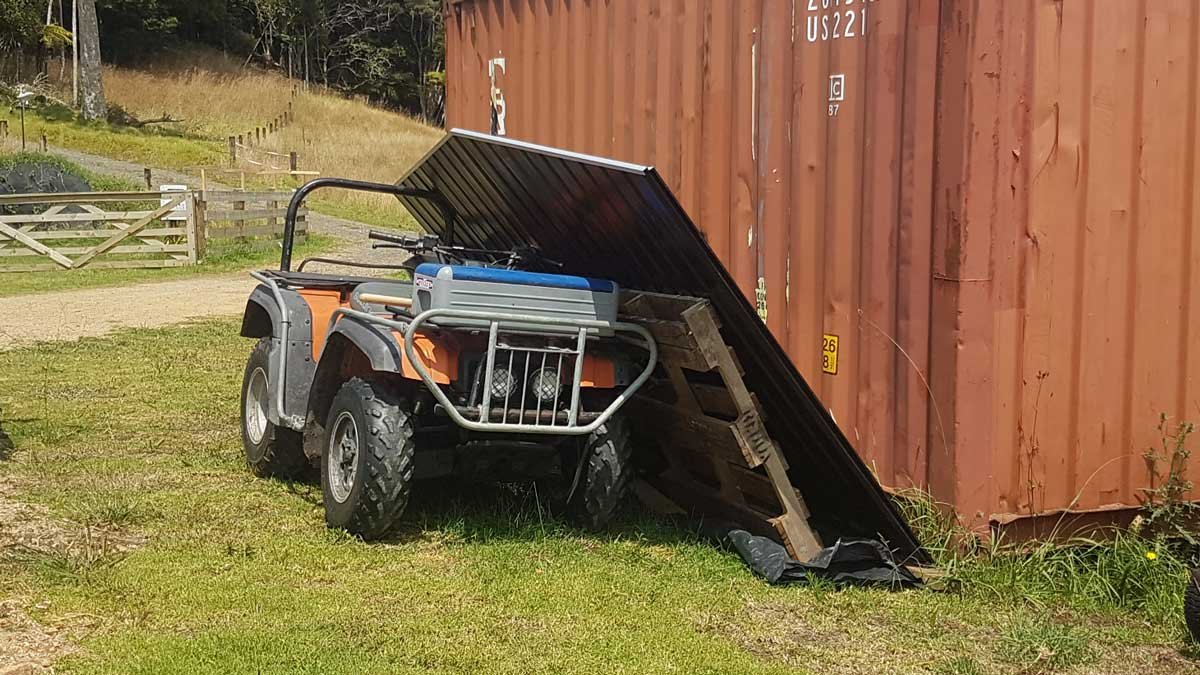
The 3m pieces were difficult to store with a lack of flat land. To start with, we tried storing them vertically against the container. They fell over a few times in the wind, getting dented and scratched along the way.

But in time, all 6 main pieces (four walls, two roof pieces) were assembled. And we came to the conclusion that we couldn’t finish putting the thing together by ourselves. The instructions say 2 people is enough. And maybe 2 builders would be enough. But we are not builders. And until we had at least one pair of spare hands and a ladder to help us, the shed wasn’t going to happen.
Waiting to assemble
2020 being what it was, we figured it might be a while. We stacked the pieces on top of the floor, held them down with large pieces of wood and some big rocks, and got on with other things.
It was frustrating – having this space, but not having it. There were some solid plans for it – I wanted my workbench and vice in there so we could work on projects and build stuff. It’s going to make a great spot to dry catnip. It might allow us to have a freezer so we can homekill one of our cows. Plus, it’ll make finding tools much easier if I can get them on a wall!
Instead, we walked and worked around it – a glorified flat-pack – for the better part of a year.
Helping hands
Over New Years, we invited some friends to stay. They offered to help us out on the farm in some way while they were here. I put some thought into what we might do, and the shed was right at the top of the list. We borrowed a ladder just in case.
When our friends arrived and the conversation turned to tasks, I suggested maybe the shed could be our project? To my surprise, they were positively enthusiastic about it. They decided we’d get on it the next day.
So at 7am, I was the first customer at Mitre 10, picking up a pack of tek screws. Somewhere along the line, Richard had decided that was the best way to attach the shed to the floor and they were the main thing we lacked. By 9am, everyone was up and fed, and work began.
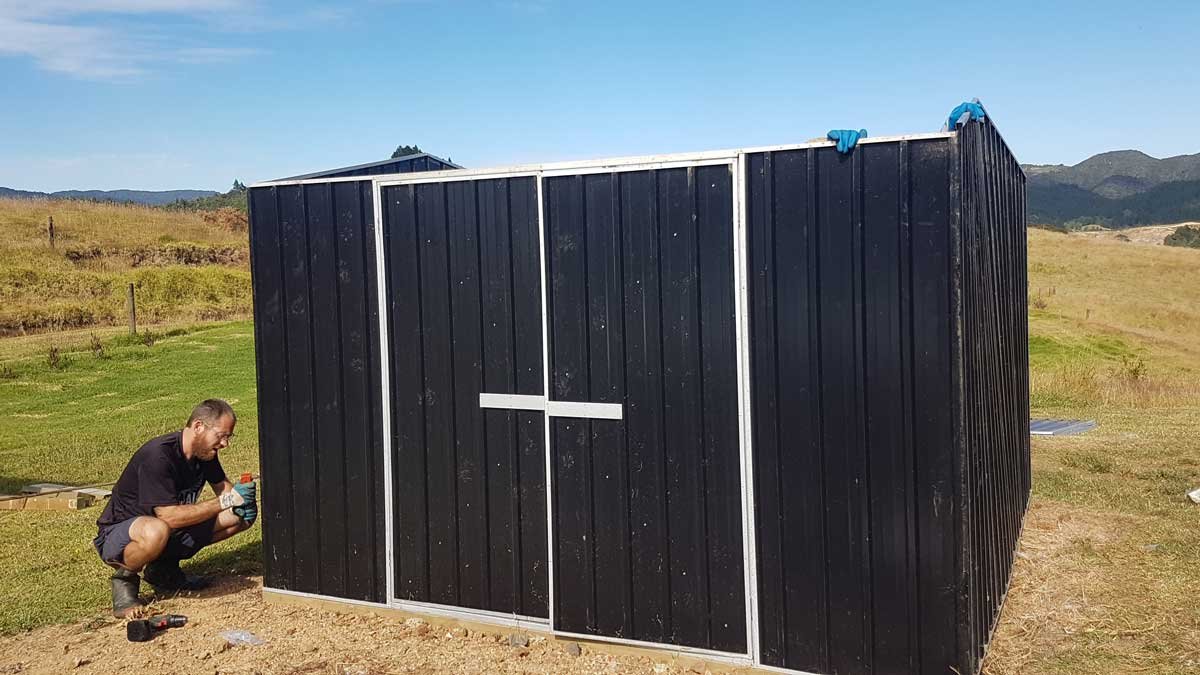
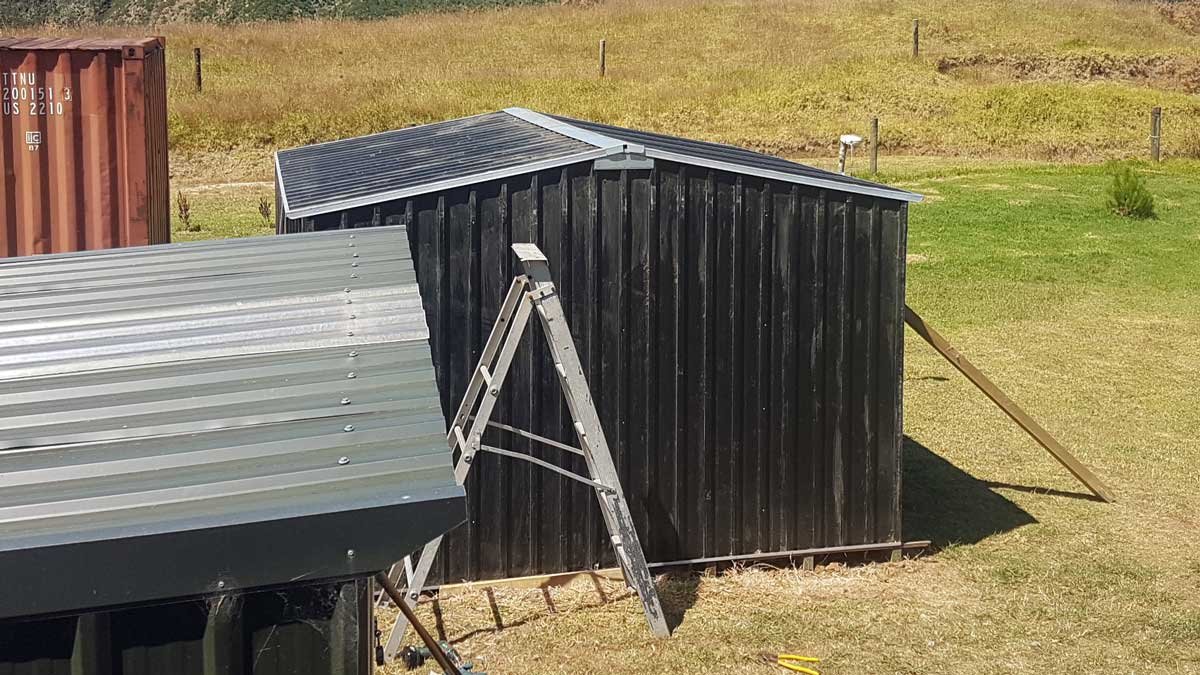
The walls went together. Then the roof went on. Then the whole thing was fastened to the floor. We took a break for siesta when the sun got high (and hot), then the rest of the rivets and screws went in over the evening and next morning.


For something with such a long build-up, it felt a little anticlimactic. Every time I see it, I still get a little surprise.
Not-quite-right
One thing I know for sure about our future house-build is that we will have absolutely nothing to do with building the foundations and floor. I’m up for being manual labour on my own house, but that piece of the build is going to be for professionals, and I will be happy to pay for their expertise. The shed taught me that.
The doors are a little off (because it’s not-quite square, and not-quite flat). We’re going to put in some timber framing to help hold the roof down more solidly and help straighten things up. But those are things Richard and I can do with just two people. The bit that seemed impossible is over – thanks to two amazing and willing friends.
The steel needs waterblasting. While we haven’t walked on it in the last year, the chooks, ducks, cats, and dog all have. And we’ll have to install a light because it’s very dark in there. It gets a lot of sun, it’d be a good candidate for a solar light.
It has been one of the most-procrastinated and hated tasks here for what feels like forever, but we have a shed. At long, long, long last, we have a shed.


