This week I planted peanuts in my garden. It’s an entirely new crop for me – a grand experiment.
For the last couple of years, I’ve been keeping an eye on a trial that’s been going on in Kaipara. Growers and MPI are experimenting with growing peanuts in New Zealand, with the aim of supplying Pics Peanut Butter with New Zealand-grown peanuts.
Northland in particular has the advantage of a long growing season – running from roughly October to May. That’s helpful because peanuts take a long-ass time to grow – up to 5 months.
Back in September, I purchased a bag of red peanuts from a seller on TradeMe. I sowed them indoors in mid October, so they should be ready for harvest around late March.
Why peanuts?
I have a handful of gardening mantras, but one of the most important is ‘grow what you eat’. And I really like peanut butter. I have it on toast for breakfast every morning and, along with coffee, it’s something I go through my fair share of.
So the idea of growing peanuts has been tucked away in my brain as an idea to try for a while. Now I’m feeling on top of the basics with our main crops all planted out and doing well, I decided it was time to play and try something new.
And peanuts are definitely something new. They are one of the most bizarre plants I’ve encountered. I’m really looking forward to watching this season progress.
Strange fruit
A pea-nut is more closely related to a pea or bean than to a tree-nut. It might surprise you to learn peanuts don’t grow on trees – they grow underground like potatoes!
After the plants flower (which I think I’ll see in about January), the flower stalk extends out and pierces the soil. Once buried, the tip of this ‘peg’ forms a peanut underground.
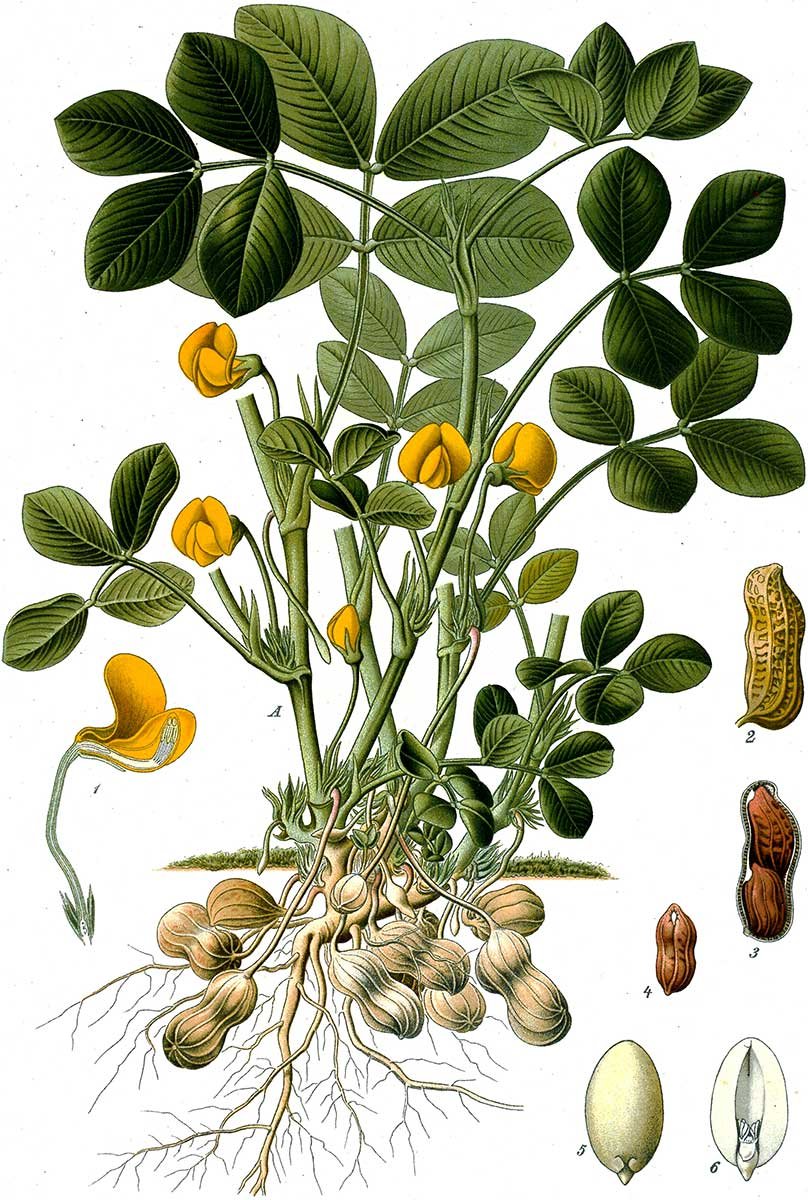
Franz Eugen Köhler, Köhler’s Medizinal-Pflanzen, Public domain, via Wikimedia Commons.
This is really attractive to me because we have significantly lower pest-burden under the soil. Anything growing above ground at that time of year is typically at the mercy of green vegetable bugs, caterpillars, and army worm. But anything below the soil is usually fairly safe.
So I figured that instead of dedicating a bed to corn, tomatoes, or chili; I’d give it to peanuts and see what happens.
Getting started
To grow peanuts, you begin with raw peanuts. As mentioned above, I purchased mine through TradeMe, but honestly, a bag of raw peanuts from the supermarket or Bin Inn would have probably worked too.
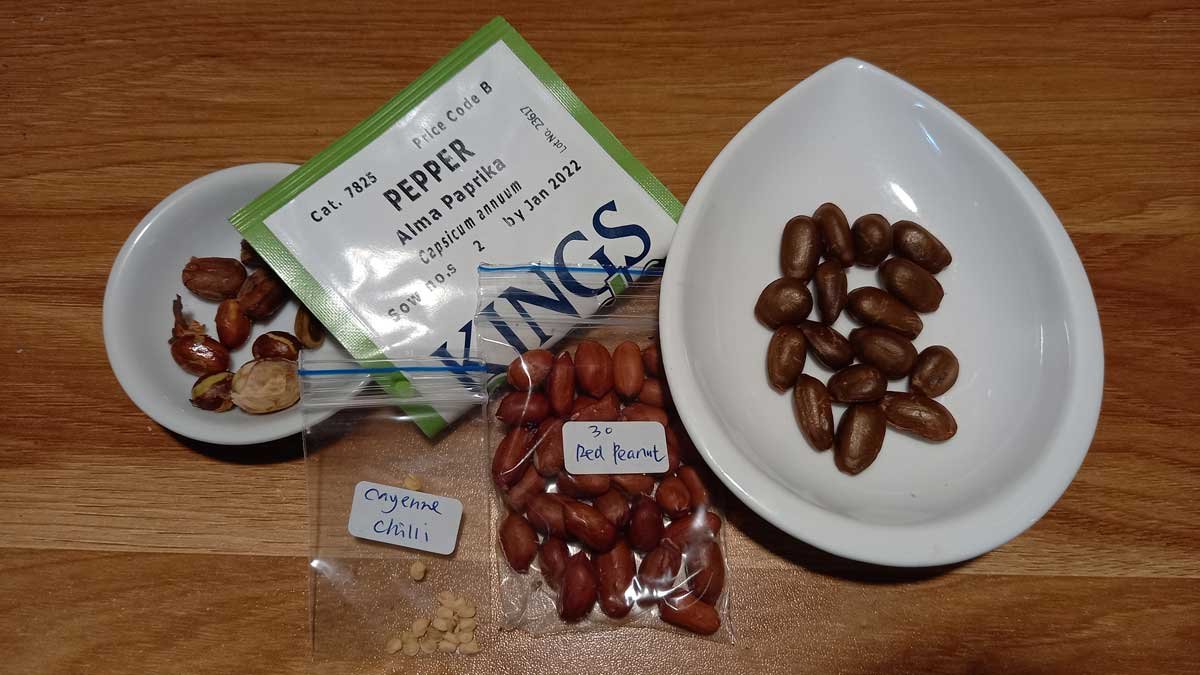
Seeds planted in October, including loquat, cherimoya, cayenne pepper, paprika, and peanuts.
I began my peanuts by throwing the entire bag of 30 into a single large pot filled with seed raising mix. I was feeling a bit lazy that day and just needed to get them started. So it isn’t the recommended method, but it worked.
23 peanuts kinda surprised me by growing plants. It really is weird.

I separated them out into individual pots to get bigger while I figured out where they would grow for the season.
Garden bed
Online advice suggested that my soil needed to be loose and friable. Which is a good description of what we have (at least when it’s wet – it can get pretty hard in dry periods).
Others who have grown them in New Zealand before swear it doesn’t matter, that they’ll grow in clay if you give them enough time. So I didn’t amend my beds with sand to loosen up the soil, I just planted them. I am, at heart, a lazy gardener and I don’t want to amend my beds to grow things, I want to see how they grow in what I have.
Peanuts are a legume, meaning they are able to fix their own nitrogen from the air by forming a symbiotic relationship with bacteria in the soil. Results from the Kaipara trial indicated that they are able to do this in New Zealand using native bacteria and they don’t necessarily need inoculation with anything special.
So I didn’t need to add fertiliser or extra compost to my bed. The peanuts should sort themselves out.
I chose and cleared a bed. Well, mostly. I left a couple of self-sown coriander plants and a seeding lettuce to do their thing between rows and on the edges.

My research indicated I’d want about 30cm between each plant, and 60-75cm between rows. I ended up going with 40cm between plants, and 60cm between rows, which meant 16 plants in the bed I’d chosen.
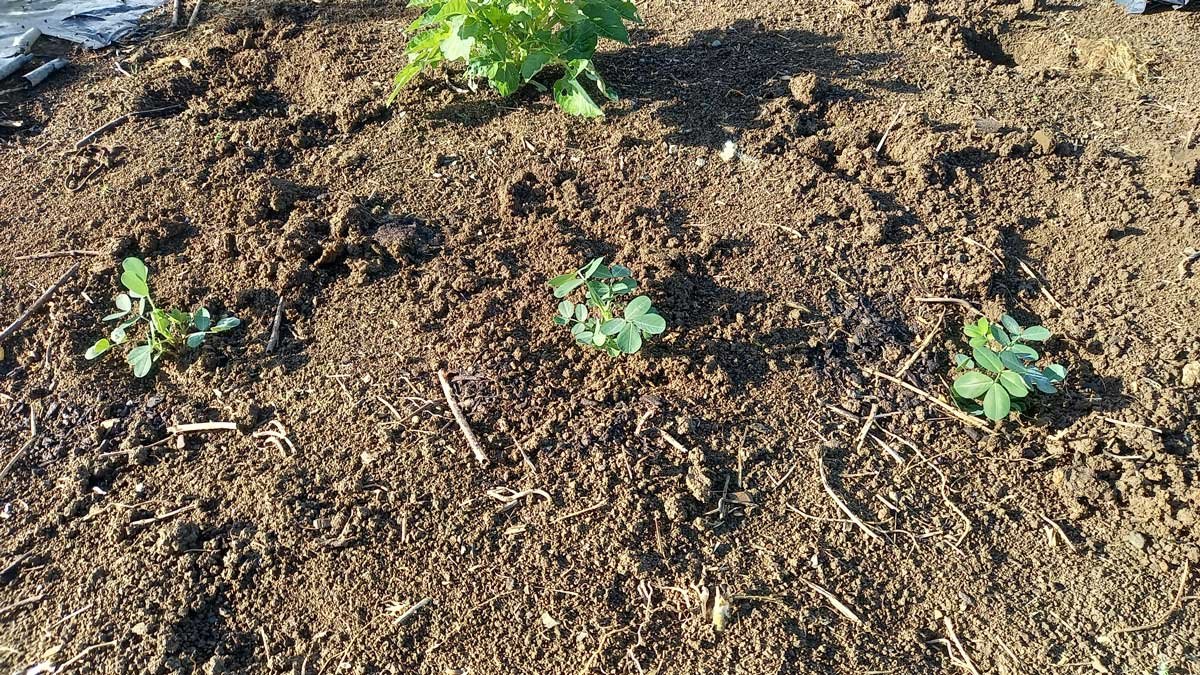
I also threw 3 more in the end of another bed, giving me 19 plants in the garden. The remainder of my seedlings went to a neighbour to have a try.
Irrigation
At this point in the season, our soils are pretty wet. We’ve been having good rainfall all year.
But having spent a few summers here now, I know that can change quickly. Peanuts like an evenly moist soil and I’d like to give this crop the best chance I can, so after planting, I began installing drip irrigation on the ‘peanut bed’.
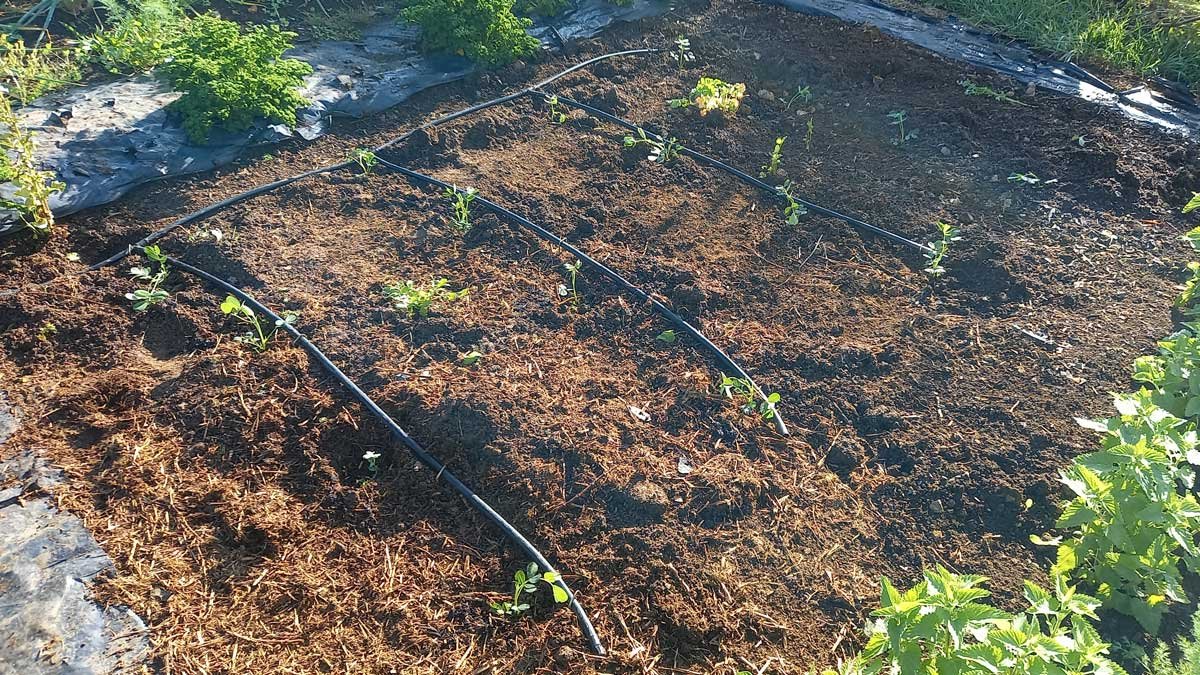
I don’t tend to put irrigation on every bed – though my garden would certainly perform better if I did. It’s a bit like ‘Lego for adults’, it’s quite fun to fit all the pieces together and get it working. But it’s also fiddly and complicated.
I ran out of some of the doo-dads, so I haven’t quite got around to finishing it. I will have to do that next week (and test it) before the plants get too big.
Up until flowering I need to make sure they get a good drink every couple of days – whether that be rainfall or irrigation. Then after that, I’ll reduce it to every 3-4 days.
To-dos
There’s two things I need to do during the season. The first is to mound soil around the plants as they grow (like potatoes). This will help the pegs penetrate the soil to grow my peanuts.
I’ll do this by creating furrows between the plants and using that soil to mound them up. Just like I’ve done with my spuds.
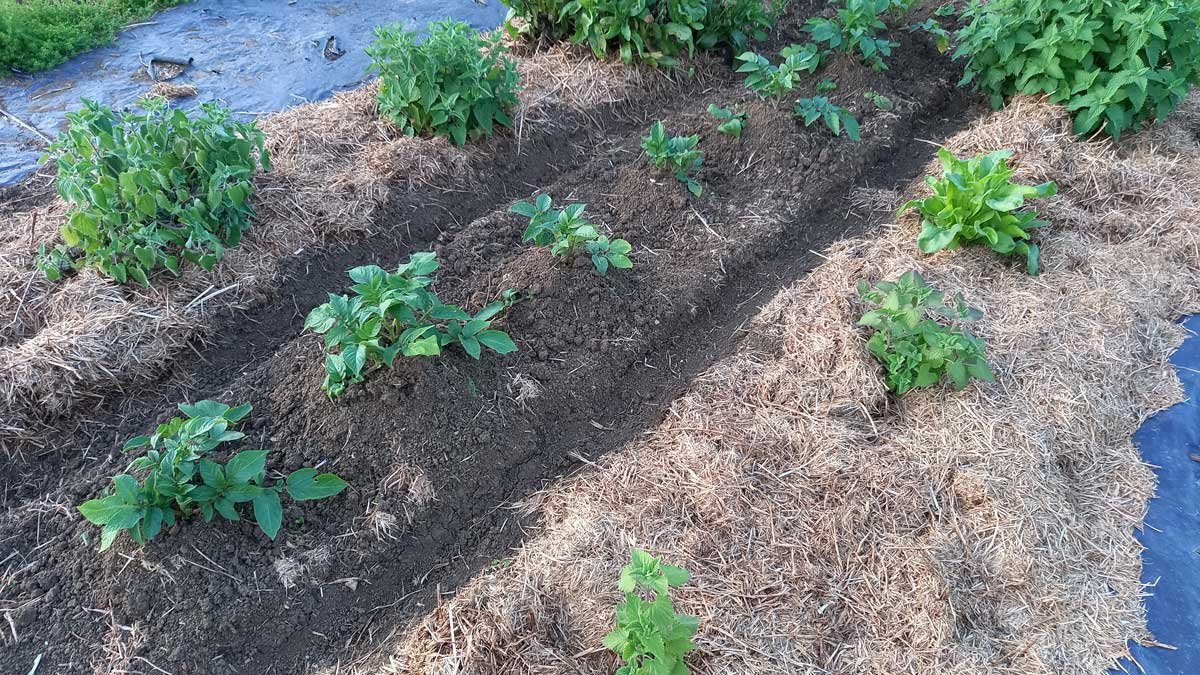
The second thing I need to do is add calcium to the soil when flowering begins. This was one of the factors the Kaipara trial found to be quite important.
Peanuts like a more acidic pH, so lime isn’t the best choice as it’ll increase the pH. I will probably use NanoCal because I have some on hand, though gypsum or dolomite lime are also good choices.
NanoCal is marketed as being a quick-release calcium supplement, so should work well as long as I get my timing right!
And now, we wait
Growing peanuts doesn’t take as long as garlic, but it does take a really long time. So now it’s a waiting game.
If you’d like to follow the peanuts throughout the growing season, you might want to follow my Instagram. That’ll probably get the most regular updates on this project. But obviously there will be a post-harvest breakdown here on the blog – experiments are worthless without some kind of results!
Whether or not I make peanut butter from this batch will entirely depend on the yield. Word is it takes 540 peanuts to make a 350g jar of peanut butter, and from 19 plants that would mean almost 30 peanuts per plant. Maybe I’ll get there, but I’m mostly interested in the process of growing them for now.
But if they grow well, I’ll have seed for next year – and at that point I will absolutely be aiming for a jar of home-grown peanut butter.
Either way, I’m excited about trying something new and learning about a new crop. It’s nice to be at the stage where I can just play again.
Edit (April 2023): You can read about my peanut harvest here.
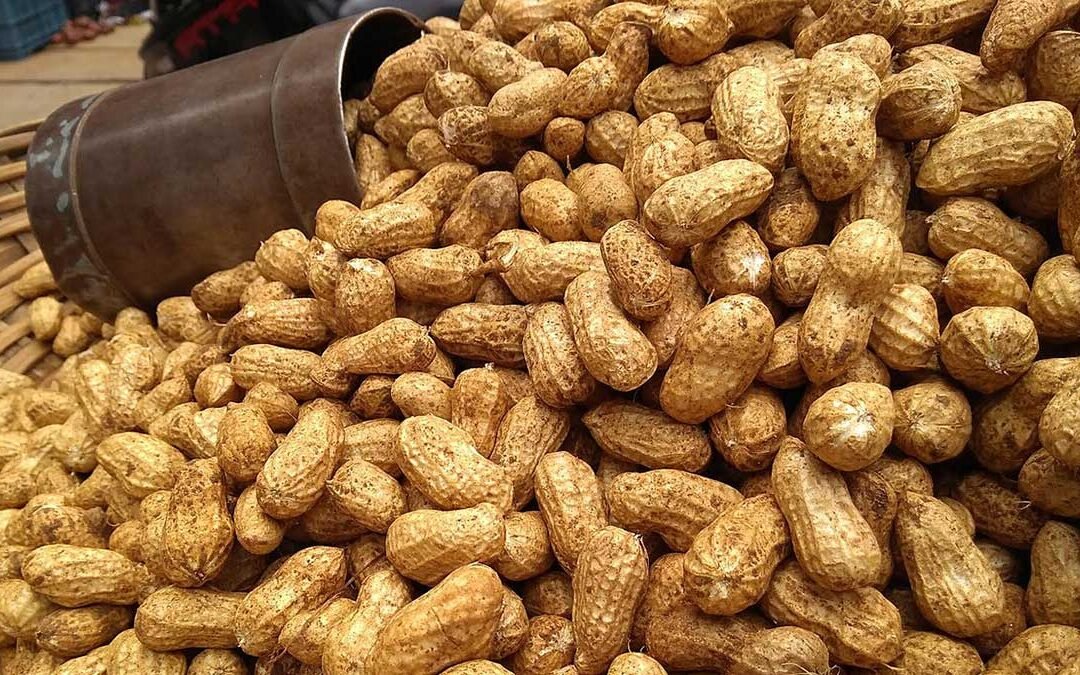
Header image by Thamizhpparithi Maari via Wikimedia Commons.


If you think peanuts are cool, wait until you see how cashews grow. You would not believe me if I told you.
Haha, I know how a cashew grows, but ultimately they’re a tree nut. Weird, but not as weird as a plant that flowers above the ground and then digs those flowers below ground to grow the seeds. Cashew is on my list of things to add to the property but I want the right spot before I invest in the tree because they’re pricey (they’re available through Exotica if anyone is trying to source them).