Look, I’m no banana expert. I’m just a lady who planted a few stems a few years ago. But I believe bananas are set to become New Zealand’s next feijoa – the fruit so prolific and ubiquitous that it can be difficult to give them away.
I know people who are successfully growing them in Hamilton and Hawkes Bay. Frost-tolerant varieties are increasingly available. If you have a sheltered position that doesn’t get very frosty, it might be possible for you to grow your own clump of bananas.
But while Kiwis are embracing growing bananas with their whole heart, there doesn’t seem to be a whole lot of helpful information out there for home-growers to maintain their clumps.
I have learned a few things about looking after bananas over the years, so I thought I’d jot some of them down here in the hopes they help you too.
1. Prune in December
We clean up our patch once a year in early summer. This sets the plants up for the rest of the growing season and makes me feel good, because they usually look pretty rotten by the end of winter.
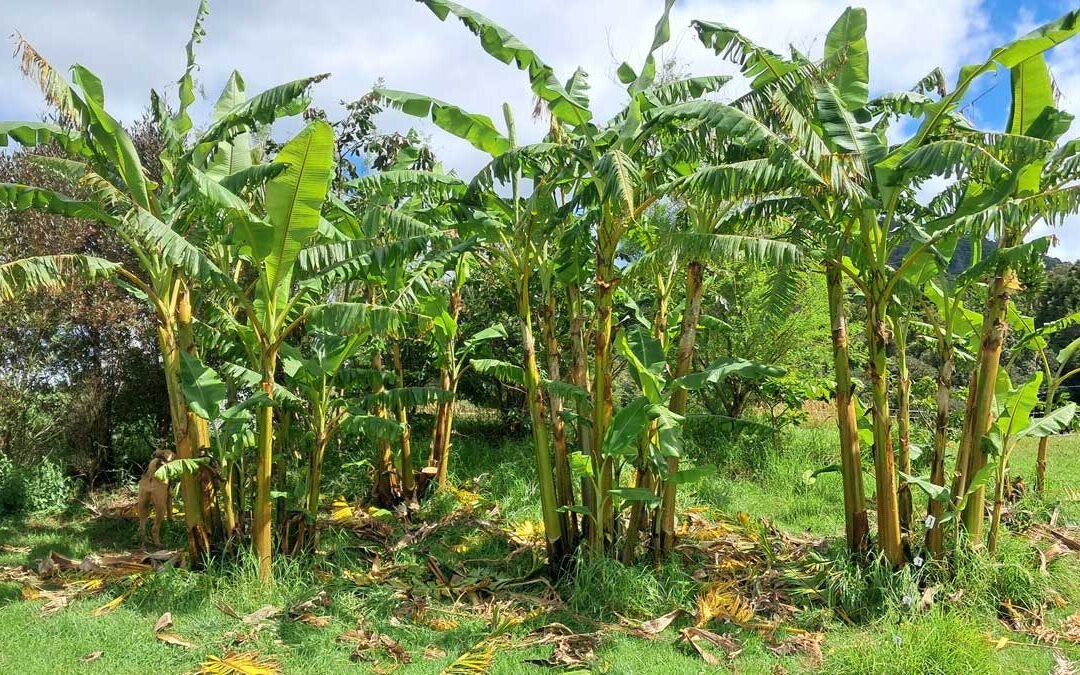
We got out and did it this week, because this is what it looked like before we began.
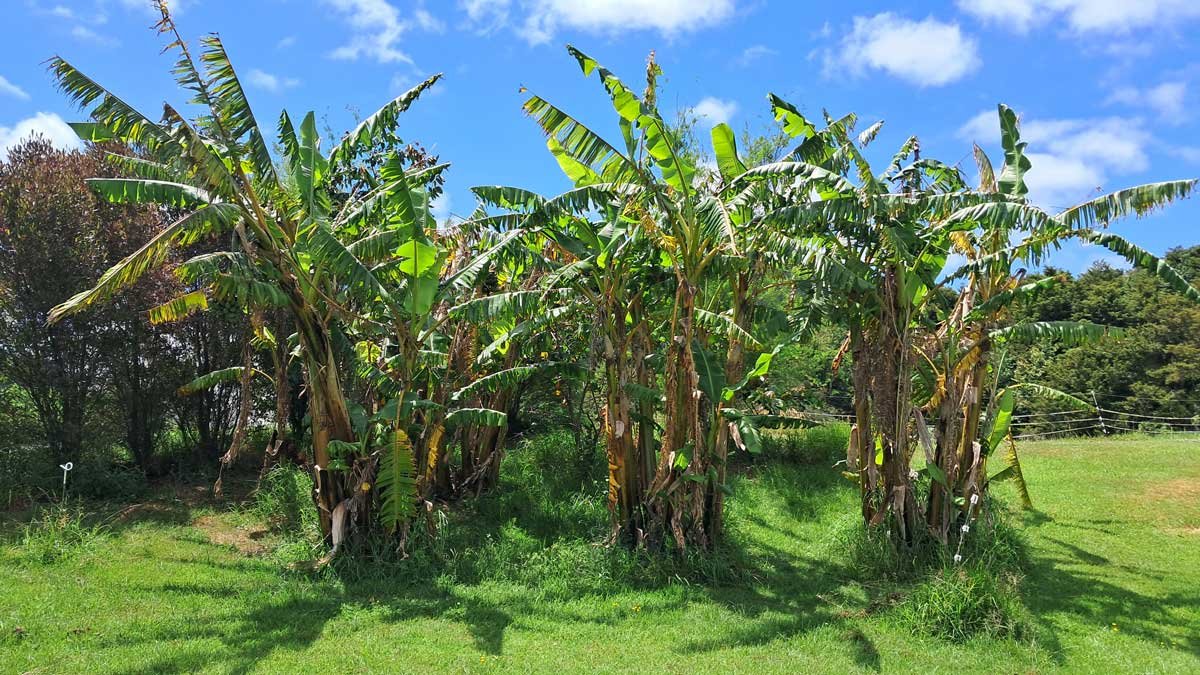
It’s important to wait until your plants are in active growth. This ensures the plant is in a position to heal after you begin slicing away old leaves and stems.
For us, this is usually in November, but even then I tend to wait out of an abundance of caution.
2. Avoid spreading diseases
Did you know that the bananas your great-grandparents might have eaten are different to the ones you buy today?
The Gros Michele is a tastier variety that ceased commercial plantation production in the 1950’s due to a highly pathogenic bacteria. Imported commercial bananas today are now mostly the inferior Cavendish variety, which is also under threat from Panama Disease.
My point is bananas can be very susceptible to disease, and you should be careful about that.
Only prune on a dry day, after the dew has evaporated. Moisture acts to spread pathogens, and this allows the plants to seal their wounds before any more exposure to whatever is floating about.
If you have more than one clump, make sure you sanitise your tools between them. Isopropyl or methylated spirits are best. Bleach and vinegar can damage your tools.
3. Wear old clothes
Last year, I put on a reasonably new t-shirt and went out to tidy up the bananas. Afterwards, I noticed that shirt was covered in stains.
That’s how I learned the juices from banana stems will stain your clothes.

So now that t-shirt is officially my Banana Shirt. You don’t have to sacrifice your nice things, however.
Wear old clothes you don’t care about. You won’t be able to avoid it once you get going, so just wear something you’re prepared to sacrifice.
4. Remove spent stems
A banana stem will only flower once. Once it’s spent, you’ll notice it look quite dead. It’s time to remove it.
You can either cut it near the base and leave it, or go one step further and lift out the entire corm with a spade to grow even more bananas.
A few things to know: the stem is filed with water. Splitting it into sections around 40-50cm long, and then down the middle will create a highly-moisture retentive mulch for your bananas.
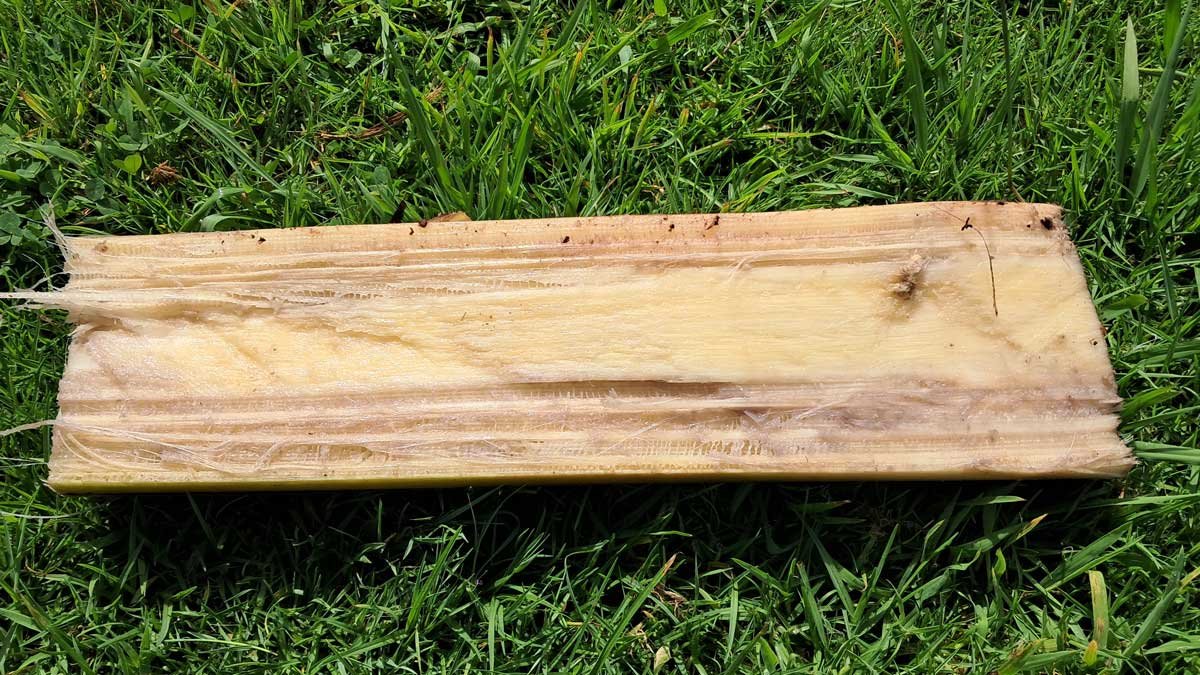
Showing the cut-face of a banana stem. Flip this over to act as a mulch around your plants.
You can simply leave the stems, cut-side-down, below your plants to break down.
Or, if you have them, cows and other livestock love eating banana stems. The entire plant (including fruit and skins) makes an excellent fodder food.
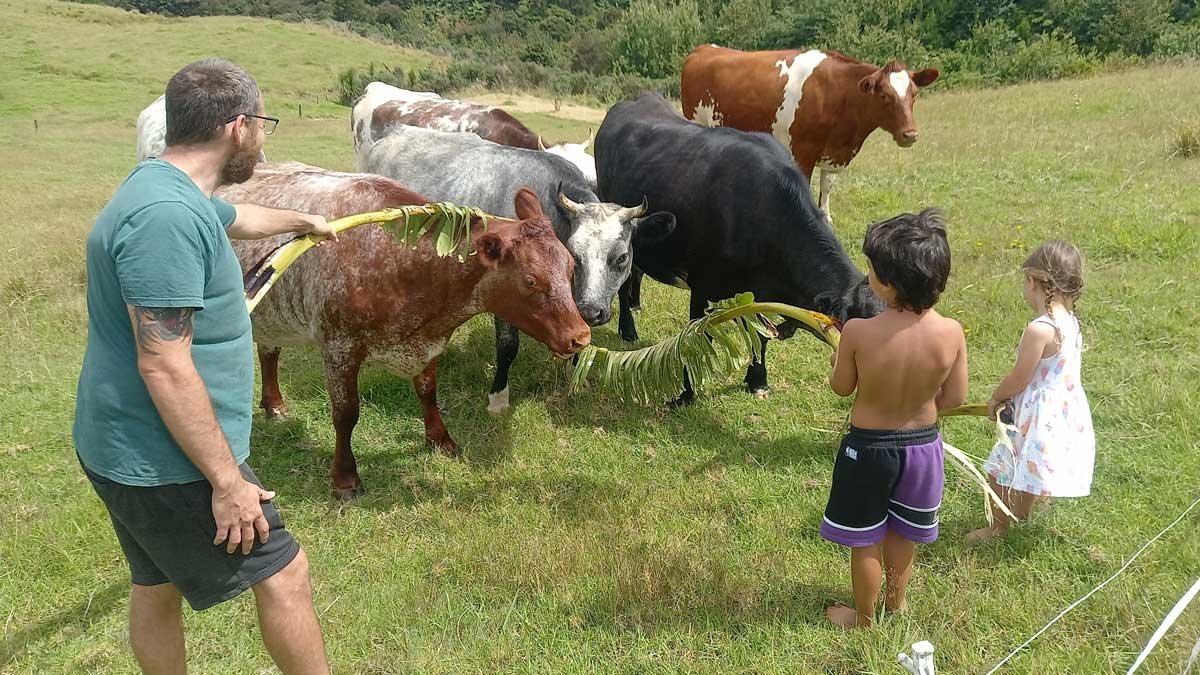
We’ve found it genuinely helpful to train the cows to come up to us for some banana leaves.
Finally, the spent corm still in the ground won’t provide you with new banana-fruit, but it is possible to grow new stems from it.
If you lift it out with a very sharp (and strong, this activity has broken more than one) spade, you are able to re-plant it, and new stems will emerge from around it.
Rose at Exotica recommends planting them upside-down for stronger stems and bigger bunches, but I haven’t tried it for myself.
5. Chop and drop
While I prefer to give my spent stems to the cows, the dead and dried leaves become mulch. And if you don’t have livestock, this is the best use for your prunings – drop them around the plants to act as mulch over the hot summer months.
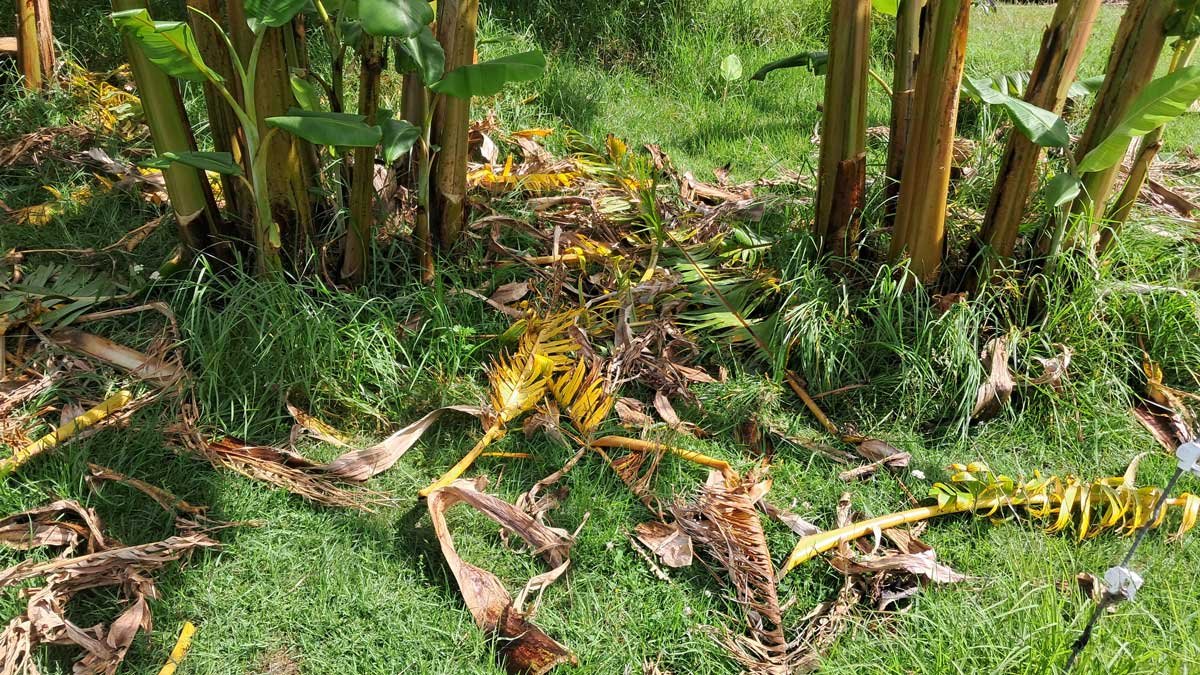
We use a handsaw to cut down stems. But I like to use my Niwashi knife to cut off leaves.
When the leaves are too high, I attach the Niwashi knife to a longer pole with string or tape to extend my reach.
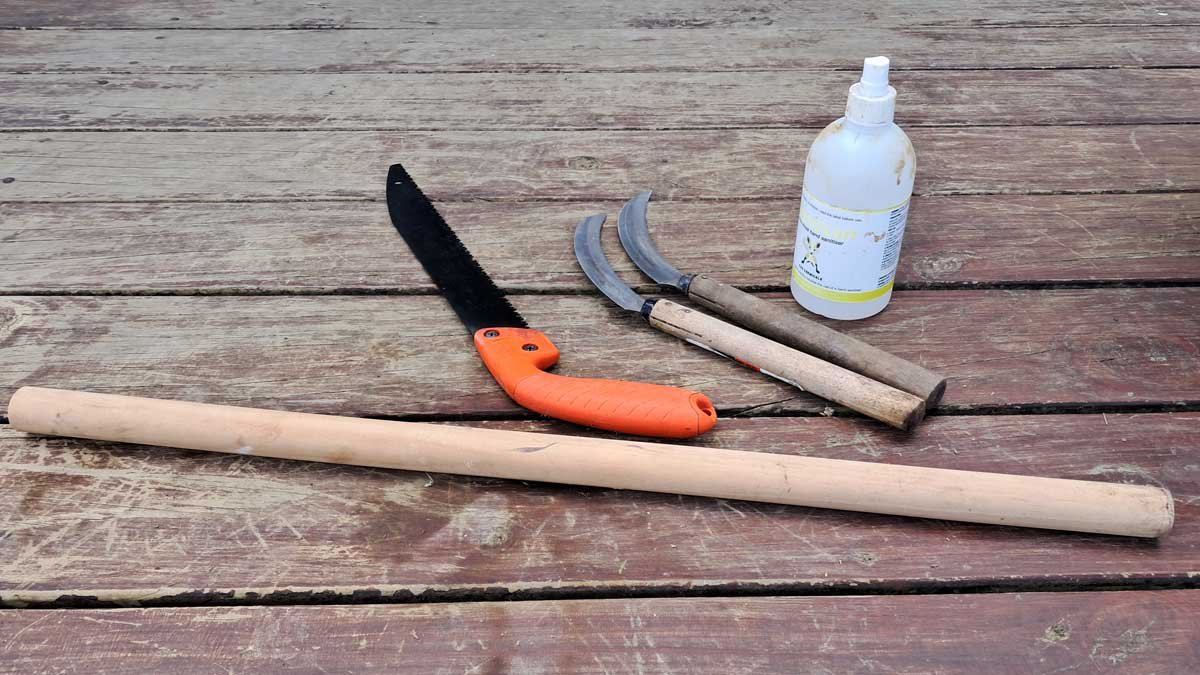
Work your way around each clump. Remove the brown and yellowing leaves. If leaves are rubbing too much, remove them too. Pull away any weeds or grass growing in the clump.
I often have to circle the clump a few times before I get them all. Somehow as you remove the first few, more will appear.
But then you’ll stand back and it’ll look tidier and happier. Good job!


Hi Kat
I have my first banana branch happily ripening. I have read that you should only have 3 plants in a clump and should remove the many suckers that appear.
I also read that carefully using round up on excess suckers can save parent plants from.damaged roots during the removal process.
Interestef in your thoughts please
Hi Annie – well, I personally wouldn’t put any RoundUp/glyphosate near my food-producing plants. Avoiding it near my food is one of the benefits of growing it in the first place, but I guess that’s a personal stance. I think you’d really have to know what you were doing to avoid damaging the surrounding plant.
You are right that commercial producers also thin their clumps. It helps produce bigger bunches, and possibly even speeds up the flowering process. It also creates more plants really quickly – something you need when setting up a plantation.
I’ve never bothered for a few reasons – firstly, the arms we do get are plenty big enough for us, and we usually give half of the fruit away as it is. I don’t need to maximise them. Secondly, until I can figure out a worthwhile strategy for the fruit, I’m a bit scared to plant more due to oversupply, and I’ve already given stems to everyone I know who wants them. Thirdly, it’s broken more than one spade, it’s not an easy job, and I have no motivation to. The clumps seem pretty stable at about 1.5m diameter, and produce enough to feed us (and half the neighbourhood!) without going to the effort.
I also believe that allowing larger clumps provides more stability to the plant as a whole while fruiting. It’s anecdotal, but we’ve never needed to prop up a fruiting stem in a clump left to its own devices. And we have needed to prop up all the single-stem fruiting plants we’ve ever had.
So I guess it comes down to your motivations, how much space you have to play with, and what you have the overall energy for. Thinning them will almost certainly get more fruit, faster; but we get more than enough bananas (for now, at least) without the bother.