Autumn is a good time to collect and save seeds. This is one skill that makes gardening a lot cheaper in the long run. My personal seed collection is at least 60% saved and/or swapped seeds at this point.
Seed-saving is habitual for me, and I approach it in two ways: proper saving techniques like what I will go into today, and just spreading seeds around the garden to grow where they’d like. Both techniques are valid.
If you’re a lazy gardener (like me), then you might just want to let your produce reproduce itself. To make this really work, it helps if you scatter the seed about a bit to avoid clumps of one thing.
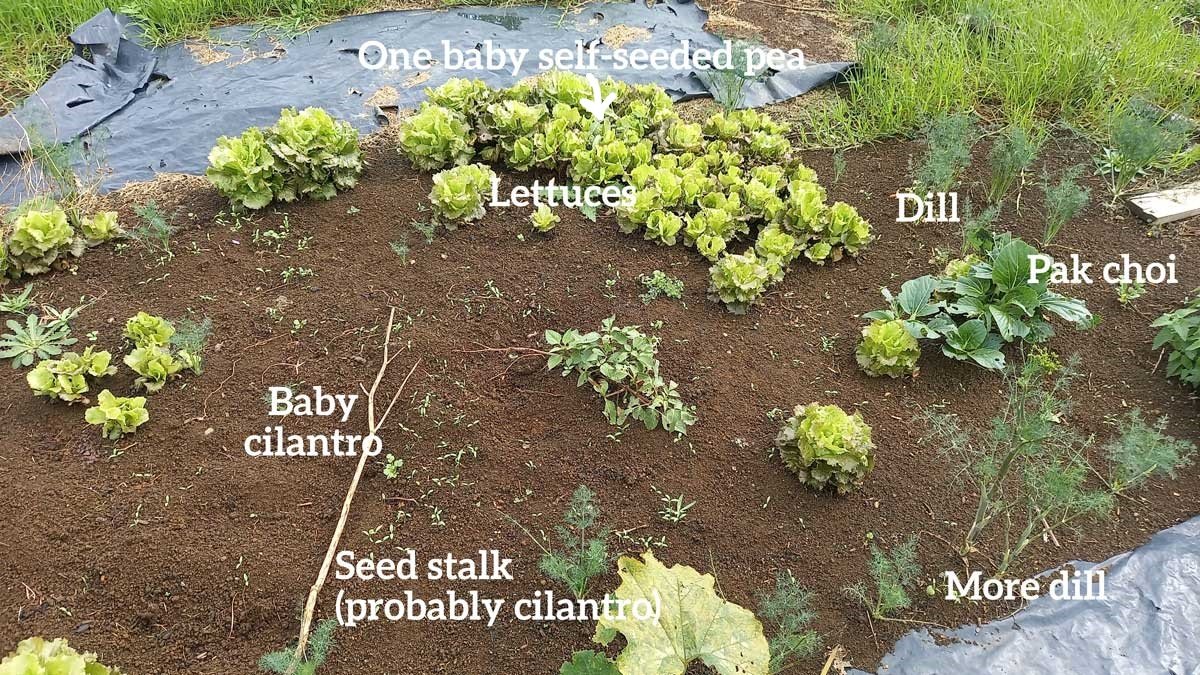
Knowing which plants to let go to seed, and when to scatter them about will be really helpful. I cover all this in the first half of this deep dive.
But if you go that extra step further and learn how to clean, save and store the seed too, then your garden will gain an extra layer of resilience. You might find yourself harvesting seeds from other people’s gardens (or the supermarket carpark). You might start swapping seeds with neighbours or co-workers.
Either way, learning this skill results in a lot of free plants.
Choosing seed to save
It’s important you know what you’re saving. The first rule of seed-saving is don’t save hybrid seed. Hybrid seed is specially bred to produce a particular result – saving seed from these varieties will produce mixed results – and possibly nothing at all.
The quickest indicator as to whether you have a hybrid seed is whether it is labelled ‘F1’, ‘F2’, or ‘F3’.
Without getting too deep (this could be a deep dive in and of itself!), you want ‘open-pollinated’ – preferably ‘heritage’ or ‘heirloom’ – seed. Outlets such as Kōanga Institute and Setha’s Seeds specialise in this type of seed.
Here’s some even deeper dives into heirloom vs hybrid seed if you’d like to learn more.
- Article: Hybrid vs. Heirloom Plants: What is the difference? (howtosaveseeds.com)
Cross pollination
This is where two plants of the same type ‘cross’ and create a ‘hybrid’. When this happens, you can’t predict the outcome of the seed – it may not grow true to type.
A bee doesn’t care a whole lot about which flowers it’s crossing together as it gathers pollen. And allergy sufferers already know the wind will deposit pollen wherever it wishes!
Some plants are more susceptible than others. Tomatoes and chilis are mostly self-pollinated so don’t tend to naturally cross as frequently as – for example – corn, brassicas, or cucurbits.
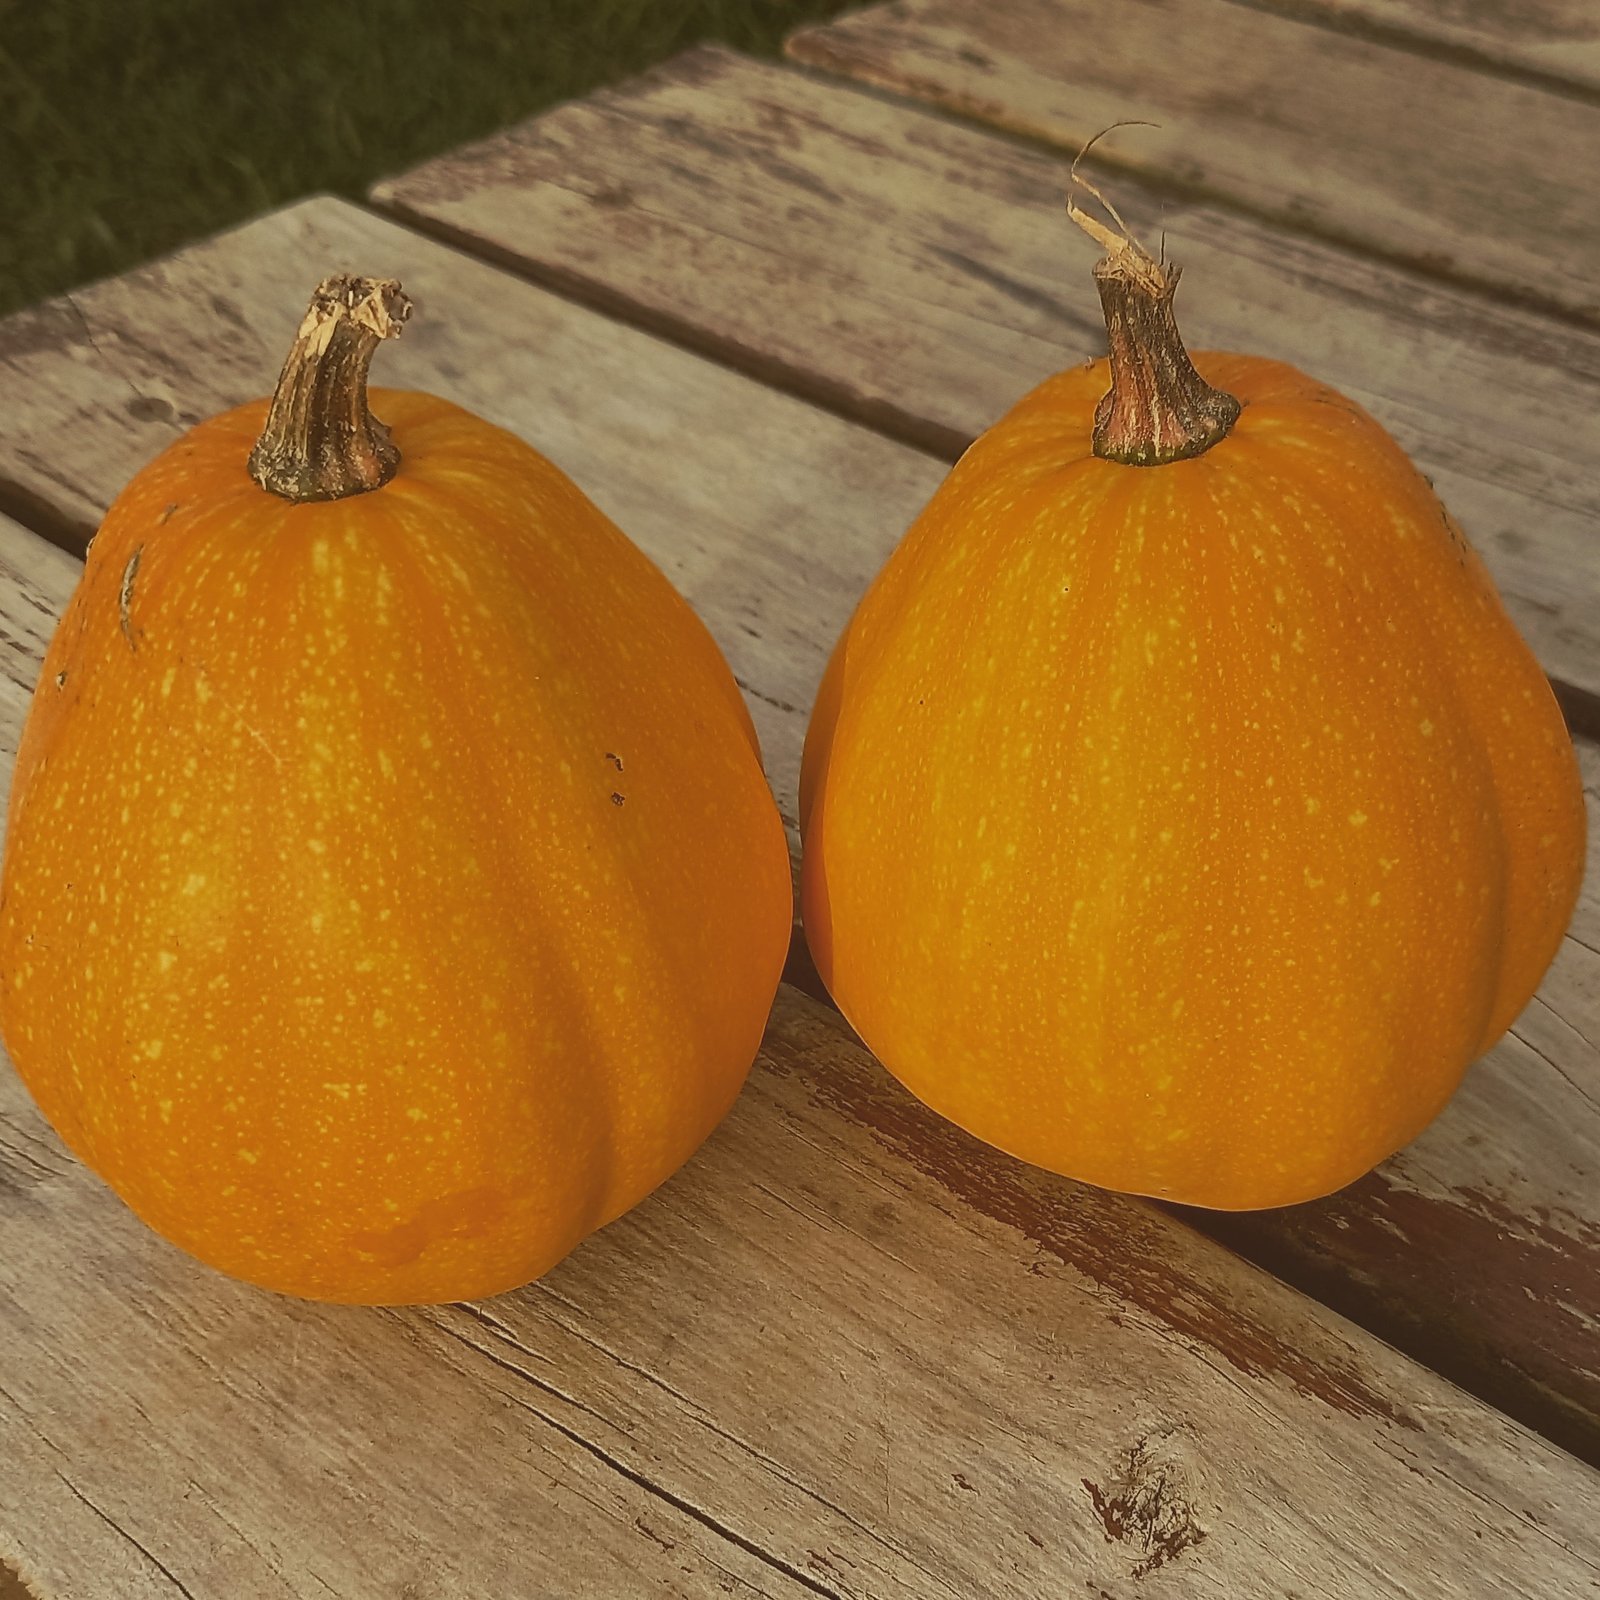
If you are growing two types of pumpkin too close together, the seeds you produce might not come out looking like what you expect.
I think that’s what happened with my mini-pumpkins, which are an odd shape and not quite what I expected. I was given these seeds, so I don’t know what was growing in the garden they were harvested from.
To get around this in my garden, I generally look to find one type of each plant that does well, and which we enjoy eating. I’ve been growing the same cilantro, peas, and lettuce for six years now.
Once you’ve found an heirloom variety that seems to do well in your garden and which you enjoy, it’s time to let it go to seed.
Producing a seed
In plants with a ‘fruit’ like pumpkin or tomatoes, this means letting the fruit mature right to the end. In other plants it means producing flowers which set seed pods.
Setting seed is usually the last stage of a plant’s lifecycle – meaning that many vegetables will die after they’ve made the seed. All their stored energy will go into this process, and in the end, it’ll be done.
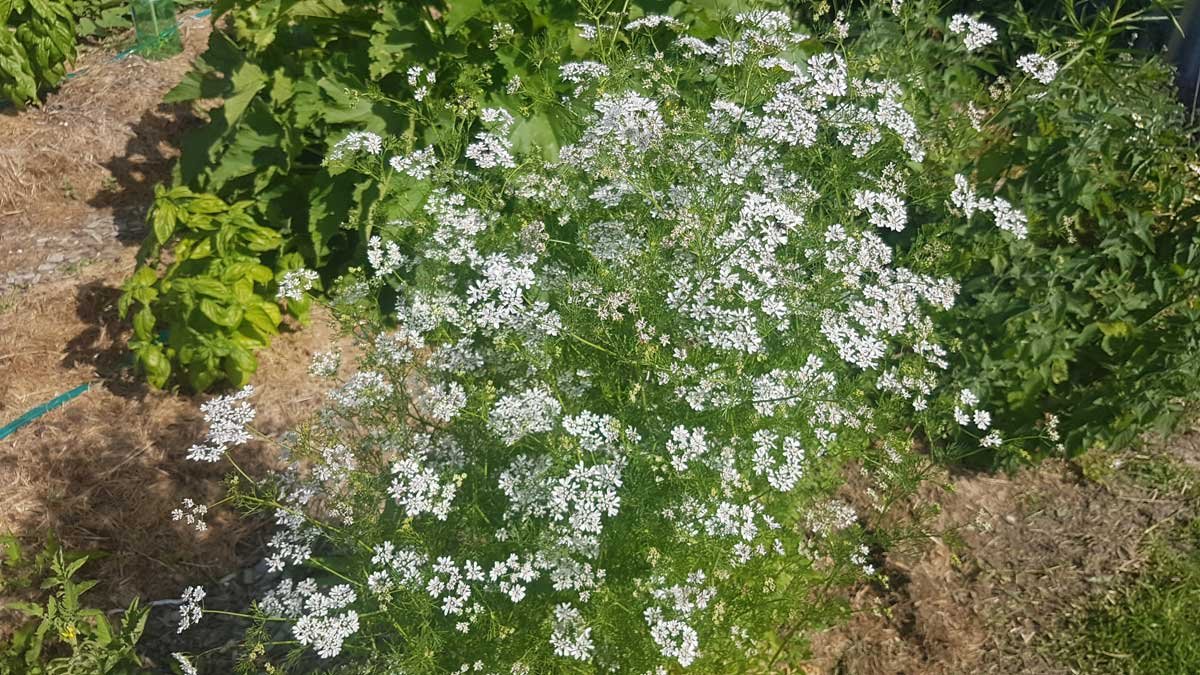
Cilantro/coriander in flower. It will attract beneficial insects and bees to your garden, and is the first stage in producing seeds.
Often, this process will happen over a single season. But for some vegetables like onions or carrots, it can take up to two years.
In the first year, you get an onion or carrot you can harvest. In the second year, they send up a flower that sets seed.
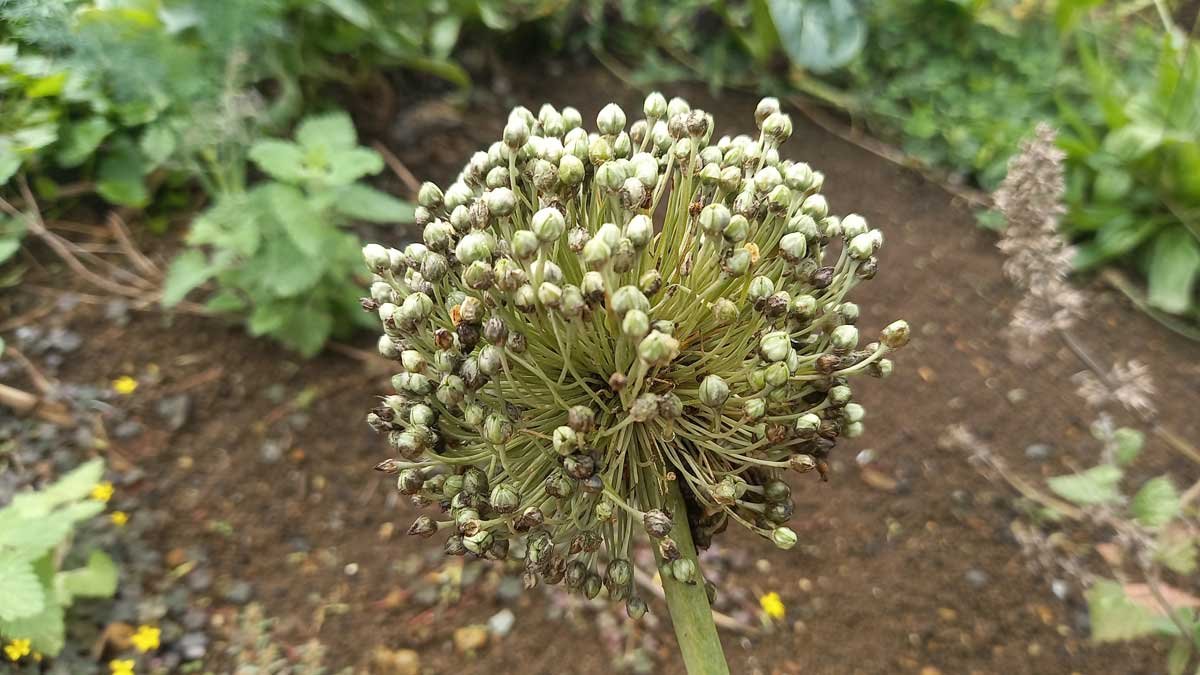
Once a flowerstalk develops on a leek, it becomes too woody to eat. It can take up to a full year from transplant for the seeds to be ready.
Seeds inside fruit are often wet. The process of seed saving will involve separating the seed from the fruit and drying it. Others are usually dry by the time they’re ready to collect, and it’s a matter of catching them all.
Always save seed from your best plants. I only save peas that come out of perfect, 10+ pea pods. Each year, my peas become better adapted to my particular garden environment because I am saving the seed that has done the best in my garden.
Equipment
It helps to have a range of basic equipment available when you’re saving seed. Most of it can be recycled or sourced cheaply.
If you want to get serious about seed saving, I recommend buying a set of seed-saving screens – if you can find them. My set come from Crafty Gatherer and were worth every penny, but they’re an investment, and not always available.
However, I’m going to try to concentrate on methods that don’t require a specialist set of screens as they’re both expensive and hard to source.
Cardboard and paper – small boxes, paper bags, newspaper, paper towels, a roll of baking paper, envelopes. These materials allow seeds to dry and breathe, preventing mould. All of these things come in handy and are worth having around.
Sieves or sifters – a basic kitchen sieve is helpful for cleaning and sorting your seeds. If you find some in unusual wire-gauges, they are worth picking up to make your own sifting screens.
A fan or hairdryer with a cool setting – being able to control the ‘wind’ can be very helpful for getting seed clean.
A warm dry place – almost all seeds need drying. Preferably it needs to be big enough to hang things, and bonus points if it’s dark, though this is fairly optional. We use a shipping container; but a conservatory or spare bedroom can work. You might find the hot-water cupboard a bit small, but for a lot of seeds it can be made to work.
String – bog-standard, it’s helpful for hanging and bunching stuff.
Glass jars with lids – you’ll need these especially for ‘wet’ seeds like pumpkin.
Dry seeds
Most seeds are dry seeds. It’s best to harvest them on a dry day after the morning dew has evaporated.
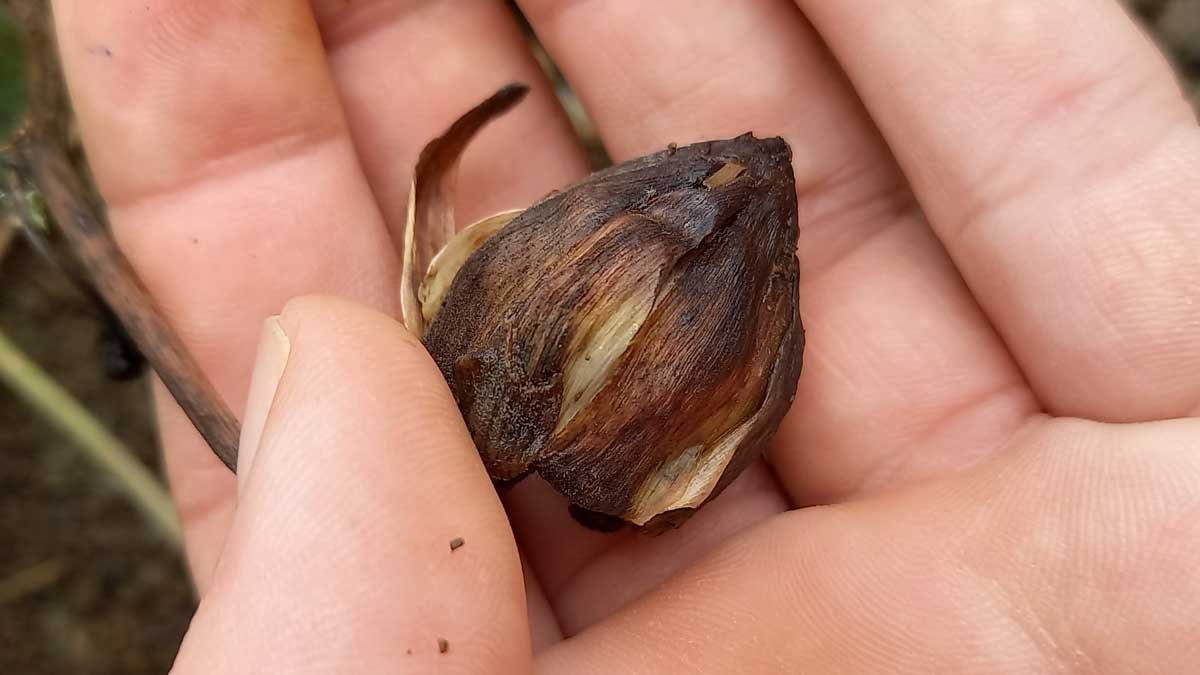
Dahlia seedhead ready for harvest – but on a wet day! I’d want it to be drier before trying to save it.
You’ll notice the stalks, pods, or flowerhead holding the seeds starting to dry off. As soon as you see them browning, grab them.
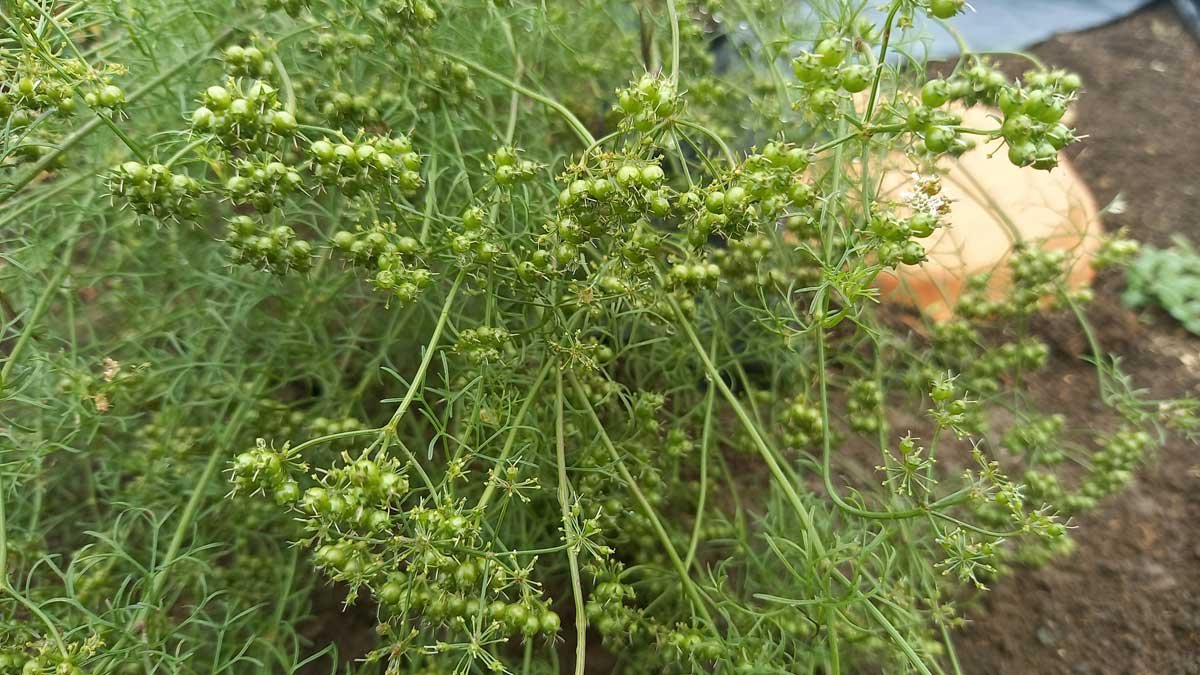
Cilantro/coriander – this can be harvested for use at a spice at the green stage, but it’s worth waiting for it to look more like the example below.
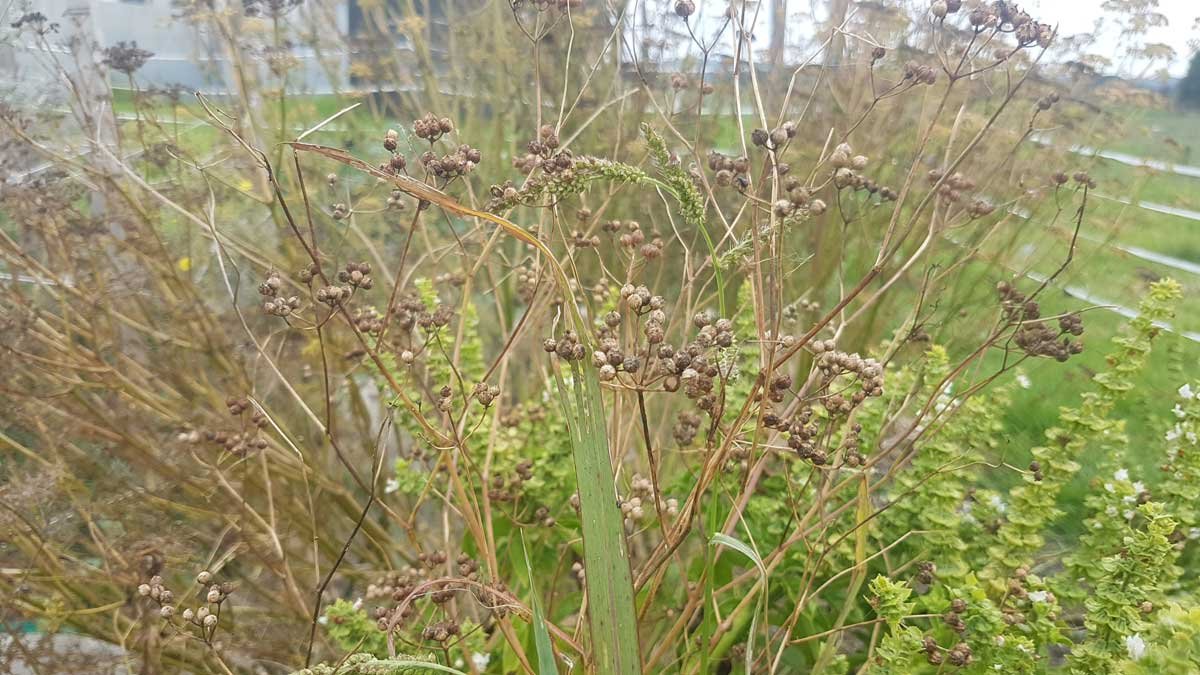
Now is the time to sprinkle them around your garden if you cannot be bothered to dry, clean, or store them.
If you have the room, bunch them up with string and hang them upside down.
For pods and flowerheads, you can leave them in an open container, box, or paper bag in your warm dry place. Let them dry. Many of them will fall apart and release their seed. Some might need an extra hand letting them go.
Then you’ll need to separate the seed from the ‘chaff’ – all the plant bits that aren’t the actual seed.
This is where different sieves come in helpful. Generally, the seed is heavy and the chaff is light, so there’s a technique called ‘winnowing’ where you toss the seed and let the wind carry the chaff away.
There are ways to adapt and control this method with fans.
Wet seeds
Things get a little more complicated if your seeds are ‘wet’ – pumpkins are a good one to practice this technique on, but it’ll work for tomatoes, cucurbits – I’ve even had good success with native plants.
Fermenting your seeds imitates a digestive process and releases them from any matter that might still be attached.
Simply put the seeds into a glass jar, half-fill with water, and loosely apply the lid so gas can escape. Keep in a warm place for 1 to 3 days (shorter for smaller seeds such as tomatoes, longer for larger seeds like pumpkin). Give it a good shake a few times.
Then turn it on out into a bucket of water. The pulp and bad seeds will float, but your good seed should sink to the bottom. Use your sieve to separate off the pulp and bad seeds and discard.
Then pour off the excess water (through the sieve) to leave your seed. Give it a bit of a rinse to shake off the last of the goop and they should be pretty clean.
I often leave them to dry on the sieve – I just play with them as they’re drying to get them to separate. It usually takes less than a week. Most of the sticky stuff washes off during fermentation, which is why I like this process.
You can also use baking paper as another medium to dry them on. Avoid paper towels as your seeds will stick to the paper towel and then you’ll have to pick that off.
Storing seeds
Store your seeds in paper envelopes or glass jars. Keep them in a cool, dark, dry place.
Make sure you label your seed with the year and the name of the plant. You will definitely not remember in 18 months when you’re looking through your collection thinking about what to grow.
Try it!
Go see what has set seeds in your garden – maybe it’s a capsicum or chili. A tomato? A parsley that went to seed, or an onion you forgot to harvest?
You don’t have to go to all the effort of collecting and saving seed – plants are actually pretty good at growing themselves if you let them live out their lifecycle. But there’s a good chance you might just find a new skill if you go out and practice it.

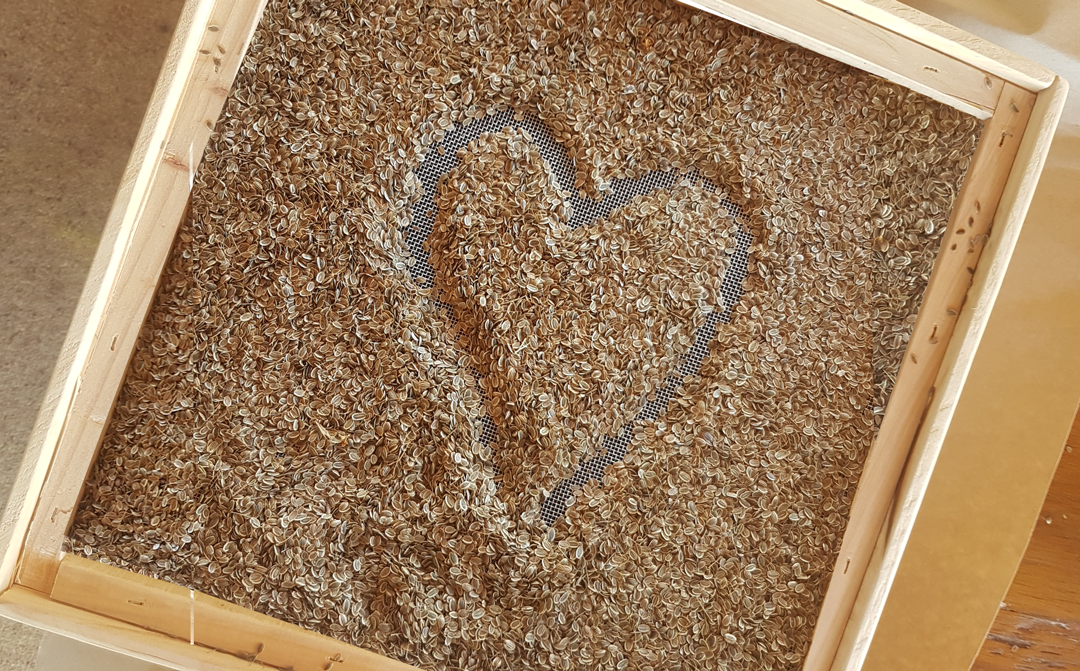

Great blog! Thank you :O)
Will definitely be saving some seeds from this years garden plants.