It’s so easy to spend money when gardening is your hobby. Sometimes it’s difficult to know if something is going to be a good investment or total waste of time. I’ve certainly spent good cash on both.
But I’ve been thinking lately about the equipment I own and have absolutely no regrets about. Things I’ve gone back for again or again, or which I’m always really grateful to have when I go to use them.
Good gardening equipment doesn’t need to be expensive. Just reliable and practical. It’s been a while since I last talked tools, and winter is a good time to give them some love while there’s less work for them to do.
A sharp, strong spade
Not all spades are made equal. They are different shapes and sizes to help you do different jobs effectively. In this case I’m talking about a spade for digging holes – the smaller, straight, rectangle blade.

If you need to dig holes, you need one of these. A good one will make the job considerably easier.
It’s hard to test in-store, but you want one where the blade doesn’t flex when you stand on it. This means a strong thick steel blade. Don’t cheap out on the thinner, more flexible ones!
It will be slightly heavier, but this will help give you more leverage for digging. This kind of spade isn’t the kind of tool you lift or throw around a lot like a shovel or a rake. A spade pretty much sits there until you need to drive it into the ground – when the weight (and strength) is an advantage.
The Kent & Stowe range fits the bill, and they have a smaller border spade which might be perfect for smaller people. We have a Stanley which I absolutely love. And I use this Bloom spade at work, and it’s pretty decent too.
It’s worth remembering that you can always purchase a new handle for a good blade, but if you start with a cheap blade, you’ll have to replace the whole thing sooner or later.

Our Kent & Stowe broke last year while I was digging out bananas. We replaced the handle for about $25 and call it the Frankenspade.
An electric drill
I don’t believe you need anything fancy or expensive here. Once you have an electric (preferably cordless) drill, you will keep finding uses for it.
You might use it to knock together some raised beds from a pallet. Or to make a new pot by putting drainage holes in the bottom of a bucket or other vessel.
Perhaps you’ll pick up an auger attachment and use it to save energy digging holes. Or to install a hook for that new hanging basket you couldn’t resist at the garden centre.
This week I used ours to install an airlock on a bucket lid for a fermenting project I’m working on. It comes in handy for replacing handles on broken spades too!
Every time I go to use our drill set, I’m grateful we have it. No matter what silly scheme I’m working on, it opens up an extra level of possibility in my garden.
A reliable sprayer
Eventually even the most organic of gardeners will find themselves in need of a good sprayer. They’re not just about killing things. Fertilisers, biological controls, and effective microorganisms (EM) can be applied to crops with a sprayer too.
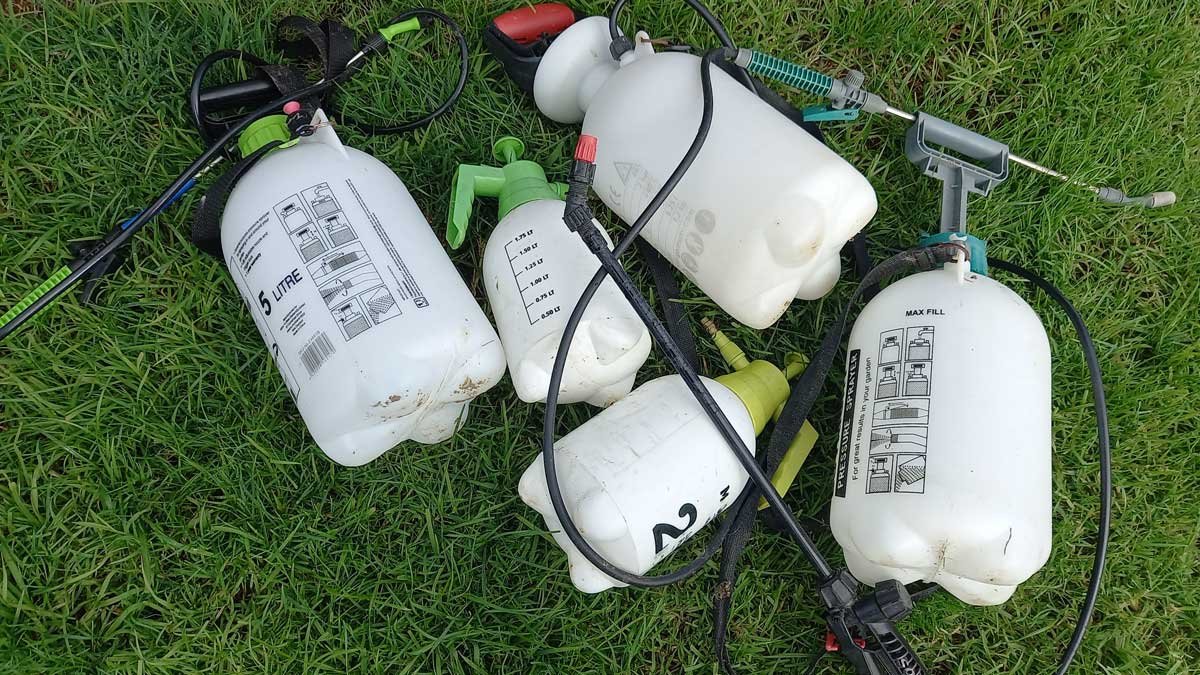
I’ve always kept two separate sprayers: one for herbicides (mostly for gorse control) and moss/mold sprays; and an entirely separate one for anything that doesn’t kill plants.
Until recently, the one that doesn’t kill plants has been a 5 litre Solo sprayer. It worked really well until it didn’t, and now (after 3 seasons), it won’t pump air into the chamber – not an easily-replaceable part, unfortunately.
The truth is, I don’t have a lot of faith in many sprayers in the 5 litre or under range. Probably the best I’ve worked with is the Yates one, but at home I’ve collected a handful of bung sprayers.

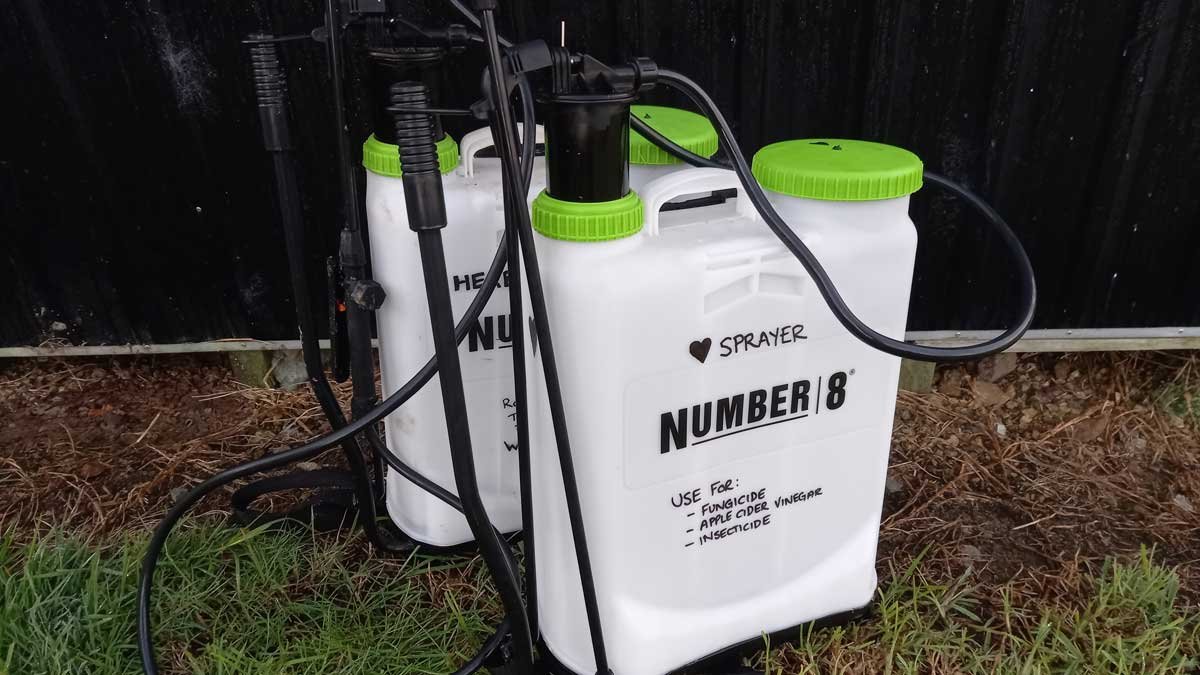
This year I realised that the $53 Number 8 Backpack Sprayer was not only the most reliable sprayer I’ve ever used, but also at least $20 cheaper than any decent 5 litre one.
I could wax lyrical about these things – with the caveat that I wouldn’t recommend putting more than 10 litres in them. They will work with less than one litre in them, but I find 15 litres is just too heavy for me, and the straps aren’t the most comfortable.
That said, as long as you look after them they will last several years. Our first one died of UV exposure (after 5 years) so… don’t be like us and leave it outside. They come with spare parts, and the price makes them one of the most economical options even if you treat it poorly.

So now I own two of them. One for herbicide for weed control around the paddocks and plantings; and one for sprays that support the growth of my plants. They live in the garden shed now.
I also noted yesterday that you can make them work for a left-handed person if you flip the shoulder straps to the other side of the tank.
Heat pad and grow lamp
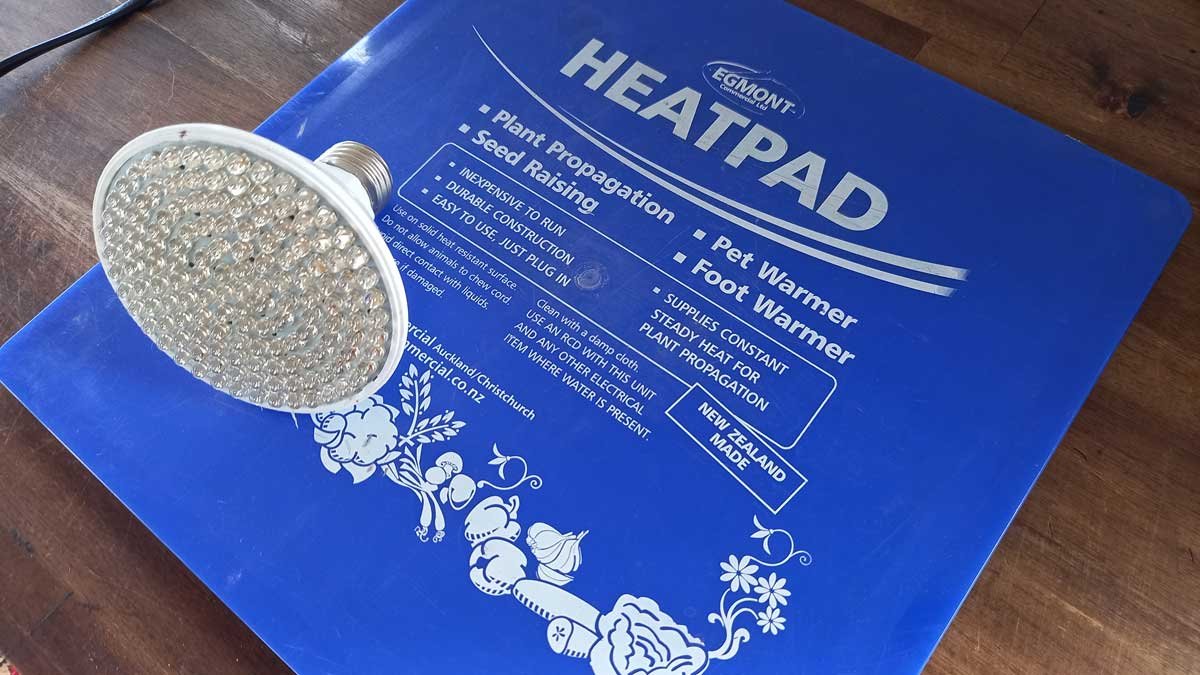
I purchased an Egmont heat pad and a grow light bulb before we moved to The Outpost. They get a lot of use in winter and early spring, then they pretty much sit in a cupboard for the rest of the year.
Despite this, I’ve never regretted having them. They are very helpful for getting summer plants like peppers and tomatoes started nice and early to give your garden a jump-start. The kind of thing I’m always glad I sprung for when I dust it off.

Our ‘grow light’ is a single lightbulb purchased from Ali Express for a few dollars in a very basic lamp from The Warehouse (I think). It’s nowhere near enough to grow healthy mature plants, but it gets seeds started.
At this time of year they can offer a lifeline to your more vulnerable plants, and a head start on the coming season. They’re not the first things I’d recommend a new gardener purchase, but if you’re looking to spend a voucher or something, this is a toy you’ll find uses for.
Bug net
As the global climate warm up, we are gaining new infestations of new critters. This year, corn earworm caused havoc in a lot of gardens in April and May. It’s only now we’ve had a few frosts that they’re starting to die back.
They’re difficult to control because they like to dig into fruit and vegetables like corn, tomatoes, and peppers. That means spraying surfaces with deterrents or poisons has limited effect.
We also have regular problems with green vegetable bug, as well as the usual slugs and snails. And a well-set bug net is one way to physically keep them off your precious plants.
The one pictured at the top of the page is from The Warehouse. It does the job if you happen to have a long and skinny bed – ours are a bit wide and short so I have to improvise and it’s not perfect.
It’s worth spending good money on – find a UV-stable one so it’ll last a few seasons. I’m a big fan of Cosio’s bug net – but I say that having not tried many other options.
Bug nets are not created equal, and a finer weave might be needed if your problems are very small bugs like mites or thrips. You might need to sort out some cloche systems to hang it over too.
I’m considering constructing an entire bug-net house over one of my garden beds to give capsicum a proper try. It’s an expensive project so I don’t know if it’ll come to fruition this season, but I’ll probably never have a great capsicum harvest without one.
Some good gloves
Gardening can be really rough on your hands. A good pair of gloves can save you a lot of discomfort and pain.
If you think you hate gardening while wearing gloves because you lose dexterity or feeling, then the problem is probably that you haven’t found the right gloves.
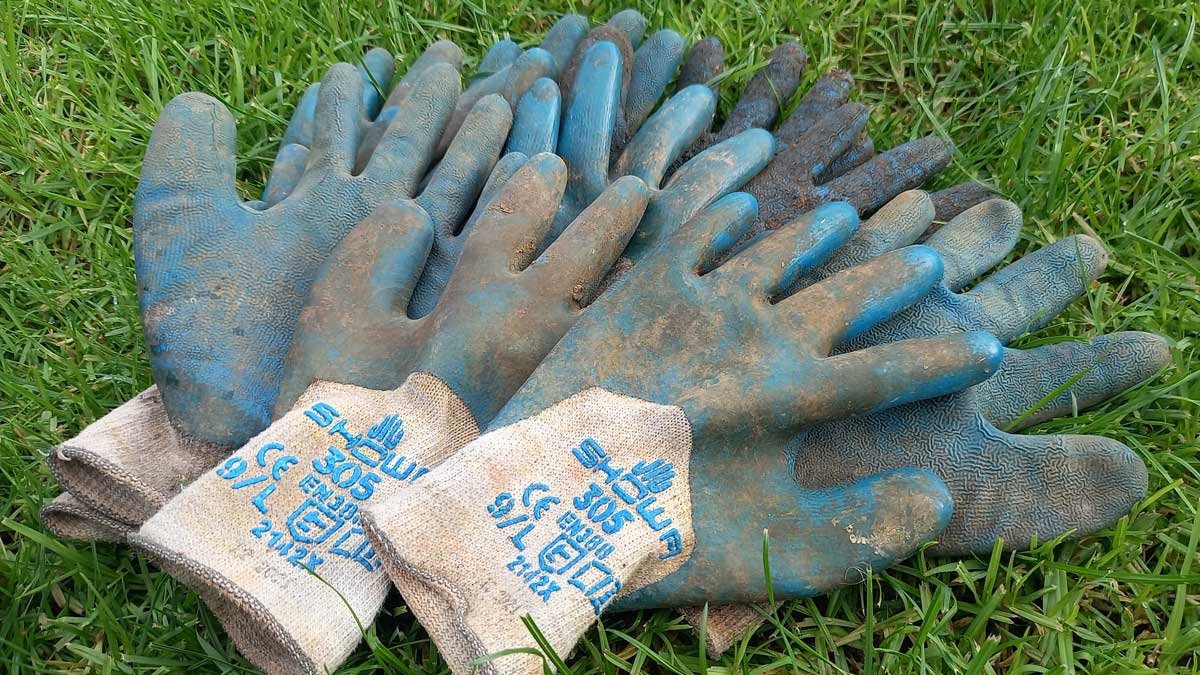
I spend about 20-30 hours a week in my gardening gloves between my paid work and home. I do a lot of fine-dexterity weeding, as well as handle prickly things like roses, gorse, and blackberry. My gloves need to protect my skin from chemicals, and be comfortable enough to wear every day for hours at a time.
They are my second skin, and I’m very loyal to my Showa 305s. I buy a new pair every couple of months because they are super important to my ability to do my work, and they do wear out with that kind of use.

But glove preference is quite personal – it’s totally OK if you like some other style of glove. The point is, keep looking until you find one you like.
Try them on in-store if the packaging allows. Give new styles a go when you get the chance. Something will work for you, you’ve just gotta keep trying them on until you find your perfect fit.
If they feel too bulky, try a size down. Recently I’ve had trouble finding my gloves in stock in my usual size. I’ve been wearing larges for about 6 years, and when I couldn’t find them, I tried some mediums. Turns out they are even better to work in!
Trusted advice
A great deal of my gardening is guided by three things: this moon calendar from the South Coast Environment Society, Companion Planting in New Zealand by Brenda Little, and The New Zealand Gardening Calendar by Michael Crooks (out of print but often available on TradeMe).
Over the years I have found that different gardening experts give different – often entirely conflicting – advice. So I decided to save myself a lot of stress and choose to trust these guides for when to plant what, and where.
Personally I chose them because I noted how accurate they seemed to be in my garden, but I think different things ring true to different people.
It might be that you align more with the maramataka or another system of gardening, and that’s great – it’s about finding what works for you and your garden. Don’t overwhelm yourself by trying to amalgamate all the advice from every source – choose your sources and trust them.
Figuring out what works for me has taken years of experience and experimentation. Regardless of our gardening experience, each season will throw new challenges and successes.
Starting with some good equipment will mean you are able to run with your ideas and intuition, learning as you move through the seasons in your garden.


