Since my garlic was dug up by a feral pig last month, I’ve been dreaming of wild bacon.
The feral pig population here is a bit out-of-control. They’ve been a problem for a long time, but hitting my garlic was the final straw. So we’ve begun work to reduce the numbers.
Richard’s first pig
A few weeks ago, Richard shot his first pig. It was a nice fat, female – we could not have asked for a better animal. Being a female means it doesn’t have the ‘taint’ males do. I’m pretty picky with meat, and game meat is something I’ve only begun eating in the last few years. So I’d been wanting a female to avoid that.
I don’t think it’s the pig who has been digging up my garden, but we also haven’t had an incursion since, so maybe it was.
After we shot it, we offered it to a neighbour who has been telling us how delicious these pigs are. They kindly came to pick it up, butchered it, and returned a leg to us (which was all I wanted).
I’m not a huge pork eater. When I do eat pork, it tends to be bacon, chorizo, or ham. Doing some research, chorizo and ham seemed like they might be a bit out of reach in terms of equipment and knowledge. But then I found this article on The Adventurer.
Aside from having the wrong leg (we got a hind, and bacon is more traditionally made from the shoulder), bacon looked like it might be attainable.
Sourcing supplies
I sourced the supplies I needed: dry cure from Dunninghams, spring net from The Casing Boutique, and a meat thermometer from Mitre 10. Everything else we either already had, or improvised.
All up I spent about $60 without even knowing if this would really work. But, if it did work, the minimum purchases meant I’ve got enough materials to do around 20kg of wild bacon. And there is definitely more than 20kg of bacon out there doing damage to our native species in the bush.
If I made 20kg of bacon, it would work out to be around $3/kg. I’m paying $48/kg for free-range bacon in the supermarket at the moment, so if it worked, the effort would also mean some massive savings over time.
A very long process
When I boned out the leg, the meat was beautiful. Much redder than commercial pork. It came out at 1.4kg after boning. I rubbed in 75g of the dry cure into the meat, and ran it back up to our neighbour, who once again kindly vacuum sealed it for us.
Then it sat in the fridge for 13 days. It needed to be in there for at least 10, and then we got some bad weather and distracted with other things. But on Friday this week, we got a calm day with no plans, and it was time to smoke that bacon.
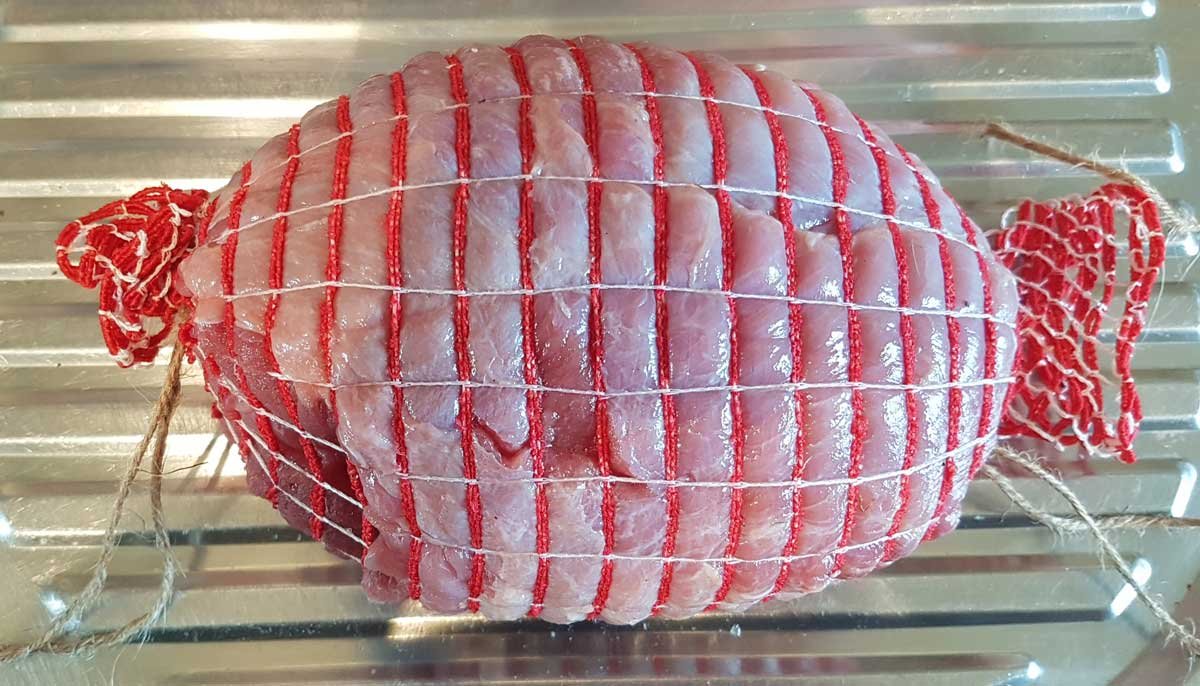
But first, I needed to get it into the spring-net. I ended up purchasing that through The Casing Boutique because they sell it in shorter (cheaper) lengths of 10m. Working out which size to purchase was a headache, so to save you that if you’re using this blog as a guide for your own bacon, I got the size “18/70 (175)”. It was pretty much perfect. I used less than 50cm of it for this leg.

One thing the blog I was following used that I didn’t have was a piece of pipe. The idea is you put the spring net around the pipe, and feed the meat through the center, into the spring net. Here’s a video of a butcher doing it if you’re having trouble imagining it. This gives you a uniformly shaped piece of bacon which helps with the smoking and cooking process. It also makes your bacon nice and ’round’ when it’s sliced.
I didn’t find an appropriately-sized piece of pipe, but I did have an empty giant coffee can. A can opener took off both ends cleanly, and it worked perfectly! After removing the leg from the vacuum-sealed pack, I rolled it back into the right shape and slid it through the can into the spring net. Then I tied up each end with a piece of string, followed by a piece of wire. I trimmed up the ends, and it was ready for the smoker.

Learning to smoke
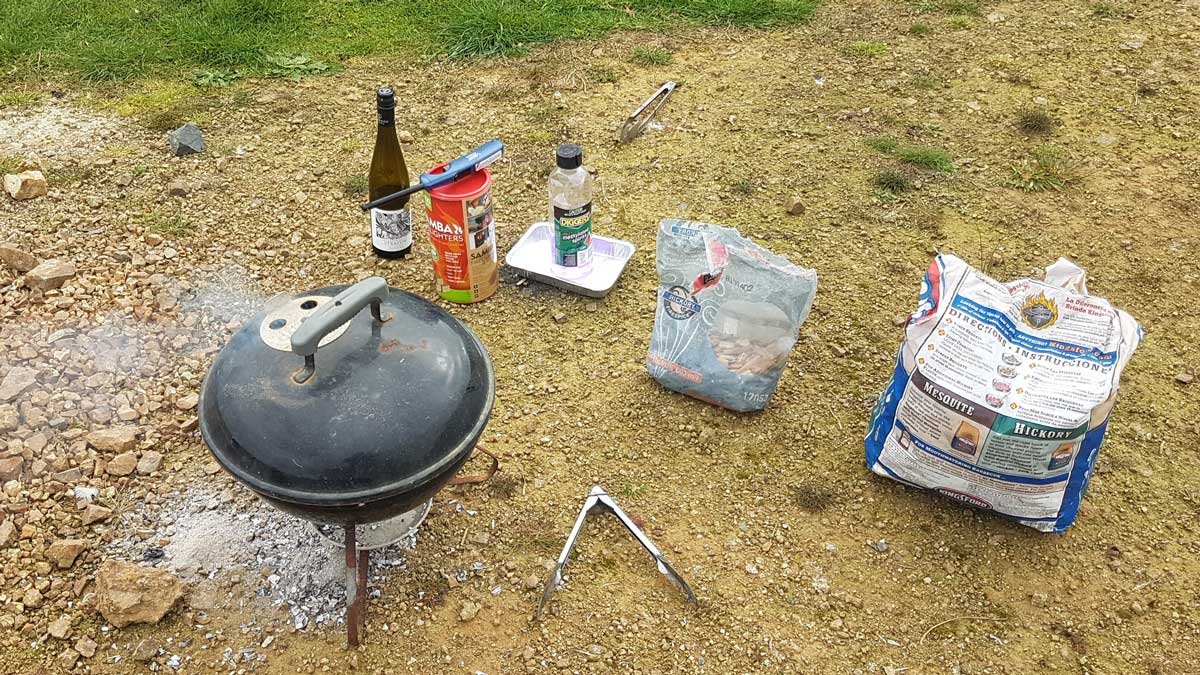
Next – because there wasn’t enough of a learning curve already – we had to learn how to use the smoker. We have a small charcoal BBQ and everything we needed thanks to the former residents who left them here. We’d never smoked anything in our lives though, so this is probably the stage where we really could have messed this whole thing up. It’s probably not the kind of smoker the blog intended, but it’s what we had.

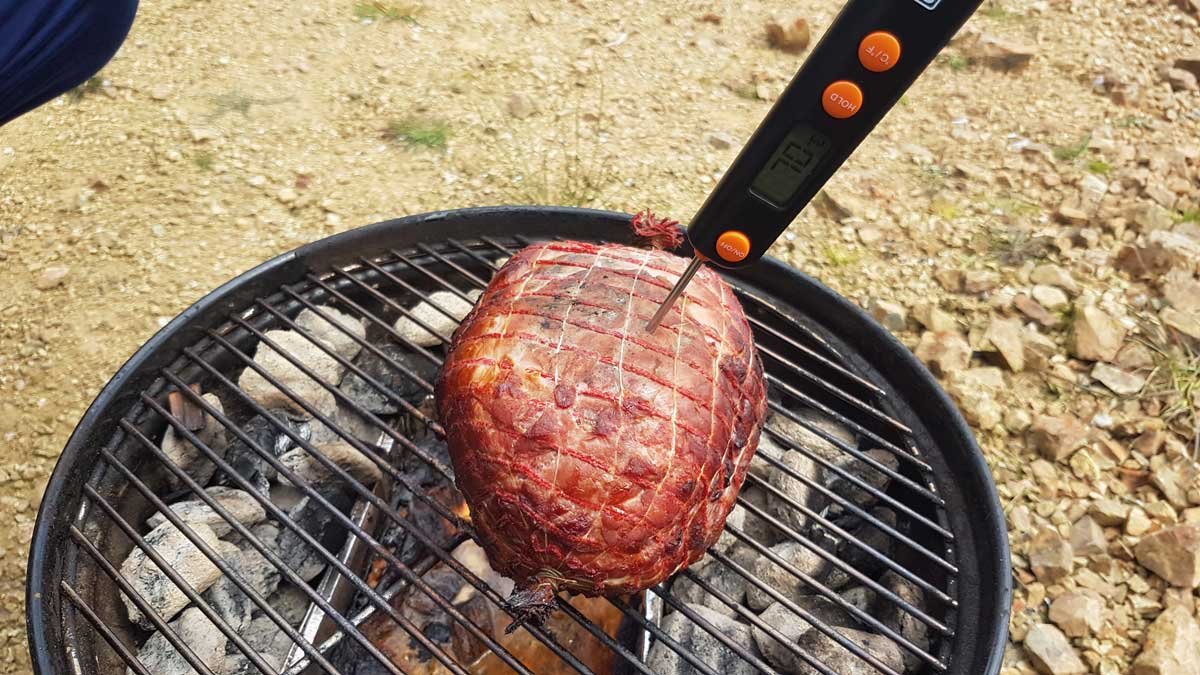
After some more YouTube research, we got the thing lit, and figured out a configuration that would make this work. The leg only just fit under the lid of our smoker. We used hickory for the smoke, and I kept a timer going for the 3 and a half hours it took to fully cook it. I checked in on it every 20 minutes, improving the burn, topping up the liquid (I used an old bottle of Riesling), and turning the bacon over.
After 3 hours, it was finally starting to ‘feel’ cooked, so we checked on it with the thermometer. On the first check, we got to 70°C, but I wanted to get to 72°C, so I gave it another 15 minutes. At which point, the bacon was done.

Taste testing
We don’t have a meat slicer (though I see they are available on TradeMe for around $100), so I didn’t want to slice into it while it was hot. I allowed it to cool for an hour, then covered it and put it in the fridge to cool completely.
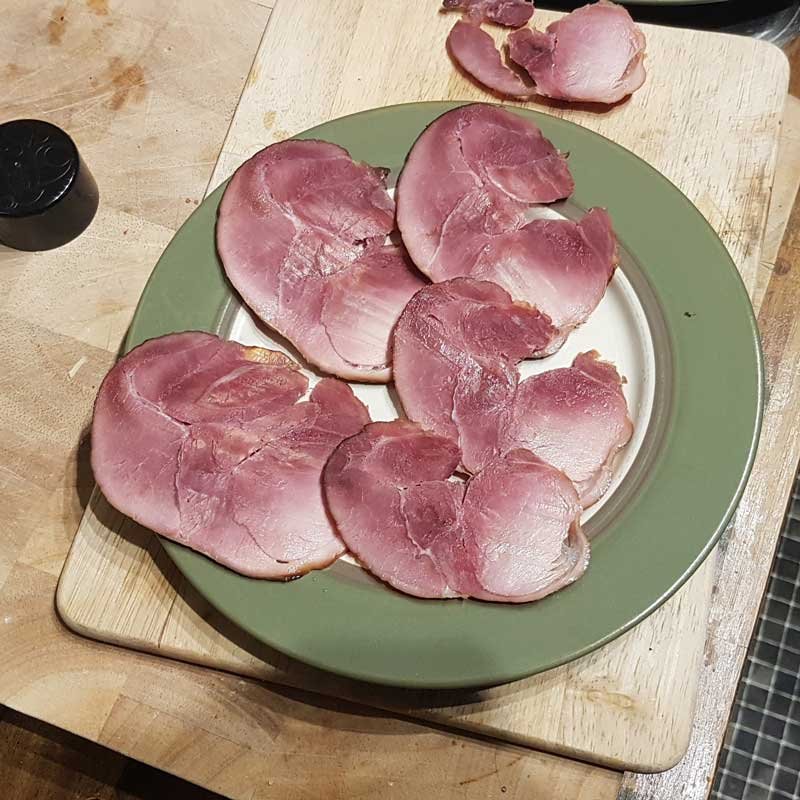
Later, it was time to see what we had created. I cut off a section of the net and used a nice sharp knife to take off a few slices. To get a good idea of what it was like, we sampled it on plain white bread with butter – a simple bacon buttie.


I’m proud to say I succeeded in making bacon. It could perhaps have benefitted from some more fat on it – it’s a little tough in places. But it’s going to be perfectly usable in cooking. I’ve just got to get it into smaller bags and freeze it.
There are definitely places to improve the process, but ultimately, we just turned our first kill into bacon, which we will actually eat – though it will probably last us ’til Christmas! It’s not quite the bacon I’ve been conditioned into being used to, but it’s pretty sweet revenge.


