Did you know you can grow your own ginger starting from an investment of under $1?
I’ve done it twice now. There are some things you need to do to get your ginger started, but it’s an easy crop to grow that should only be grown in pots, so it’s something that’s accessible to a lot of people.
Timing
I’ve learned that ginger grows with the seasons. In New Zealand, you’ll start seeing growth in October-November, and it’ll die back in June-July. This means as long as you get warmer temperatures in the summer months, you should get some growth – though I can only speak for my experience in warmer Northland.
Any time between now (August) and November is a good time to get your ginger into soil. Just be aware that it’ll grow when it’s good and ready and it might be a while before you see it.
Pick your piece
You can start with a piece of ginger as big as your pinky finger (either straight or curled up). In the past, I have simply purchased this from the supermarket produce department. In my experience, you’ll get about four times what you put in the pot by the end of the season. The piece I grew from last year cost $0.72 (around 50g) and returned me about 200g of ginger.
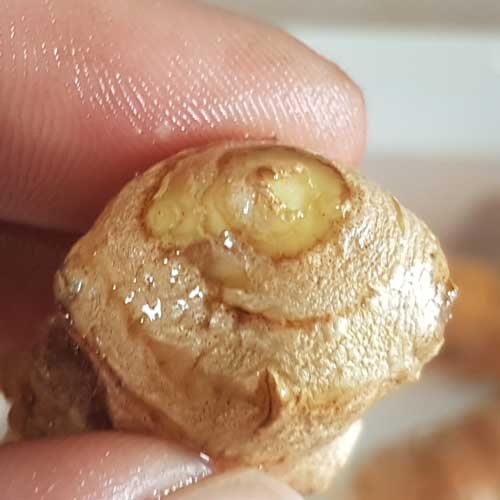
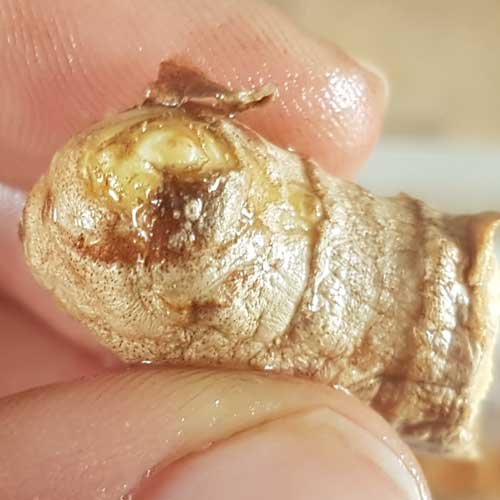
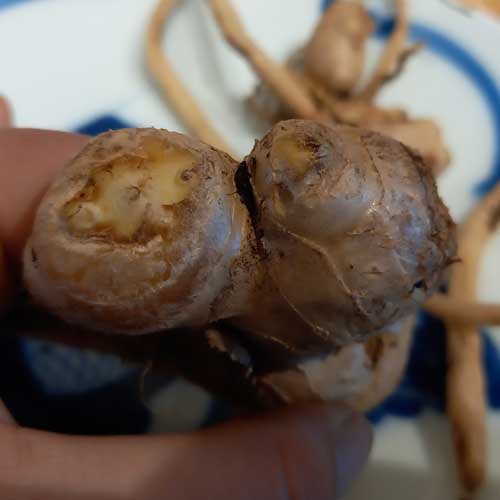
Look for a plump and juicy piece, avoid anything shriveled. The important thing it needs to have is an ‘eye’ where the green stems will emerge from. As long as your ginger has an ‘eye’, it should grow.


Some examples of ginger ‘eyes’
Pre-soak
Sometimes the horticulture industry uses growth inhibitors on produce. I don’t know for sure whether that applies to ginger, but it’s definitely imported, so it’s worth soaking for 24 hours to remove any chemicals that may have been applied to it.
Try to change out the water at least a couple of times in this period to reduce the concentration of any unwanted chemicals that might be in the water.
Pot ‘er up
Always plant your ginger in a pot. It makes harvest considerably easier and prevents it from becoming invasive. I haven’t seen this particular ginger grow flowers (that can spread seeds), so a pot should be enough to keep it contained. Ginger is really difficult to get rid of if it takes hold. Don’t take the risk.
Choose a pot that’s wider than it is tall, with a flat bottom. This encourages it to grow the fat roots we’re accustomed to eating.
I’ve found success using plastic 13l “Shrub Tubs”, which can be purchased for about $8. Black will help retain more heat in the root zone. One of these pots will take at least two or three 50g pieces without running out of growing room.
If you have one spare, recycling bins (with a few added holes in the base) are another good option. You could use 5 or 6 starter chunks in a pot that size.
I’ve also used an ice cream container with holes punched in the bottom. That worked really well, but the plant filled the space before the end of the season. Stick to just one chunk of ginger to start if you choose to try this one.
Otherwise, you want a quality potting mix – perhaps mixed with some sheep pellets, Dynamic Lifter, or compost to boost the organic matter content.
Plant your ginger about 2cm under the surface of the soil, with the eye facing up.
Where to put her
In the wild, ginger is an understory plant. It lives under the canopy of trees in sub-tropical climates. It likes a warm, shady position, with a bit of filtered light.
This makes it pretty ideal as a houseplant as it doesn’t need direct sunlight, but it does need warmth.
In the warmer months (or in warmer climates), it can be placed under the shade of a tree. It would appreciate a bit of morning light if you can spare it. We grew it in the shade house last year and it did nicely there.
Keep it moist
Before you see growth, water it about once a week. It’s OK if it dries out a little as that reduces the chances of rotting before it grows.
Once you start to see the first tips appearing from the soil, keep your ginger moist. Ginger likes water. Adding a layer of mulch at this point will help prevent evaporation. A tray underneath the pot can be topped up with water to make it a bit easier.
A seaweed or fish-based fertiliser over the summer months will help boost growth, but once it’s going, it really just needs water.
Growth and harvest
You can track the growth of your ginger underground as it puts up more stems. Each stem comes from an ‘eye’, just like the one you originally purchased, and each stem will be attached to a chunk of ginger.
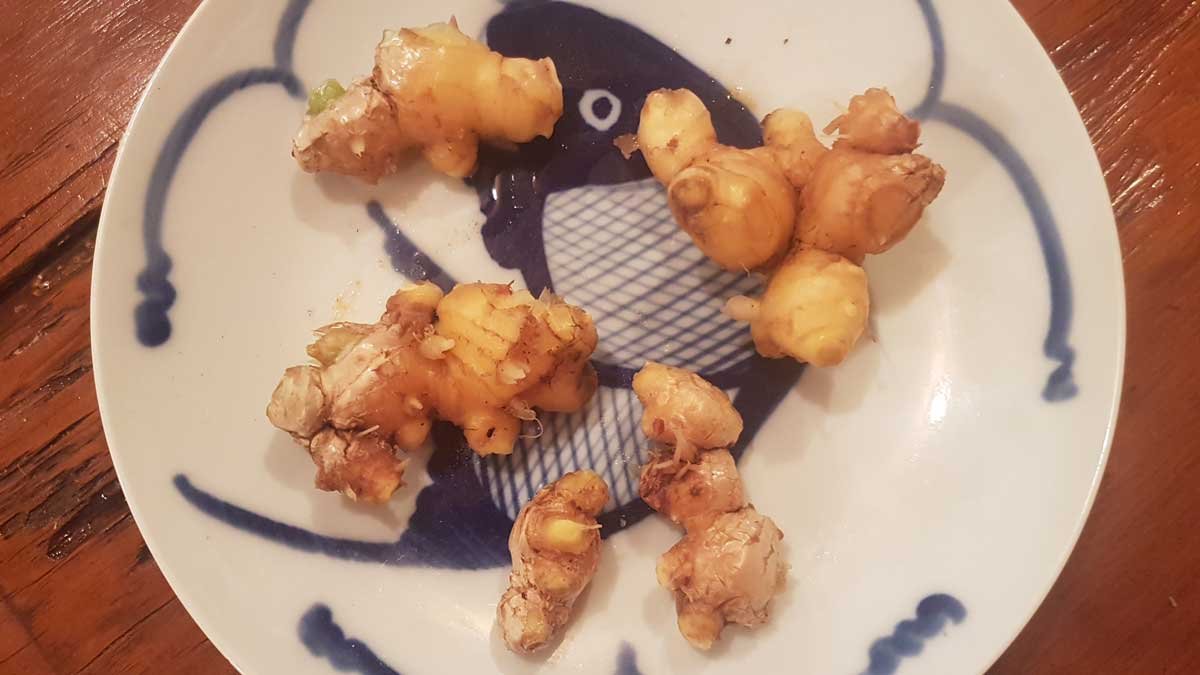
When you’re up over 8 stems, you can dig around an outer one and harvest on demand, which is what the image at the top of the page is from. I’m a bit iffy on how much we actually grew this year as I’ve been harvesting for dinner since April.

Ginger when I looked on Tuesday. Ready for harvest.
You’ll notice the stems die back as we move into winter. They will brown and fall off. At this point, you can dig around and lift all the ginger.
You can store it in the freezer, or pickle it in a clean jar topped with white wine or sherry.

Harvest from 2019

2021 harvest (minus what I’d used early)
Make sure you hold onto a couple of good chunks for next year. Let them dry for a couple of days, top up the organic matter content of your pot, and pop them back in until it gets warm again.


