A couple of years back, I purchased 10 strawberry runners from a strawberry breeder on TradeMe. They promised big, juicy strawberries as good as commercial ones. The plants lived up to the promise.
Last year before we moved, I collected up my own runners and saved more than enough to bring with us. I left some at our rental for the next tenants. I gave heaps away. And I still had more, so I sold some too.
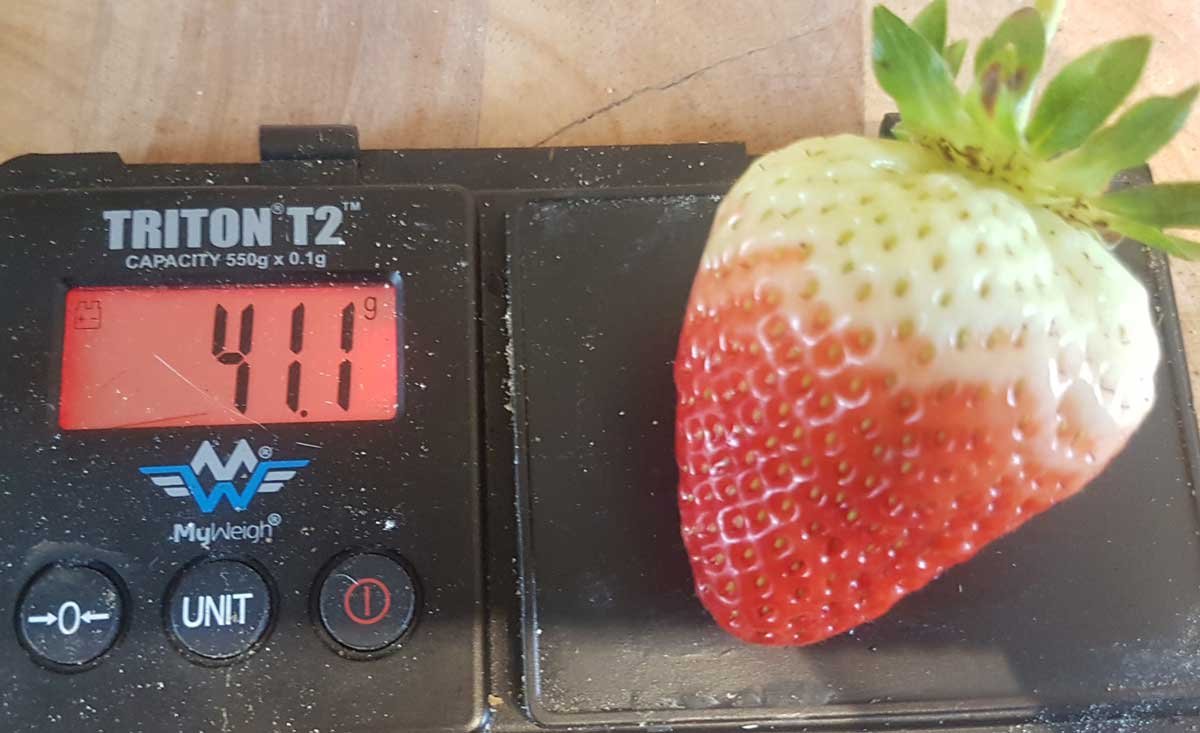
We planted them into one of the existing garden rows here at The Outpost pretty early-on. We’ve certainly had no complaints about the berries here. We had great strawberry harvests in both early summer and early winter. A few days before the shortest day, I harvested a single berry that weighed 40g. It was huge!
But the bed they were planted into here isn’t ideal. It gets invaded by kikuyu. It wasn’t easy to harvest or maintain. Plus, as we now know, the soil nutrition isn’t what it should be. I decided a while back to do away with these long skinny beds, but I haven’t been able to move the strawberries until now.
In order to finish my grand garden plan, the strawberries needed a new home, fast. They’re currently in the way of the final two beds. I set aside a corner of my garden for them, mostly as a tactic to get the last of the garden development underway. But as I worked on the other beds around it, I realised I could build something beautiful here as well.
Our garden slopes. Not by a lot, but it does. One way to improve gardens on slopes is to use terraces. It’s a horticultural technique proven over thousands of years by several civilisations. It’s something that makes sense to experiment with here, given we have more slopes than flats.
Strawberries can also grow in the same place for a while. If I put the time and effort in now, I shouldn’t have to move them for years. And if I built it well, I’d be able to make harvesting and bird protection easier.
These thoughts percolated in my brain, and a vision began to emerge. It started off quite modest, and became a little grand. At first, I was just going to throw something together using whatever materials we had around. But nothing quite fit together.
Then I realised that this is my property, and I get to do (and keep) whatever I want. Putting money into something here will have the opportunity to pay off. It’s still a novel concept to me after 20 years of renting. So I did some research and asked some questions. The vision grew to the point where I knew if I did anything less, I’d never be happy with it.
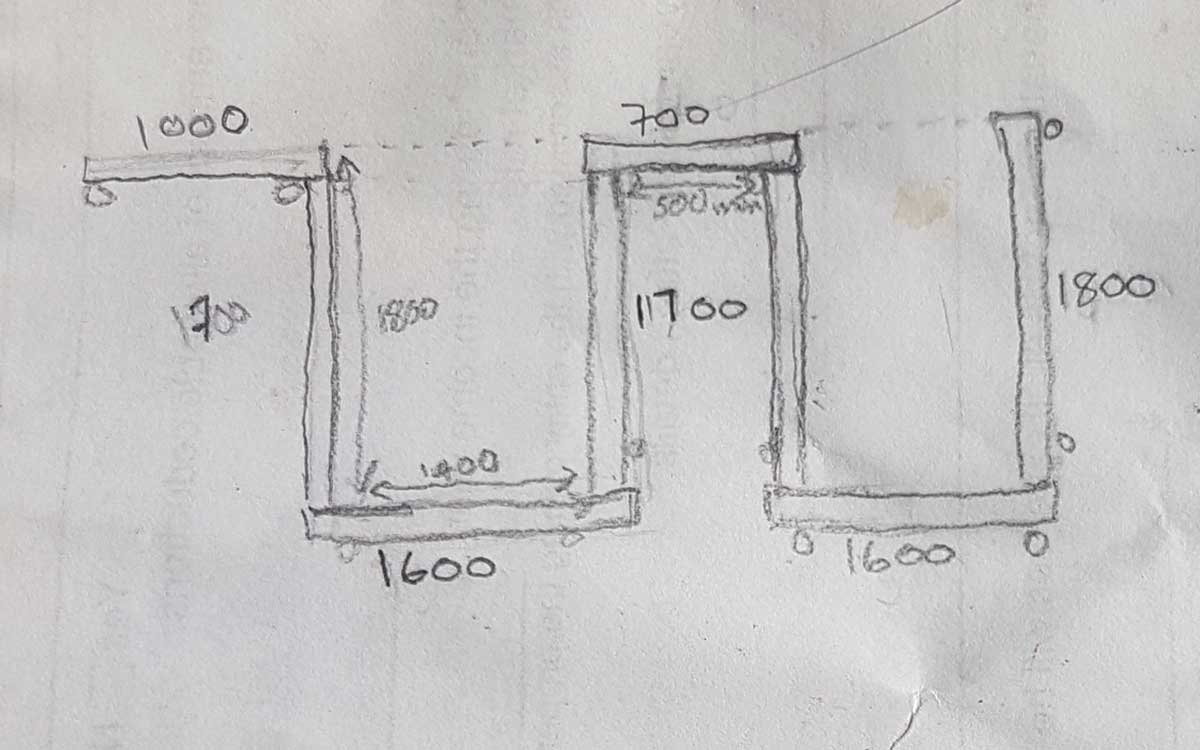
The sketch I was working from.
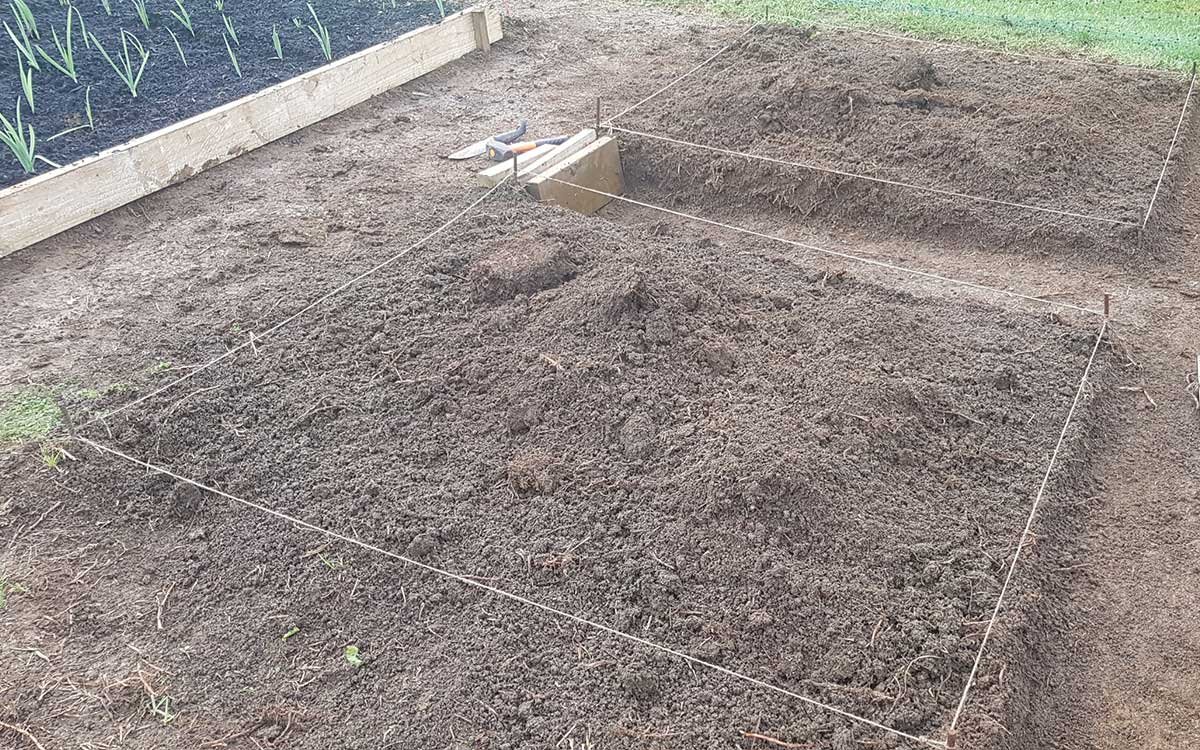
Early formation of the beds.
I got wood
My local ITM store was pretty important to the whole process, because what elevates the strawberry beds is the timber I’ve framed them with. It needed to be framed, and because of the risk of slips and erosion, it needed to be framed well. Treated pine was never really an option. It was cheaper, but as well as potential leaching issues, if I ever decided to get organically certified, I’d have to rip it out. I began looking at macrocarpa (as you do), but then the sales consultant suggested Eucalyptus saligna (Sydney Blue Gum).
It was a tiny bit cheaper than macrocarpa, but more importantly, it can come in longer lengths. If I ever decide to frame my larger beds, I’ll be able to source the up-to 5m lengths I might need. Saligna is very, very dense – meaning hopefully we’ll get a number of years out of it before it rots.
If I want to, I can also grow this timber. As far as I can tell, it’ll grow quite well here if I’m clever about my site selection. I could potentially plant a stand of them to replace my beds eventually. When the wood is cut, the tree will even grow back again! I don’t think I can grow macrocarpa here (it’s too warm and they’re susceptible to disease in warm conditions), so this was a little sustainability cherry on top.
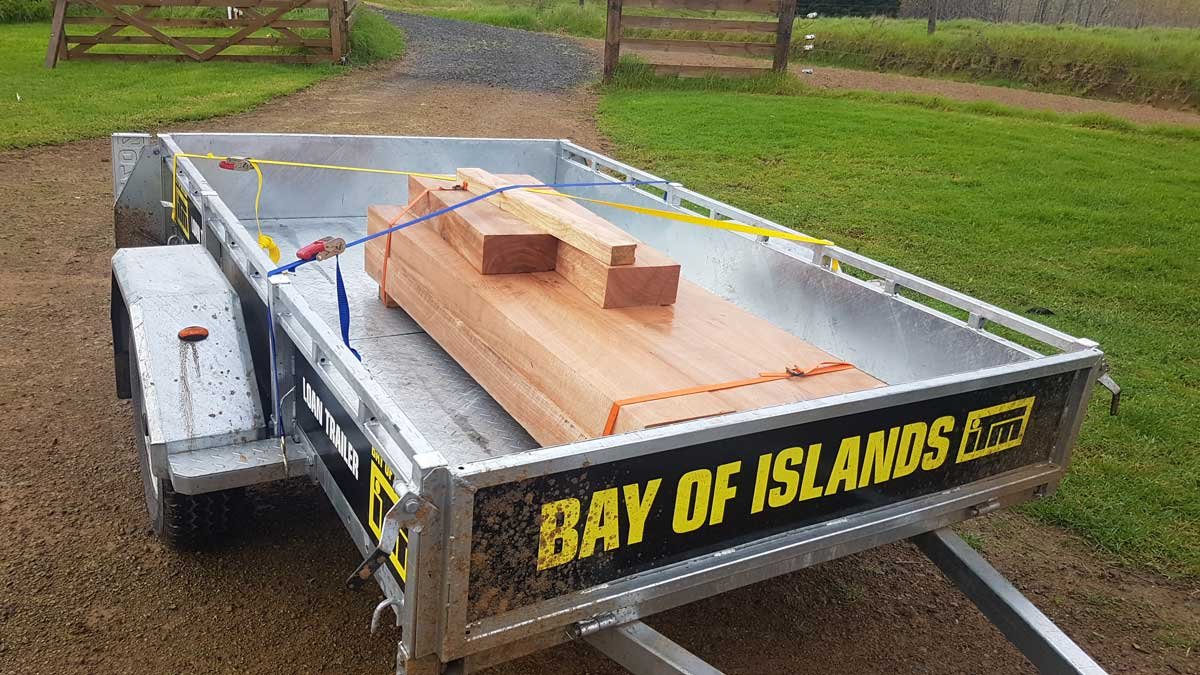
And so, last week I found myself at my brand-spanking new local ITM store, picking up almost 12m of Eucalyptus saligna sleepers in pre-cut lengths. The staff were really helpful and friendly, and the whole process was easy.
I got my saligna home, and somehow unloaded it by myself (I don’t quite know how, it’s heavy as all hell, but I did), took the trailer back, and could finally get to work.
The first task was to carve back some extra soil and level the site – I’d paused the groundwork as it became apparent my original design would become a bit grander. As I watched the rain, I realised water could settle under the wood and increase the speed of decay. I have a small pile of drainage metal, so I decided to put that under the sleepers to keep it above the water-level. I also formed the inner path to make the water drain away from the garden entirely.
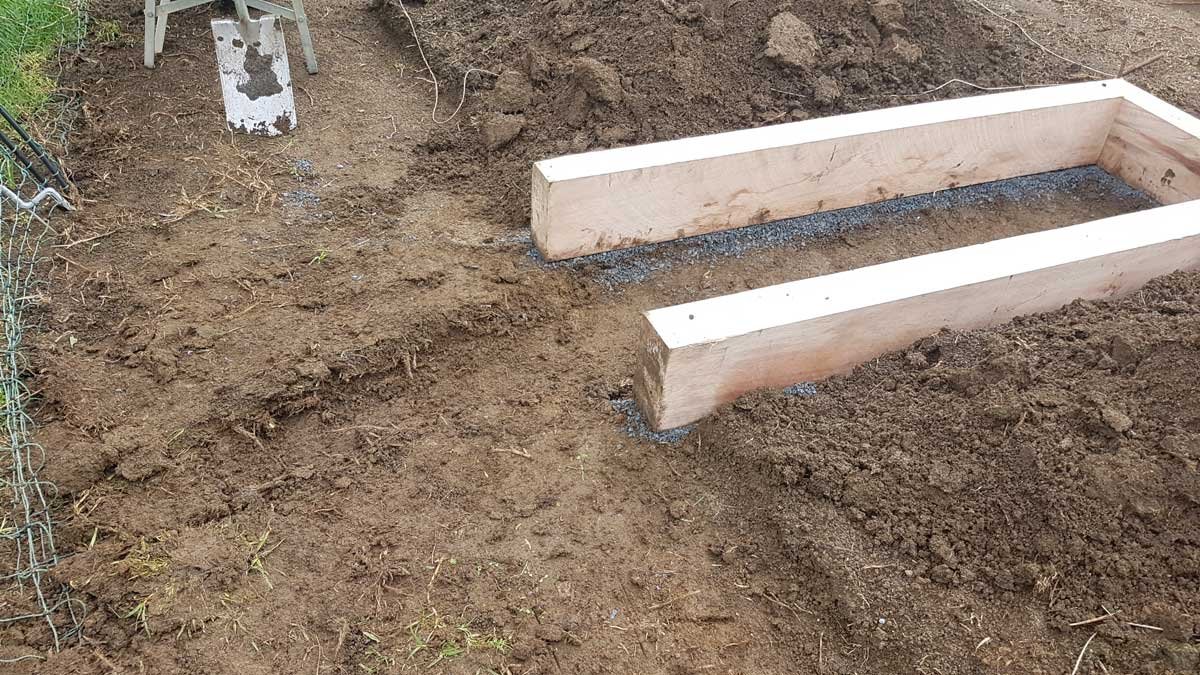
The earthworks below the path drain the water away from the beds.
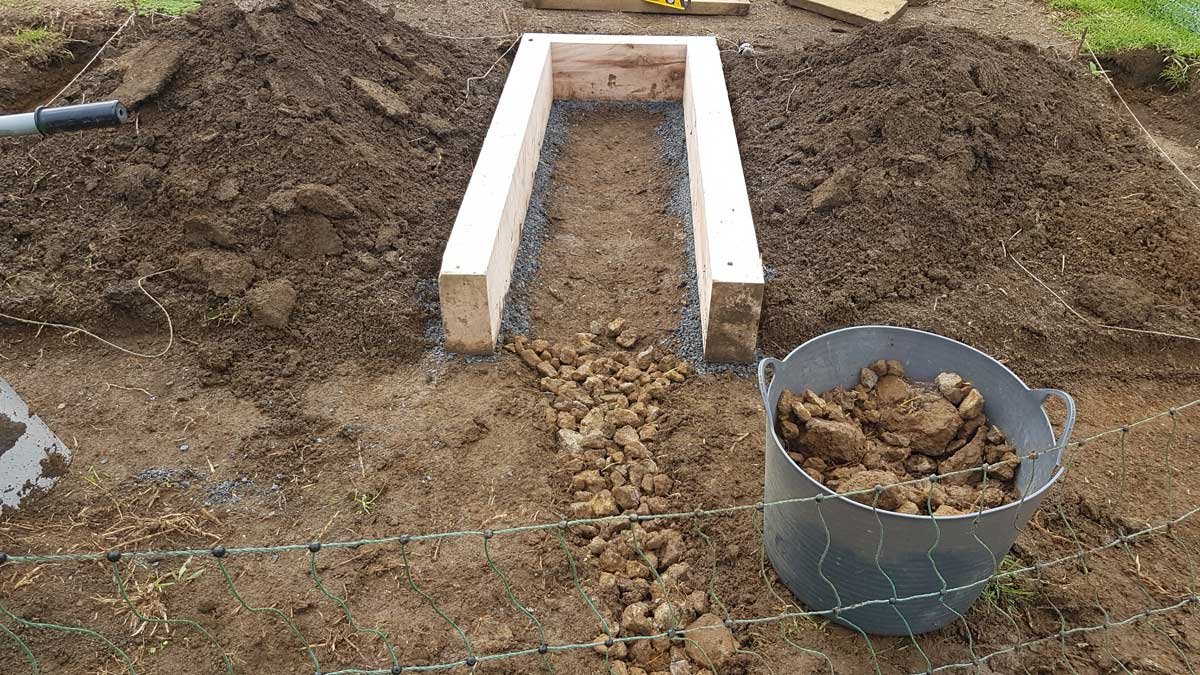
Rocks (taken out of the garlic bed), will help slow water and stabilise the path.
Piece by piece, it came together. Exactly as it had looked in my head.
We placed and secured the sleepers with 150mm screws. It was a bit of a process – saligna is hard and our drill didn’t love it. Then I added timber pegs for even more security. This time I did use treated timber: the pegs are on the outside of the bed, can easily be replaced, and are important to structural integrity.

The beds were built, and they were beautiful, but they still needed some additives to improve the soil. They got manure, lime, blood and bone, Nano-Cal, and bio-char as per our soil test results. One bed also got a kilo of BAS-50.
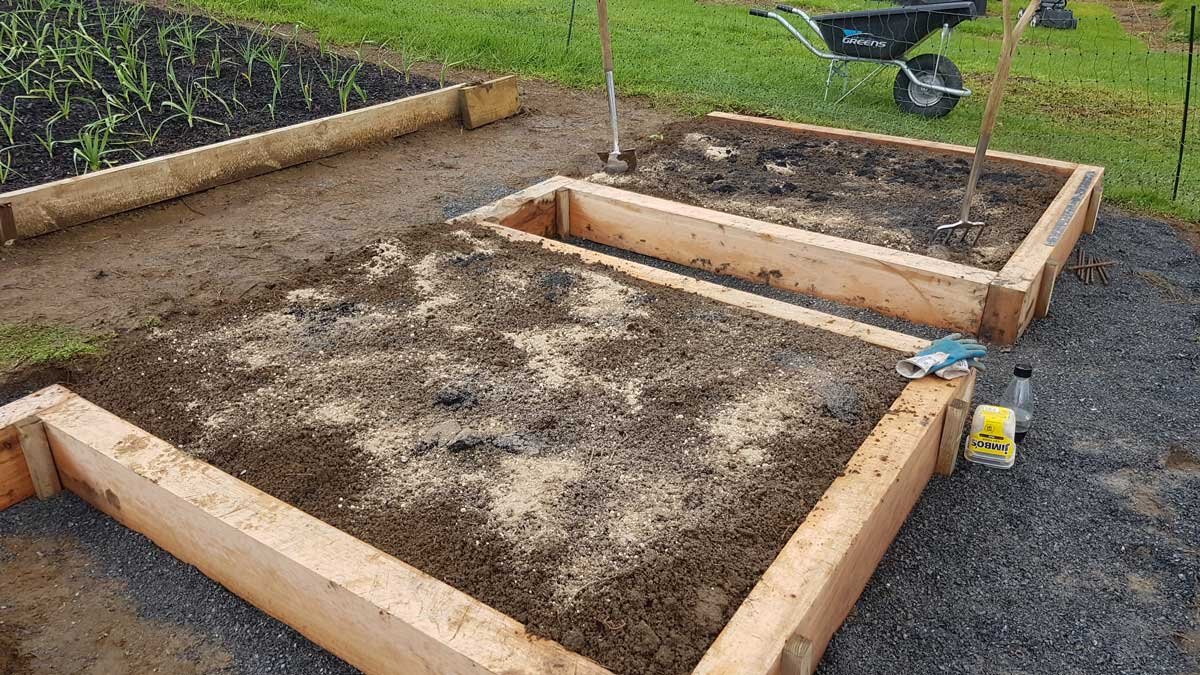
The BAS-50 Experiment
I have two identical beds, which will each be growing an identical crop. I thought this would be a good chance to run an experiment.
I’m using a product called BAS-50 to improve the ‘paramagnetism’ of my soils. But I have no idea if it’s actually worth the money (there’s more about this in my blog about our soil test results). I don’t know how much I believe in paramagnetism – when you read the description on the bag it sounds a little ‘out there’. But it also comes recommended by gardeners I admire, and I’m open to things I don’t understand if I see the results.
So one bed has the recommended application of 400g/m². The other bed does not. In all other ways, they have been prepared and planted equally.
In theory, we should see some benefit to the bed with BAS-50. The bag says it will improve “the antenna–like characteristics that allow a soil to attract maximum energy from electromagnetic radiation in the atmosphere.” I don’t know what that means for strawberries.
We might see a difference in the amount, or quality of the fruit. Or it may be in the health and vigor of the plants. Maybe they’ll fruit a little faster, or have a longer season. I honestly don’t know. I’ll do some experiments and measurement over the fruiting season and report back on this later.
Planting
Then it was time to plant. I started with a sketch, which would guide how my planting would work. It told me I could fit 25 plants per bed. I marked my rows with string, then I began lifting the runners.
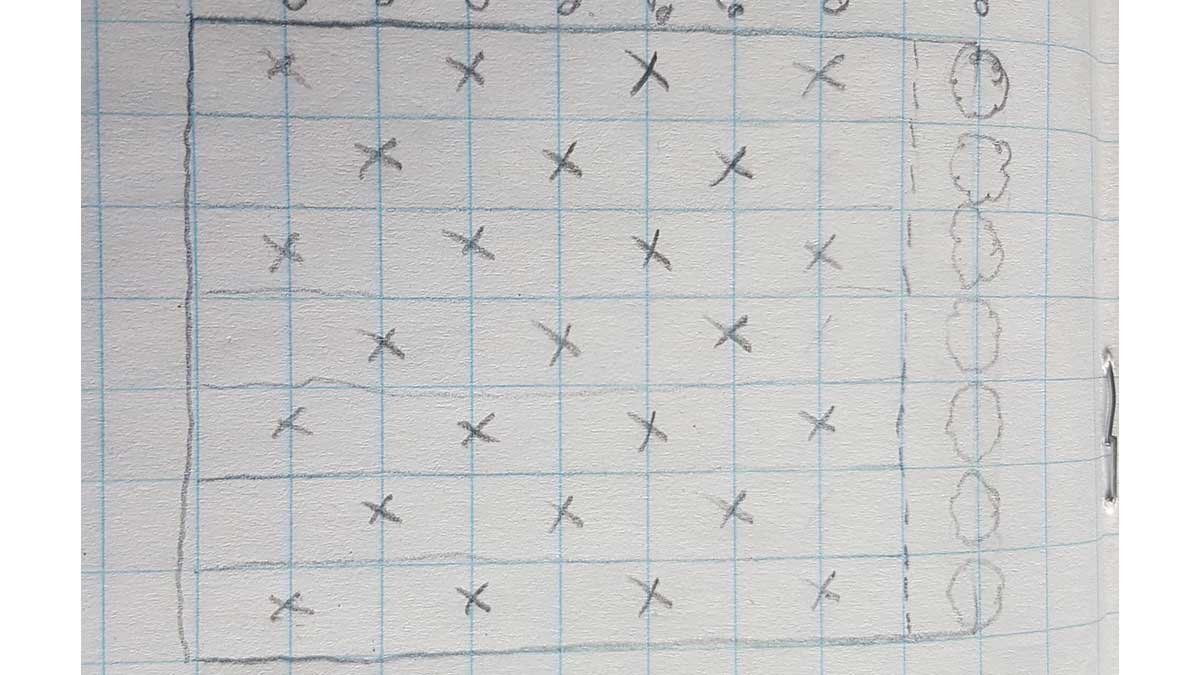
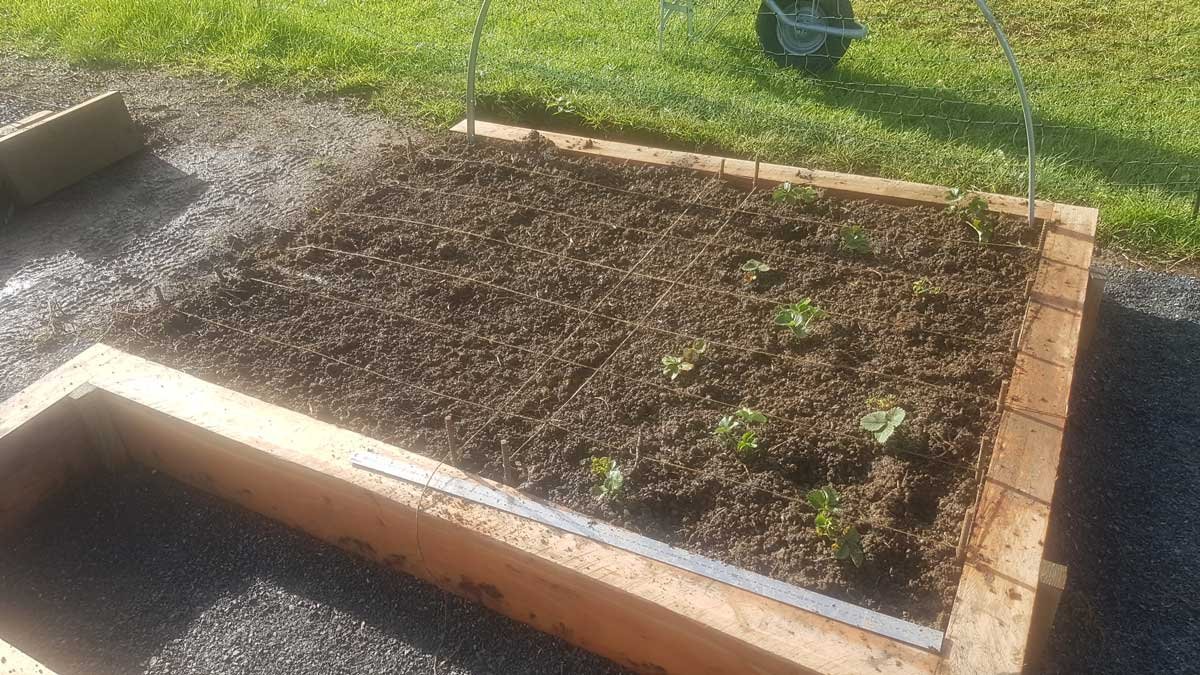
As much as possible, I wanted to be using new runners produced last season, rather than the older plants. New runners have more energy. After the second year, plants don’t do quite as well, and I wanted to give these beds the best possible start.
I wasn’t entirely sure if I’d be able to do it. I needed 50. We definitely had some runners, but they hadn’t exploded like they did the year before. As it turned out, we had just enough. I’ve kept a couple of extra aside in case we have any die-back in the beds, but I used pretty much all of them.
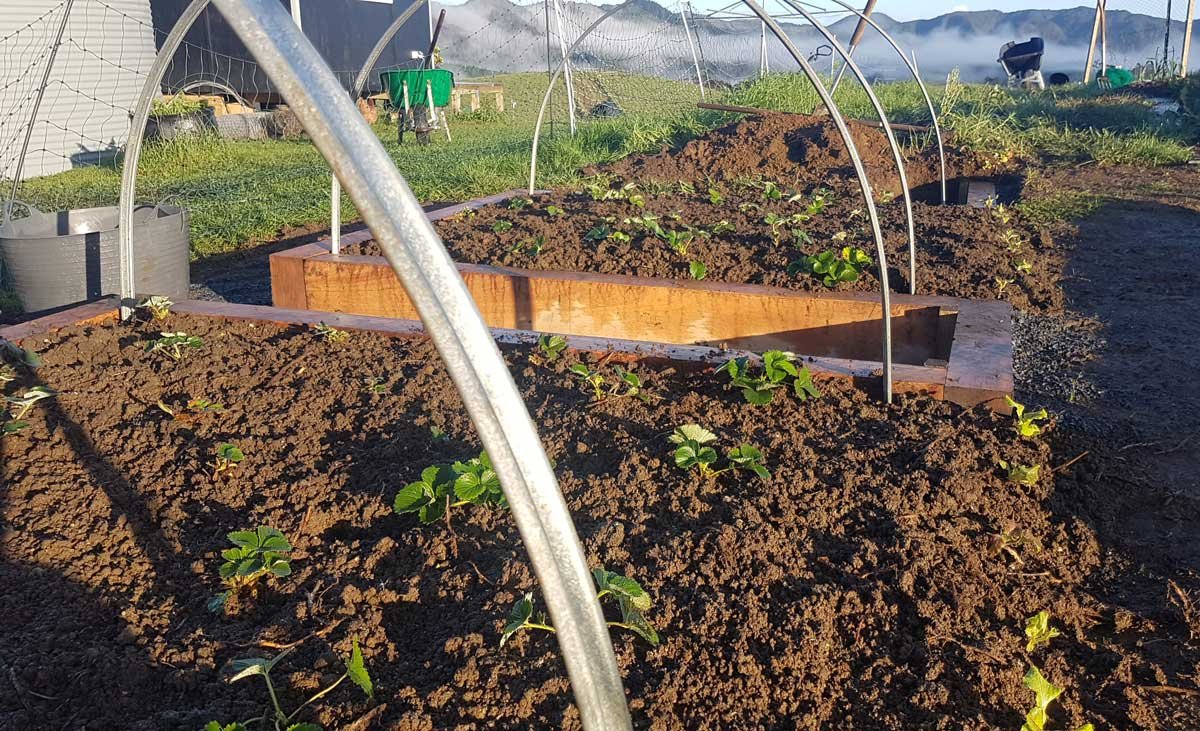
Finally, I planted in a row of lettuces between the upper path and the strawberry bed. Later on when it starts warming up again, I’ll replace them with a row of marigolds.
Bird protection
These beds have been built with bird protection in mind. I’m lucky enough to have inherited some marvelous row covers from my Popa’s garden. I’ve decided to dedicate 4 of them to these beds. The size of the beds has been mostly determined by the size of my hoops.
When the berries start ripening (typically around mid-late October), I’ll add some bird netting. We’ll be able to attach the netting directly to the wood using some nails, hooks, or screws (I haven’t decided yet). It’s pretty similar to the system we had growing up, so I know it’ll be easier than what we were dealing with last season.
The future
I won’t really have to do much from here. Mostly I’ll just get to enjoy the fruits of my labour.
The netting will need to go up later on, and I’ll need to put on some mulch. There might be a bit of weeding.
Inevitably, unless something goes horribly wrong, I’ll need to lift the runners again next year. If I can sell 30 bunches of them, this project works out cost-neutral.
I honestly don’t know if I’ll do any of the other beds with timber framing. It will absolutely depend on what my head decides to come up with. For now, I’ll see how it performs, and enjoy this lovely little corner I’ve built for myself.


