For as long as I’ve been really learning about gardening, one of the most-often repeated pieces of advice I’ve heard is “Do A Soil Test”.
There’s no point applying fertilisers and amendments you don’t need to your soils. In fact, you could cause your soil to have too much of something – which is just as bad as not enough.
But the only way to know what your soil needs is to take a soil sample, send it into a lab, and have them tell you what nutrients are already there, in which amounts. There’s no other way to reliably do this. Without a test, you’re only guessing. And it’s very easy to guess incorrectly.
Having imbalanced nutrients in your soil leads to plant-health problems. They are more susceptible to pests and diseases. They may not grow quite right. The problem can be too much of one thing or too little of something else – sometimes both. Sometimes it’s the wrong pH, meaning the nutrients might be there, but it’s too acidic for the plant to access them. But you can’t know for sure without a lab analysis.
I was listening to a podcast recently where two very experienced gardening experts joked about how it is advice often heard, but rarely followed. I laughed when I heard it – it’s me! I’ve never done a soil test on my gardens before.
In my rental, I never felt like a soil test was worth doing – spending at least a hundred dollars to find out what someone else’s soil is like didn’t seem like a great use of money. And before that, when I grew in containers, I was buying all my soil anyway.
But here – on my own property, where I am trying to improve the environment and grow goods I can sell – well, it might make some sense. I probably should have done it the moment I took possession.
But the truth is – honestly – I had no idea where to start.
Soil tests are things farmers do for compliance and optimising their pasture growth. They are primarily about getting an optimum fertiliser regime set up for the fastest, most efficient pasture growth and minimum nutrient losses. They are organised through farm stores, and my impression of the results is they’re not very easy for a regular gardener to interpret (and therefore gain any value from).
I might have a lot of space, but I haven’t started thinking of myself as a farmer. I’m more like a grand-scale gardener. I have no experience with any of it. The whole process confuses me, and I’m not convinced I’ll even know what to do with the results.
But reading through some Koanga Institute blogs a couple of weeks ago, I was reminded of the Reams test, which rather than telling you how much of each element is in your soil, tells you how much of each element is available for plant use. It’s a fine delineation, but it makes a difference to how useful the results are for a gardener.
There’s an example of the results online – and an explanation of what each element does in relation to the others. It looks more useful than other things I’ve seen in the past.
But I was still pretty lost, so I emailed the company with a whole bunch of stupid questions. A few hours later I got a very patient email walking me through the process. It really wasn’t hard at all, and would cost $107 (incl GST) per area that I wanted to test. I decided to go for it.
This year, I’m only testing my current garden area. I have other areas I may choose to test in the future (the orchard area, the area I want to grow crops etc), but for now I am most concerned about having a highly functional garden. It seems like a good spot to get to grips with using soil tests.
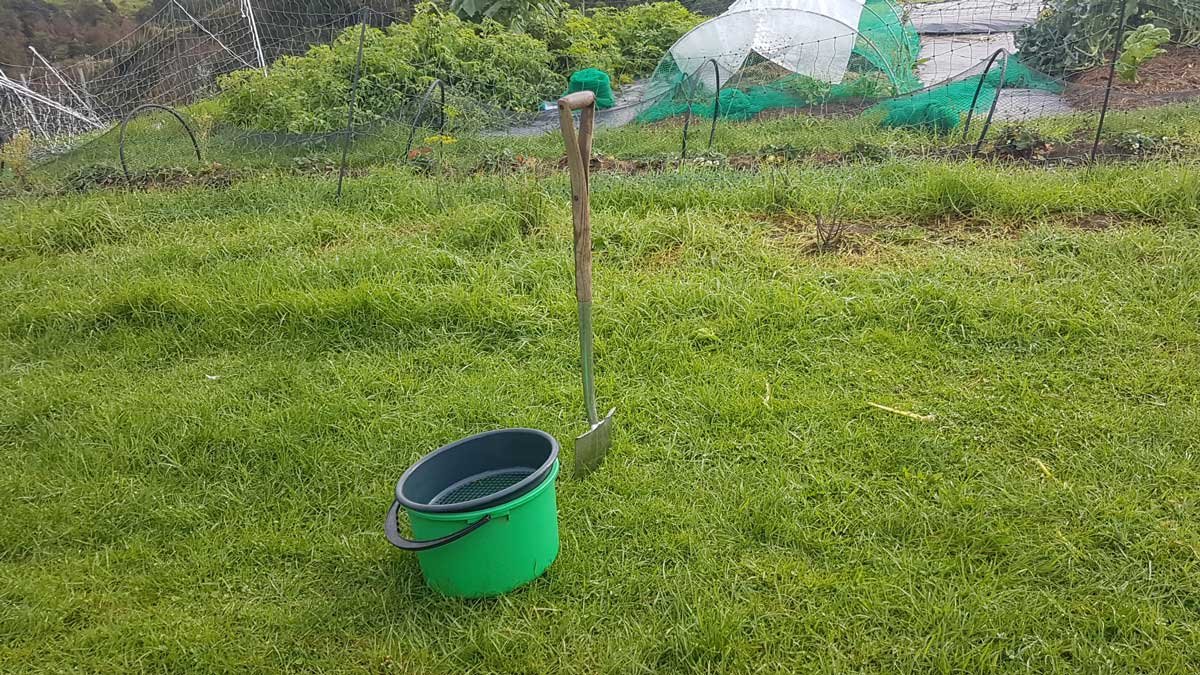
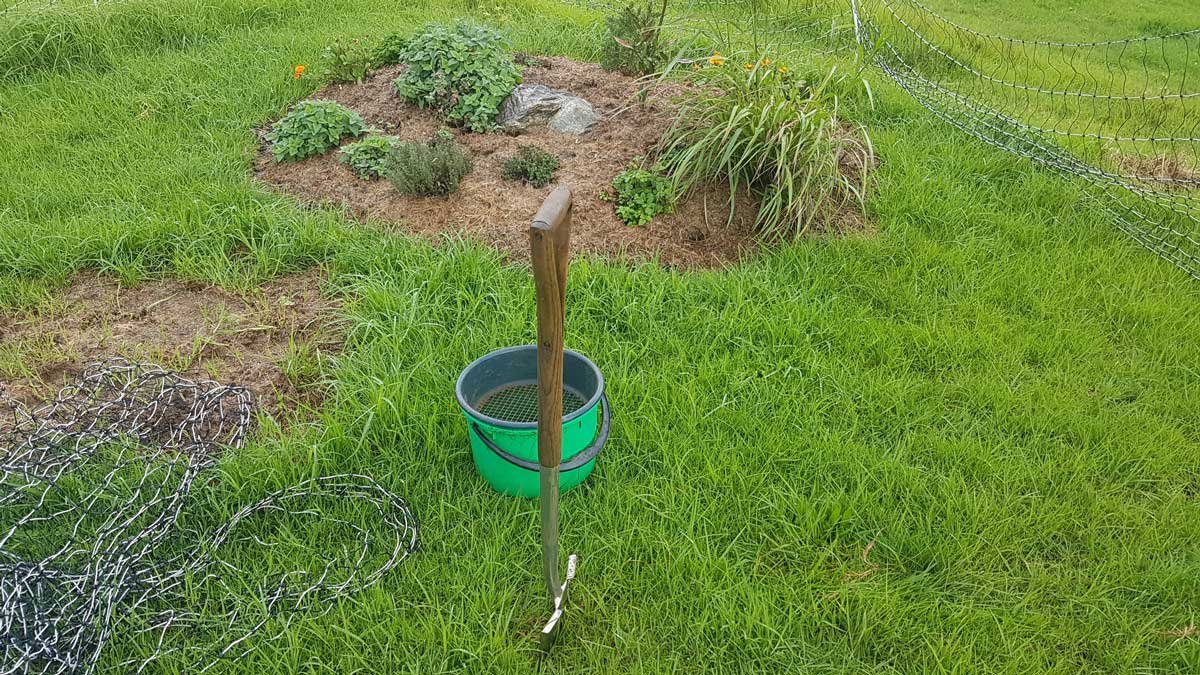
So, armed with a clean bucket, I took soil samples from a few spots around the garden. I stuck to the areas where nothing had been done yet to try and get a ‘natural’ sample. I didn’t want any of the manures, composts, or lime I’ve blindly put on my garden beds to mess with the samples.
I took 4 samples from undisturbed spots around and near my garden. For each sample, I dug down 15-20cm, and took about a cup of soil from below the grass roots. Each sample was sifted, and went into the same bucket as the others.


When I was done, I mixed those samples up, and put 2 cups of soil into a zip lock bag. Then I sent it off last Friday to the lab, along with a printed copy of the filled-out order form.
On Tuesday, I got an email. The lab had received my soil sample, and was drying it. The drying could take up to a week, but I’d get my results within 10 days.
Two days later, I had them.
Now, this blog is already pretty long. I’m going to leave you on a cliffhanger.
I will tell you I’m very glad I got a soil test. And that my soils need a lot of work.
But I’d like to take some time to consider the results, and I bet you’ve got better things to move on to. So next week I’ll get into what my soil test told me, and what I’m going to do about it. You can check that blog out here.
Post-script (January 2024) – I used Environmental Fertilisers to take these tests, but they appear to have closed down in around 2021. Next time I get a soil test, I’m planning to use Seacliffe Organics.


