
Peas are a popular garden treat in our household. I’ve even had more than one guest get a thrill from shelling them.
Peas are a rewarding (and delicious) crop to grow, although not at all economical when compared to the price of a bag of frozen peas.
Which variety?
Peas like colder temperatures. For those lucky gardeners in colder climates, it means most varieties are going to do the job.
But for those of us in Northland, Coromandel, and even Auckland, peas require a bit of selection and skill.

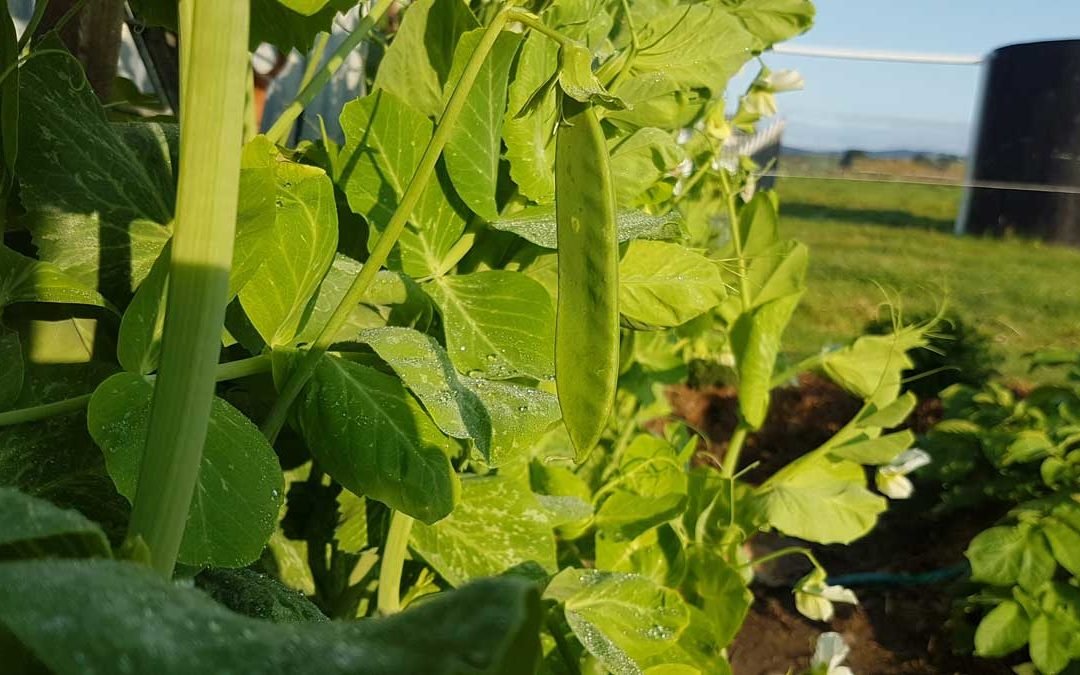
I’ve discovered the Alderman Pea variety does pretty well in these warmer climates. Last year we got a great crop with enough for a couple of kilos of frozen peas.
I saved a lot of seed from that crop and plan to just keep doing that.
How many to plant?
Again, it depends on your variety. We planted 30 seeds last June. That gave us a month of harvest in October. The two of us (and sometimes a guest) had peas most nights, and we had a glut that needed to be processed for freezing.
This year I experimented with planting a few in early March. They’re flowering now in late-May.
My main plan this year - if I can pull it off in the middle of this move - is to sow about 30 seeds in June, July, and August. That should give us enough to harvest for October, November and December. After December it’s really too hot in Northland for peas.
Hopefully, we’ll also have anywhere up to 5 or 6 kilograms of frozen peas to get us through the pealess months.
Growing peas
Peas should be sown directly where they are going to grow. They don’t like being transplanted, so instead of getting a punnet of pea seedlings, buy a pack of seeds - they’re about the same price, but you’ll get way more peas out of a pack of seeds.
Place them about 1cm under the soil, cover, and keep moist until they germinate. I usually plant 2 or 3 together.
I also protect my seedlings with plastic bottles, held in place with a bamboo stake. This creates a kind of mini-glasshouse and helps germination, prevents moisture loss, and keeps them protected while they’re little.

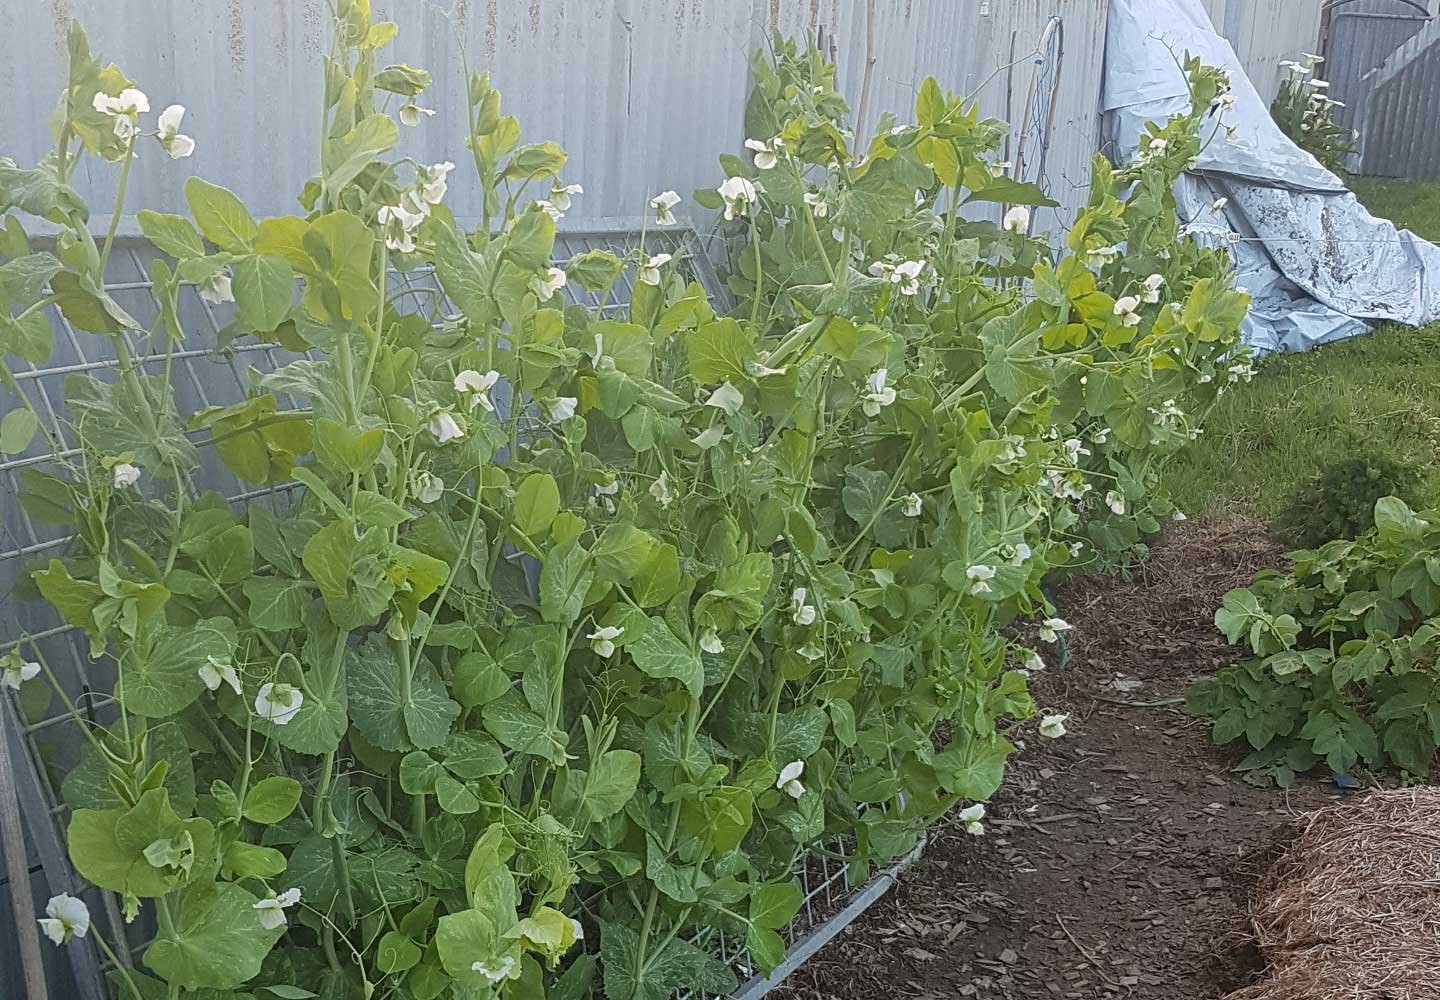
Make sure you have enough space for them to grow, and something to support them. Alderman peas grow up to 2 meters tall! Other varieties are shorter, but some kind of structure for them to climb up is pretty essential.
Pests to watch out for
The biggest pest I encountered last year were snails. They all made my peas their home and I found them living right up the vine.
You can control them with snail bait on the ground, or if that isn’t your bag, go outside at night with a torch and drop them into soapy water.

Harvesting and shelling
Pick peas when you feel they are just big enough. This may take some experimentation. Smaller peas contain more sugars. As the pea matures, those turn into starches which can affect the texture. Younger peas are the best fresh peas.
Shelling peas, I’m not gonna lie, takes forever. This is the reason I say they’re not economical - they cost time. That said, I watched a lot of Drag Race while shelling peas in 2018 so I don’t feel like that time was wasted at all.
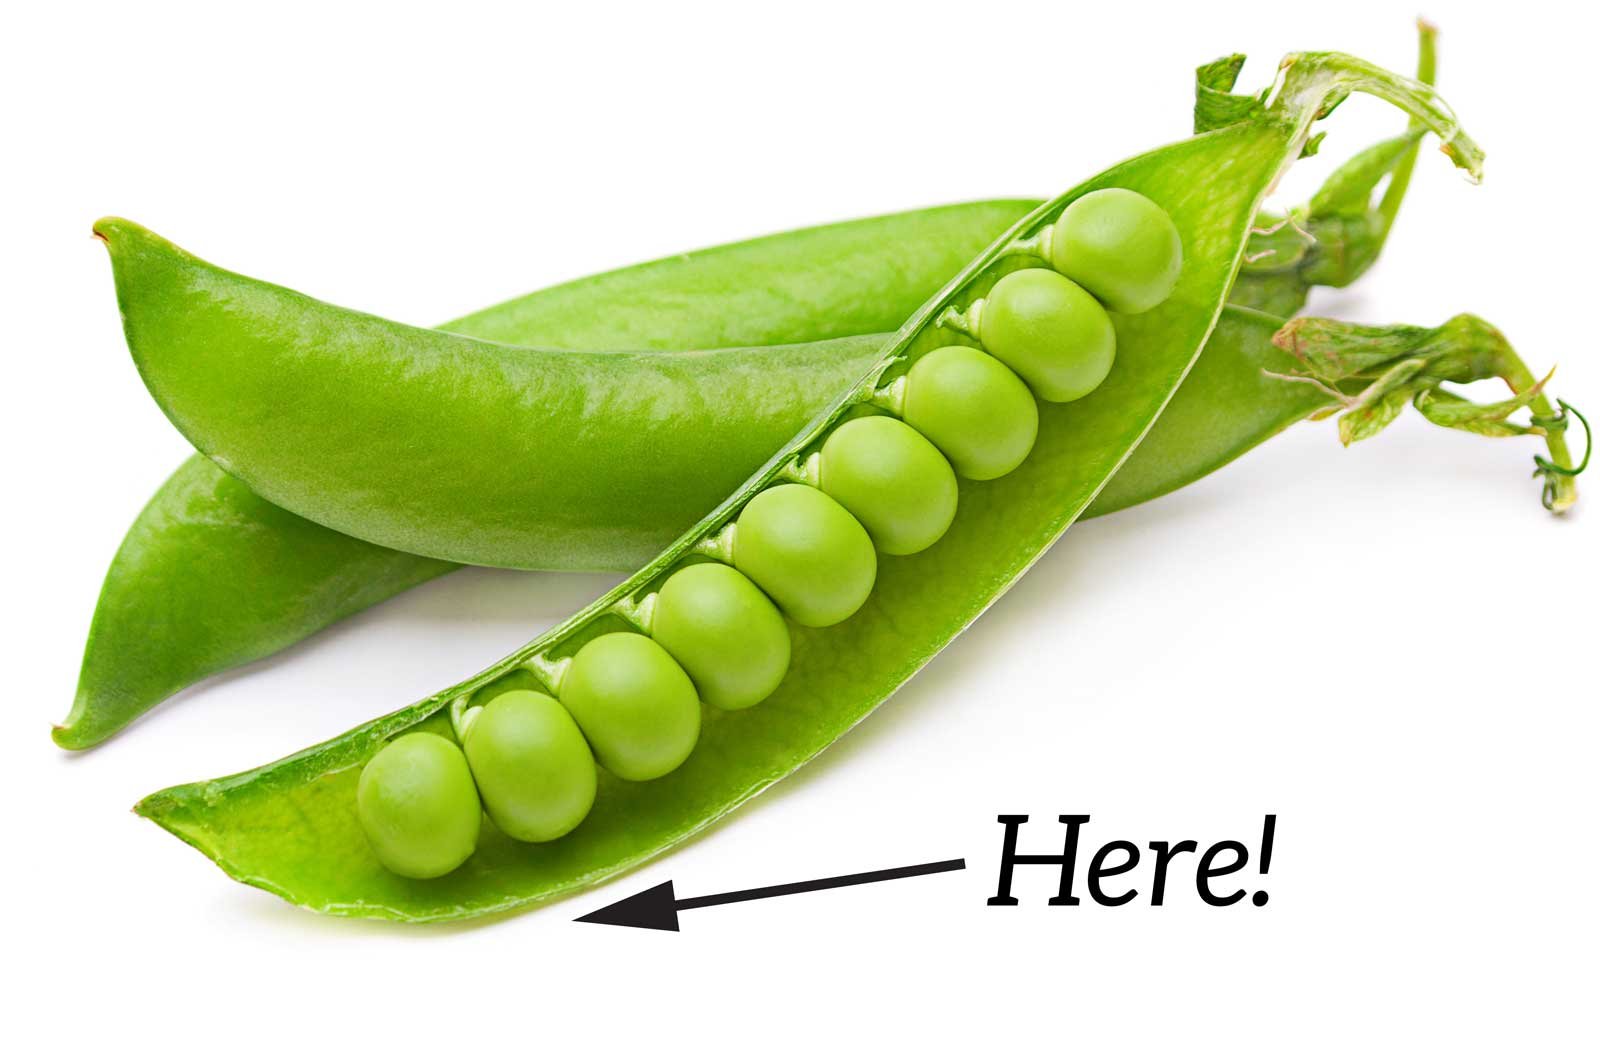
To pop a pea pod, see the curve on the underside, at the opposite end to where it was attached to the vine?
Press it with your thumb.
The pod will pop open easily.
Add the shells to your worm farm. We found neither the chooks nor the pig were interested in them (though they all love peas), but the worms devoured them.
Freezing peas
Another process that isn’t economical. To make this worthwhile, you need heaps of peas. And if you have heaps of peas, you’ve shelled peas from the workroom, through the mini-challenge, the main-challenge, the runway, the lipsync and you know who sashayed this week.
After at least an hour of shelling, you need to blanch the peas. Which means to dip them into boiling water for 30-60 seconds, then plunge them into ice-water.
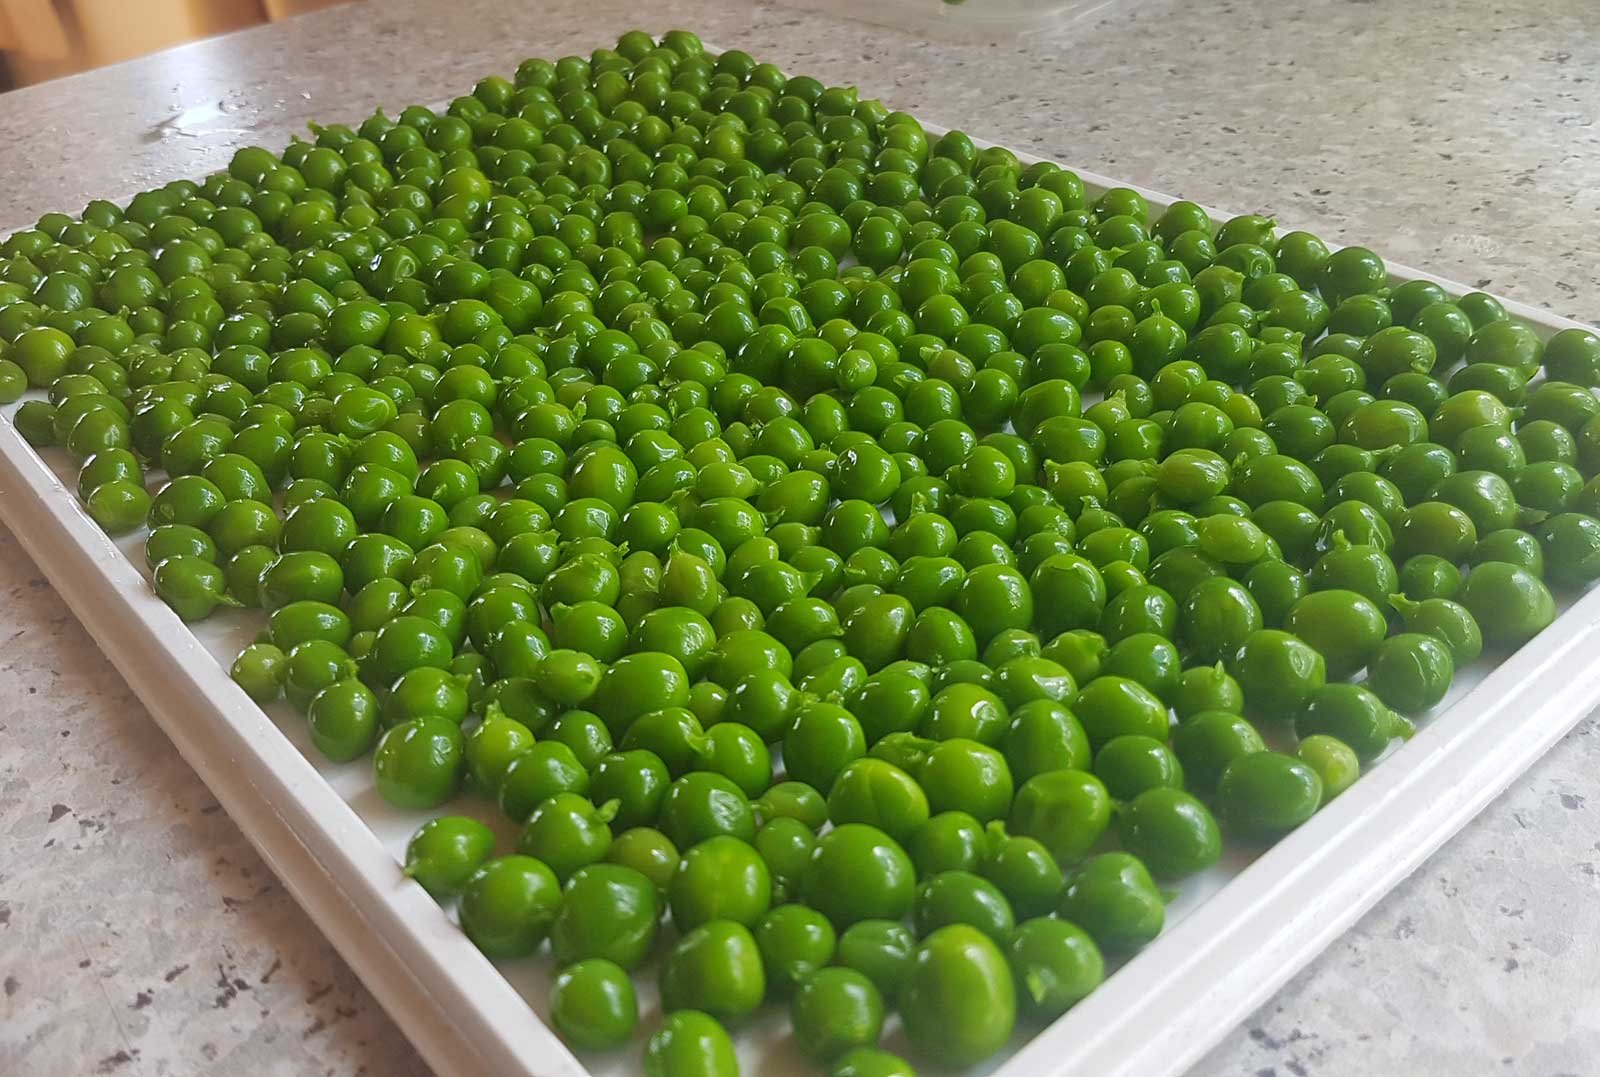
Once cool, drain the peas and place in one row on a plastic lid or tray, and freeze. After about 90 minutes, you can peel them off the plastic and put them into a bag, and back in the freezer.
You can skip the freezing on a tray, but you’ll end up with a big lump of peas. They’ll defrost fine, but they may be difficult to separate.
Saving seeds
Peas are one of the easiest seeds to save. If you do it right, you’ll only need to buy your first year’s worth of seed. Once you find a favourite variety, you can save them quite easily.
The trick is to save your best peas for seed. Don't eat the ones that look most delicious, from the best plants. Instead, leave them on the vine until the skins dry out.
Choosing your best peas off your best plants means to save seed means you’re passing on the best genes to next year’s crops.
Once the skin dries out, pick them on a sunny afternoon and bring them inside to dry completely in a warm dry place. In about a week they should have crisp paper skins and the peas should be hard and wrinkly.
Pop the peas from their shells and store them in a dry container somewhere cool and dark until next year.

READ NEXT
Growing strawberries
My guide to growing great strawberries.

READ NEXT
Growing peanuts in New Zealand
Fun and fascinating to grow, find out what you need to know to grow peanuts.
Related content: Alderman peas · direct sowing · Far North · food preservation · freezing · gardening · grow guide · growing from seed · legumes · Northland · peas · seed saving · snails · succession planting · worm farm
Stay in touch?
The Kat's Garden newsletter gives readers an extra peek behind the scenes. It's the best way to know when new posts go live, and what's happened since.
If you like what you've seen, join us and see what we learn next.
