It’s not a big secret that my garden at The Outpost has taken longer than expected to get going. When we moved, I had so many plans. There are boxes and boxes of seeds stored away and ready to be sown in my new garden, not to mention a very impressive spreadsheet. But alas, for many reasons the seeds did not really make it out of the boxes and into the garden this summer.
My biggest problem with the existing gardens here is the kikuyu grass. In the paddocks, this creeping grass is saving our asses with the drought and means our paddocks are still quite green. But in the garden, it’s an absolute nightmare.
It creeps into the beds from all sides; will re-sprout from the smallest root; and forms long strands that are quite honestly almost impossible to completely get rid of organically. It also hogs the small amount of water there is; will smother anything in it’s way; and gives off a toxin that suppresses the growth of other plants. It really, really sucks.
Part of the problem was the format of the original garden – long skinny beds with strips of kikuyu growing down the middle. Every bed was infested by the time we moved in. Within a month, I was incredibly frustrated by it.
I wanted bigger gardens with less grass. I also wanted to re-orient them to roughly north-south (they were running east-west). And so, we set about remodelling the garden.
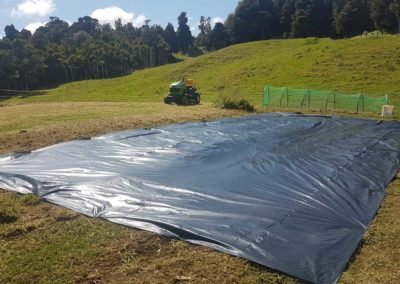
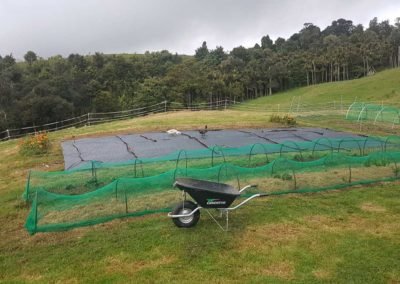
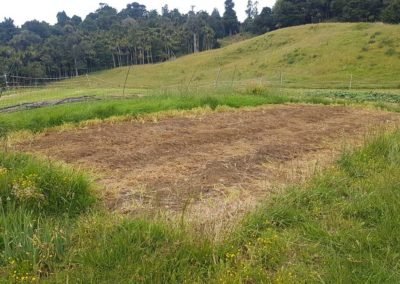
Back in October, Richard mowed the grass back hard with the ride-on lawnmower. Then we spread a giant sheet of plastic over it to block light. We lifted that sheet of plastic a couple of times to mow back what had decided to grow anyway (kikuyu is really determined). By January, we’d managed to kill back around 95% of the grass under the plastic with this method.
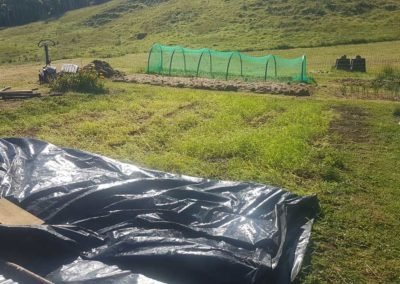
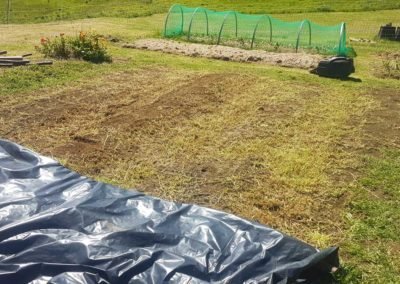
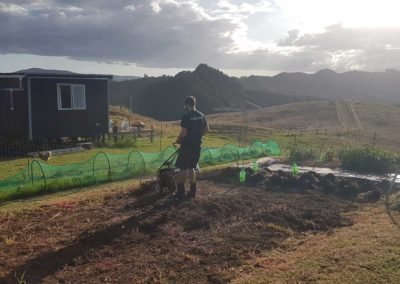
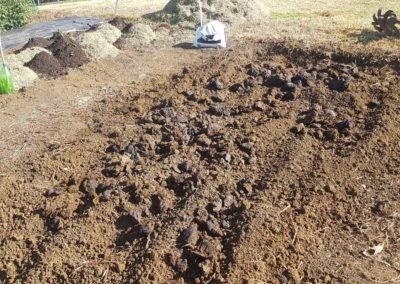
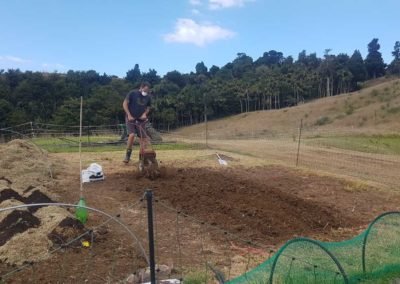
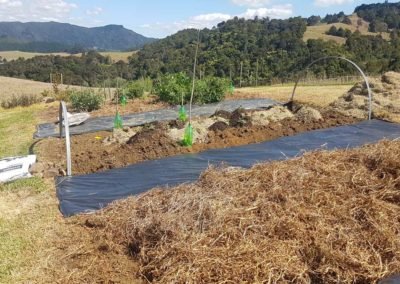
Since January, we’ve been lifting it a few meters at a time, and developing the beds one by one, making them roughly 1.8m x 4m. We have a rotary hoe that we use to break up the soil first. Then we’ve added compost, manure and a thick layer of my hay mulch to each one. The exact method of preparing each bed differs depending on what’s going in there and what we have at hand. We’re up to three prepared beds now.
In the beds, we are currently growing tomatoes, basil, sesame seeds, some extremely late and ill-advised potatoes, and the only crop which has really gone in on-time so far: broccoli.
Last week, as the third bed and path went in, the actual vision for this thing came together. I’ve learned a lot about the solarising technique now (that’s what it’s called when you put down something to stop the light coming through), and I think we can get the rest built much faster.

The build is split into 4 stages, and will give us 11 beds at 1.8m x 4m each, using most of the space that had previously been used for garden beds (plus a bit more). These will be my ‘crop’ beds for things that need space. It’ll grow things I sell, things I’m growing a lot of, and things that just need a lot of room.
Stage One (yellow) gets us 4 beds, and we’ve almost finished that. Stage 2 (green) will give us another two beds and a whole lot of new paths. Last week, Richard got the ride-on lawnmower out again and mowed the this section right down. Then I re-used the giant sheet of plastic to start solarising the grass. In a few weeks, we’ll have to lift the plastic back up and mow it down again, but most of it should be pretty dead by April or May.
This will give us two beds for strawberries and garlic, which will be wanting to go in about then. Once the strawberries are moved, we can get on with Stage 3 (red), which will give us another 2 beds, and Stage 4 (blue), which will bring in the final 3 beds.
There’s a lot of work still to do, but I think we’ve got the basics figured out now. And we have a plan. By next growing season, we should have everything up an running. Better dust off that spreadsheet…


